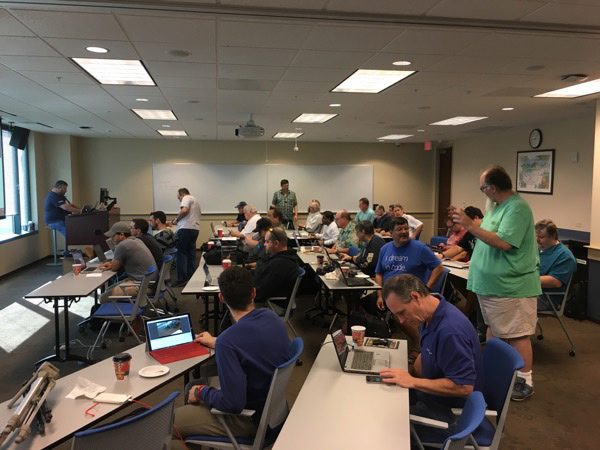
A good number of people arrived early to get Xamarin set up on their laptops.
Photo by Joey deVilla.
The Tampa edition of Xamarin Dev Days — a worldwide series of meetups where developers can learn about the Xamarin cross-platform development environment — took place this Saturday, and it was a successful gathering with about 70 developers in attendance.
Xamarin Dev Days are all-day events that introduce developers to Xamarin, with presentations in the morning, and hands-on workshops in the afternoon. They’re facilitated by experienced Xamarin users and evangelists, and since Microsoft acquired Xamarin, Mircosoft evangelists and MVPs have been running these events.
This was the agenda:
| Time | What’s happening |
|---|---|
| 9:00 a.m. – 9:30 a.m. | Registration and breakfast, which SMARTRAC and SMART COSMOS (the company and platform I represent) provided! |
| 9:30 a.m. – 10:10 a.m. | Intro to Xamarin presentation (here are the slides, in PDF format) |
| 10:20 a.m. – 11:00 a.m. | Cross-platform Xamarin with Xamarin.Forms presentation (here are the slides, in PDF format) |
| 11:10 a.m. – 11:50 a.m. | Cloud Xamarin with Azure presentation (here are the slides, in PDF format) |
| 12:00 p.m. – 1:00 p.m. | Lunch |
| 1:00 p.m. – 4:00 p.m. | Hands-on lab |
Another photo of the early arrivals.
Photo by Joey deVilla.
Getting people to spend their entire Saturday in a boardroom or lecture hall isn’t an easy task even when it’s cold and miserable outside. It’s even trickier in Tampa in November, when the temperatures are spring-like and there isn’t a cloud in the sky:
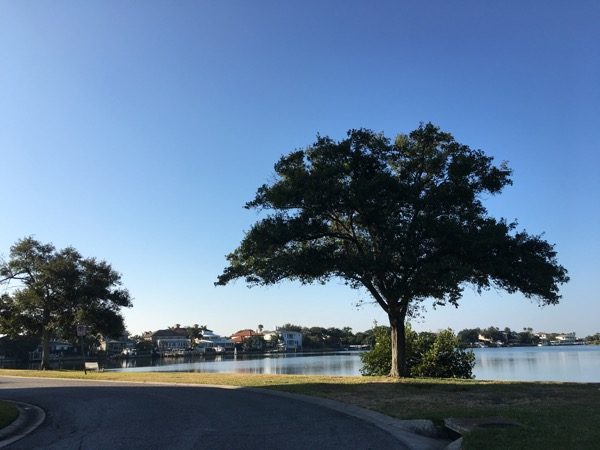
The view from the drive leading to Tampa’s Microsoft office, taken on the morning of Tampa’s Xamarin Dev Days.
Photo by Joey deVilla.

The view from the parking lot in from of Microsoft’s Tampa office, taken on the morning of Xamarin Dev Days.
Photo by Joey deVilla.
The very least a Saturday event can do — especially in a sub-tropical paradise like Tampa Bay — is feed its attendees. Michael Stark, one of the Dev Days facilitators and organizer of the Tampa Bay Xamarin User Group, reached out to me and asked if SMARTRAC (the company for whom I work as Technology Evangelist and whose SMART COSMOS platform I promote) could sponsor breakfast. We were more than happy to do so, and thus nearly 70 developers did not go hungry that morning:
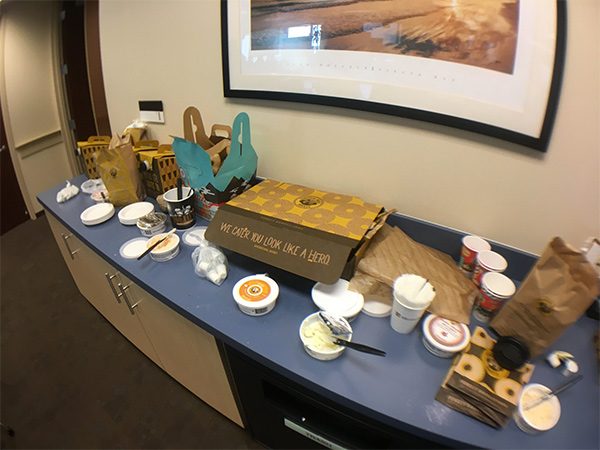
The breakfast bounty provided by SMARTRAC.
Photo by Michael Stark. Click the photo to see the source.
Joe Healy, Microsoft Premier Developer Consultant and Developer Evangelist for the area, asked me if I could play a couple of accordion numbers to kick off the event, and I was more than happy to do so.
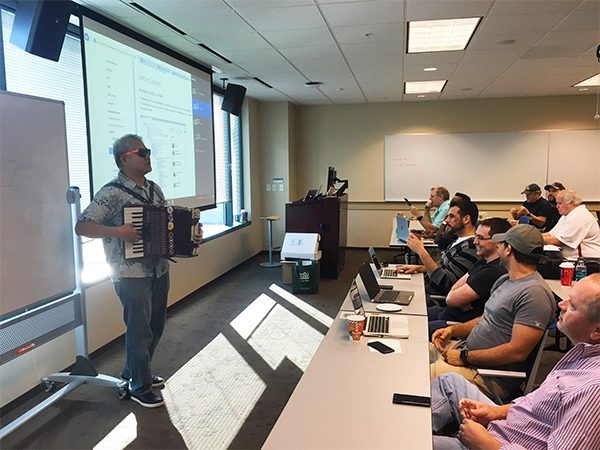
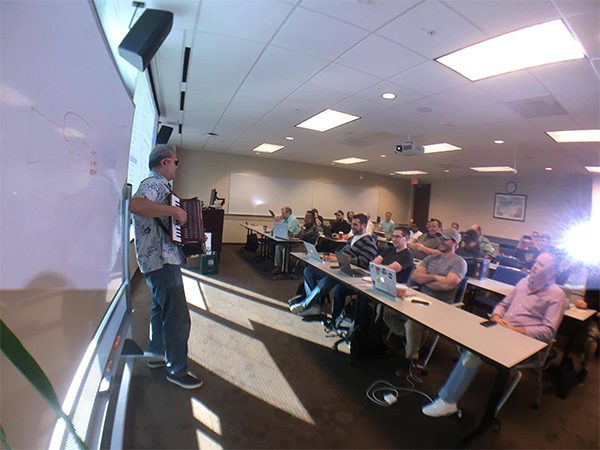
Here’s Joe giving a shout-out to SMARTRAC / SMART COSMOS for providing breakfast, which was followed by my quick explanation of what SMARTRAC and SMART COSMOS are:
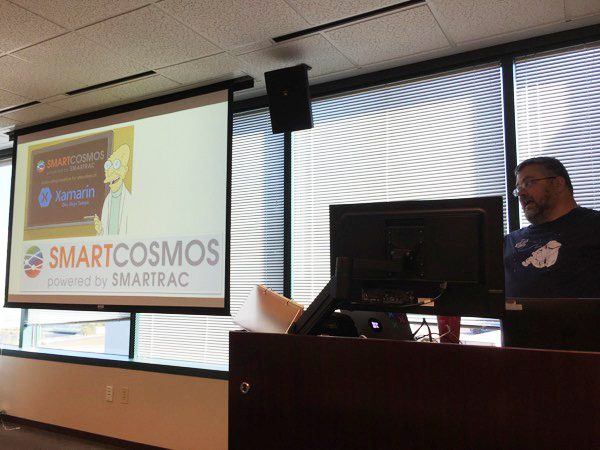
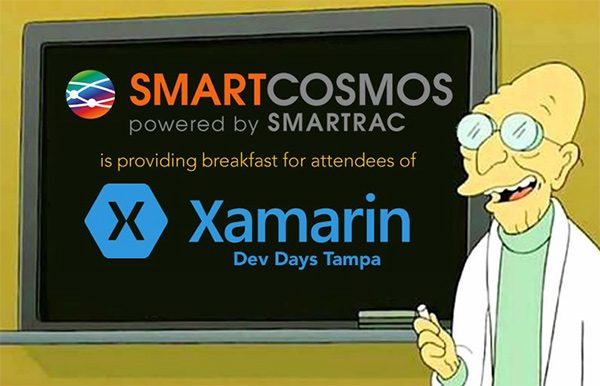
Here’s a close-up of that “Good news, everyone!” slide:
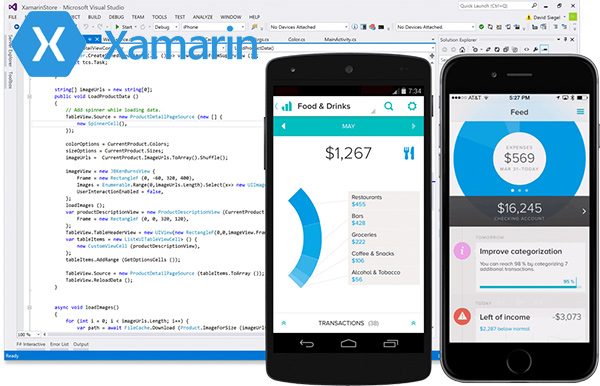
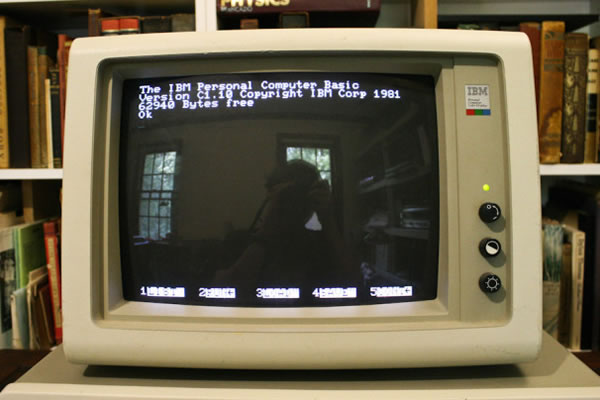
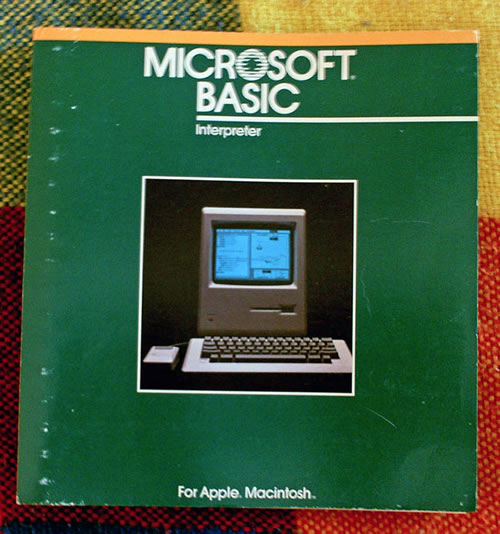
With the preliminaries out of the way, we spent the rest of the day getting down to the business of learning about Xamarin, which runs on both Windows and Mac OS, and can be used to develop front ends for Android, iOS, Mac OS, Windows, and Azure:
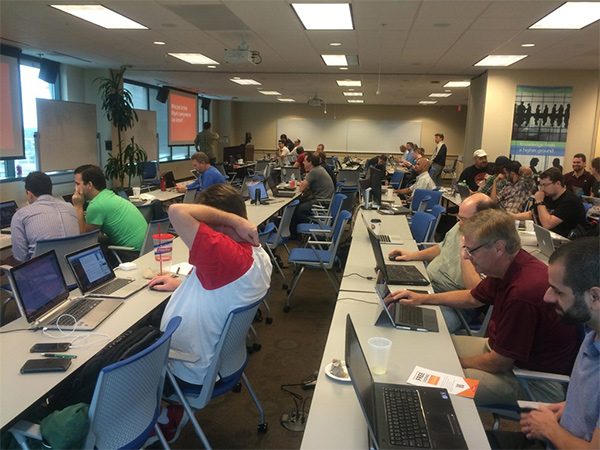
Photo by Daniel Jerome. Click the photo to see the source.
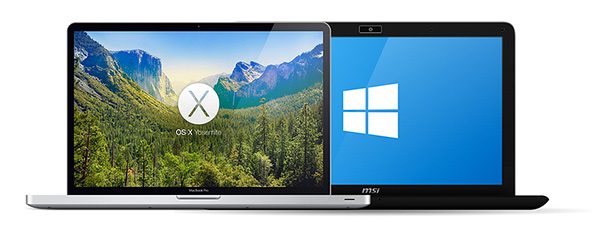
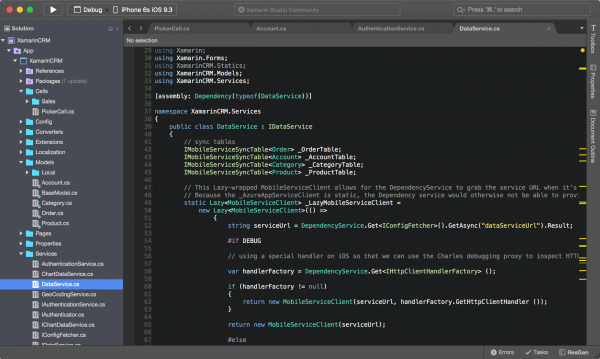
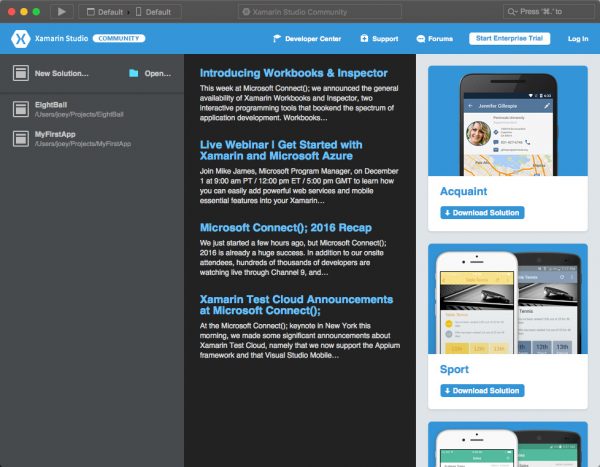
For those of us on the Mac, we worked on the current stable edition of Xamarin Studio, the Mac OS-based Xamarin development environment, pictured below:
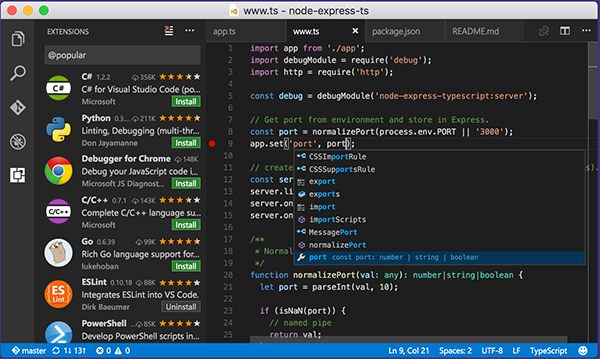
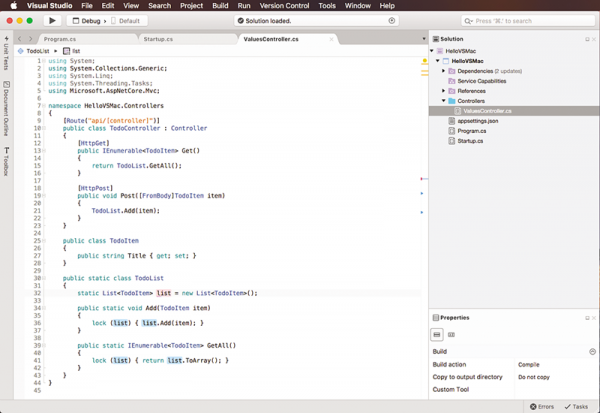
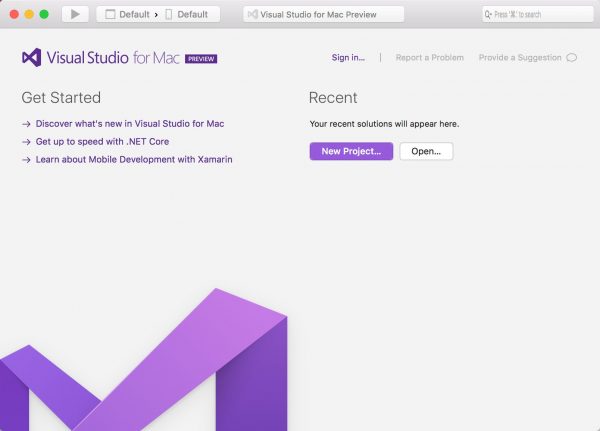
It’ll eventually be rebranded as Visual Studio for Mac, the preview version of which is shown below:
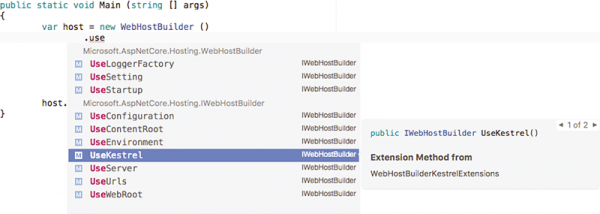
If you’re on Windows, you’ll be using Xamarin’s features from within Visual Studio.
The event went quite nicely, with many local developers not just learning more about Xamarin, mobile, and cloud development, but also about their peers. Over breakfast, lunch, and breaks, I got a chance to talk to a lot of people about all sorts of topics, including:
- Business and industrial applications of RFID technology. As a result of the couple of minutes I got at the start of the day as a sponsor’s representative, a couple of people approached me to talk about RFID tags and inlays and how they could be used in their businesses.
- The current situation in India, a couple of weeks after their radical demonetization, where two of the most-used currency notes, the 500- and 1000-Rupee bills, were taken out of circulation. To get an idea of what this is like, imagine the $10 and $20 bills in the U.S. suddenly being declared invalid.
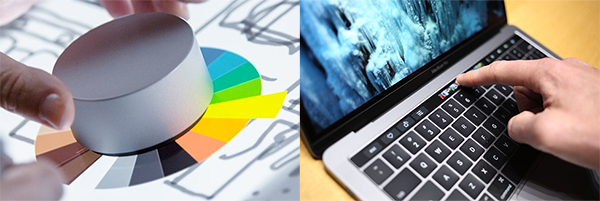
- How Microsoft seems different now: bash on Ubuntu on Windows, development software for the Mac (Visual Studio Code and Visual Studio for Mac) and even Linux (Visual Studio Code), interesting new hardware such as Surface Studio and Surface Dial — it’s not the same company as it was five years ago, and that’s a good thing.
- Developer opportunities in the Tampa Bay area. This always comes up at these gatherings.
While the event ended at 4 that afternoon, the gathering didn’t — a number of us regrouped at the Brick House for more conversation, accompanied by beer, food, and Jägermeister reps handing out free samples and taking promotional photos, which is why the last photo in this article has their branding:

My thanks to Joe Healy, Michael Stark, Jim Blizzard, Bill Reiss, and Brian Kassay for putting on a great event!