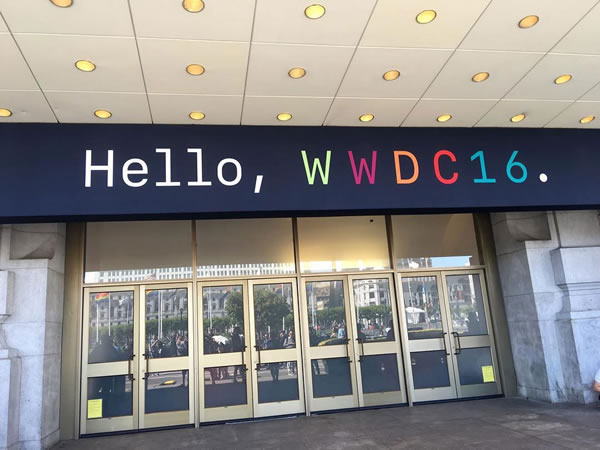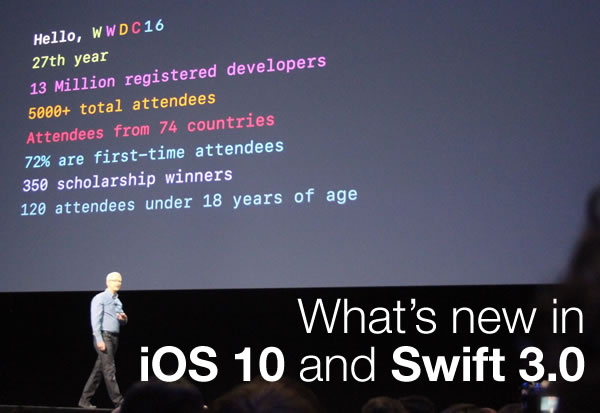
The next Tampa iOS Meetup has been announced for Tuesday, June 28th at 6:30 p.m., and we’re going to talk about the announcements made at this week’s Apple Worldwide Developers Conference, with special attention to iOS 10 and Swift 3.0. It takes place at our usual spot: Energy Sense Finance, 3825 Henderson Boulevard (just west of Dale Mabry), Suite 300.
At the meetup, we’ll:
- Present a review of what was announced at WWDC, with a particular focus on iOS and tvOS development
- Show you how to get your hands on the beta software, including Xcode 8 and iOS 10
- Take a look at the changes introduced in Swift 3, with an emphasis on where you may have to update your existing code
- Talk about what you’d like to see in upcoming Tampa iOS Meetup sessions
Join us on the 28th, get to know your fellow Tampa Bay iOS developers, and get ready to learn and have some fun!
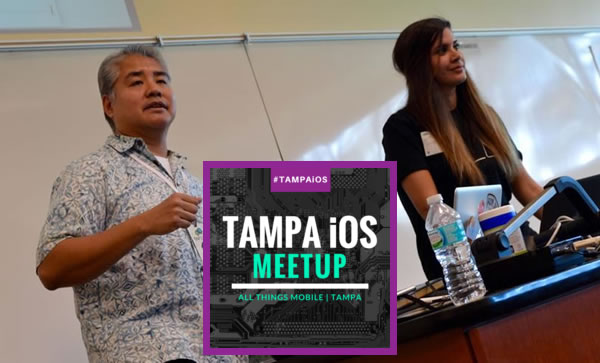
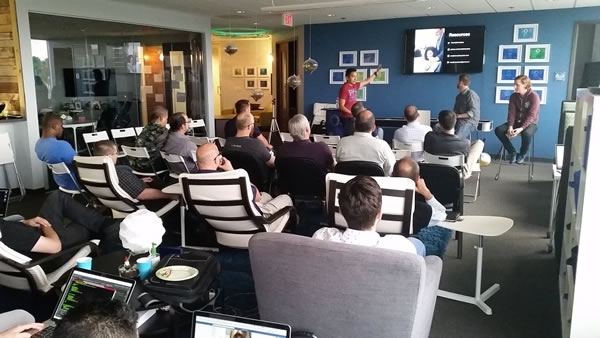
Tampa iOS Meetup is a monthly meetup run by local mobile developer/designer Angela Don and Yours Truly. While Tampa has a couple of great iOS developer meetups — Craig Clayton’s Suncoast iOS and Chris Woodard’s Tampa Bay Cocoaheads, we figured that there was room for a third iOS meetup in the Tampa Bay area, and especially one that would stray into other areas of mobile development. So we made one.
The Details
- What: Tampa iOS’ Meetup’s “What’s new in iOS 10 and Swift 3.0” session. Please sign up on our Meetup page so we can plan accordingly!
- When: Tuesday, June 28, 2016, 6:30 p.m. – 8:30 p.m. We’ll have some snacks at 6:30, with the presentation beginning at 7:00.
- Where: Energy Sense Finance, 3825 Henderson Boulevard (just west of Dale Mabry), Suite 300. See the map below.
- What to bring: Yourself, but if you’d like to follow along, bring your Macbook and make sure it’s got the latest Xcode.
- What to read in advance: If you’re one of those people who likes to do some readings ahead of a presentation, check out What’s New in Swift 3? by the folks at RayWenderlich.com.