
I may have given the impression that I’m only about iOS development, but Android development is also in my sights as well. One of the reasons I picked up a Samsung Galaxy S III last year was to get learn how to write Android apps, an undertaking that’s been delayed by life, work, and all sorts of nonsense from which I expect to free myself really soon.
I recently got around to setting up my systems for Android development, with a Lenovo laptop computer running Windows 8 as the development machine, and my S III as the testing device. I took screenshots along the way, and have put together this little bit of documentation in the hope that someone out there will find it useful.
Part 1: Install Samsung’s Android USB Drivers for Windows
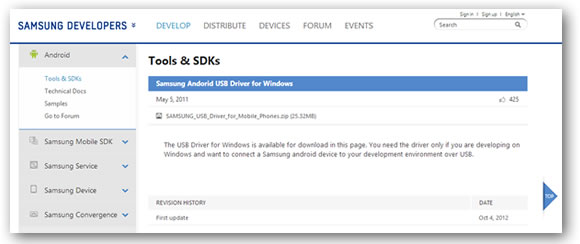
If you’re using Windows to develop Android apps and plan to use Samsung devices while developing, the first thing you should do is get the installer for Samsung’s Android USB drivers for Windows. Point your browser at the charmingly misspelled Samsung “Andorid” USB Driver for Windows page:
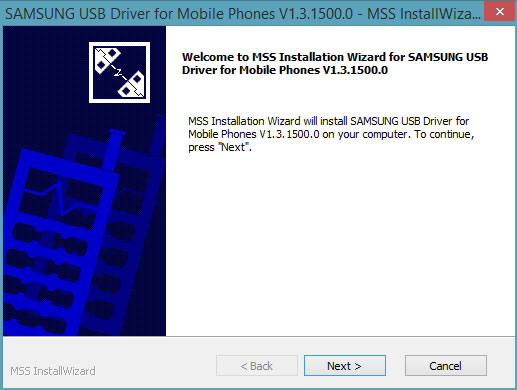
Download the SAMSUNG_USB_Driver_for_Mobile_Phones.zip and unzip it. Run the enclosed installer; you should see this:
Click Next:
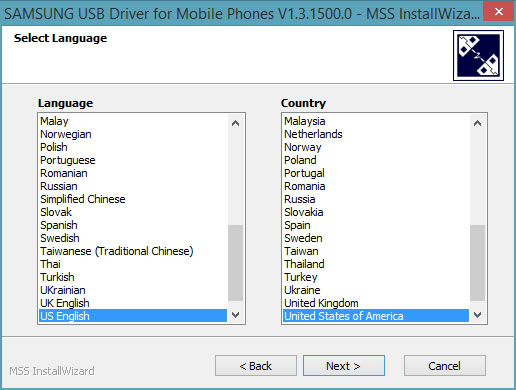
Choose the appropriate language and country for you. I went with the plain and simple “US English / United States of America”, then click Next. You’ll see this:
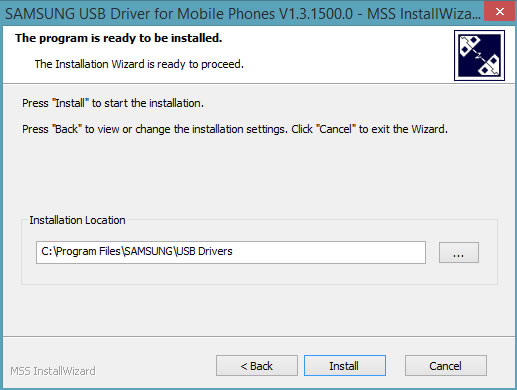
In most cases, the default installation location of C:\Program Files\SAMSUNG\USB Drivers should work. Click Install to start the installation process, where you’ll see…
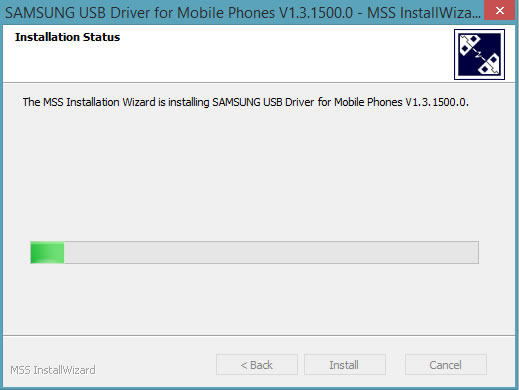
…which will then be followed by…
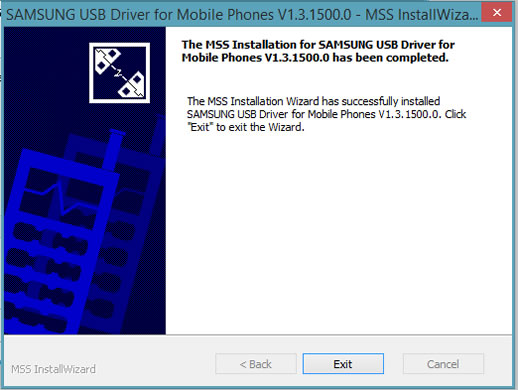
Click Exit, and the first part of the Android development setup will be done.
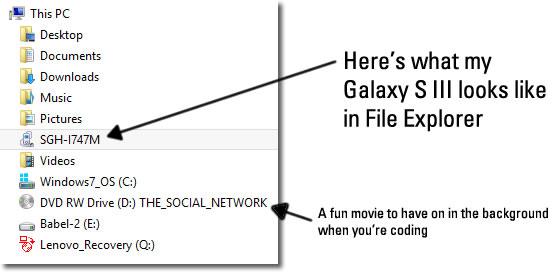
To confirm that the driver works, connect your device to your computer via USB…
…then get a look at File Explorer to see if your device appears as another location on “My Computer” on Windows 7 and earlier systems, or on Windows 8 and later systems, “This PC”. Here’s what my Galaxy S III looks like in File Explorer:
Part 2: Turn on Developer Options on Your Device
In order to push apps to your device during development, you need to turn on developer options on your device, which you do by going to Settings. Once you’re in Settings, scroll down toward the bottom until you see the Developer options item:
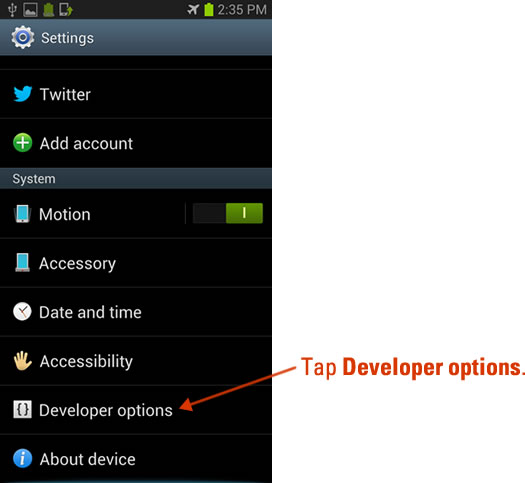
Tap Developer options. You’ll be taken to the Developer options screen:
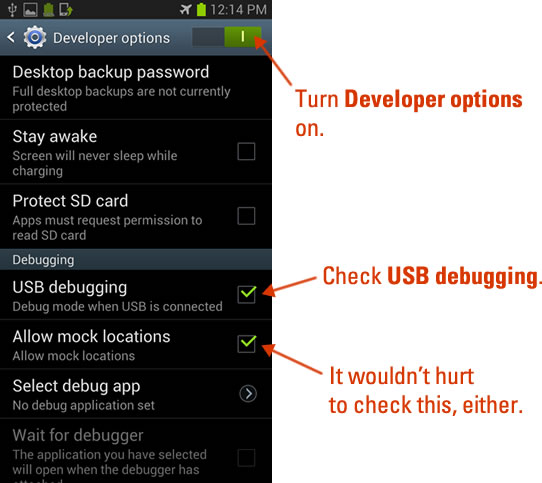
Move the Developer options switch to the on position, then check the USB debugging option. You might also want to check Allow mock locations; see this article for more details.
Part 3: Install Oracle’s Java SE Development Kit
Now that the drivers have been installed and your device is set up, it’s time to install a JDK. Go to the Java SE Development Kit Downloads page:

Scroll down to the Java SE Development Kit 7u40 table, where the JDKs for supported platforms are listed:
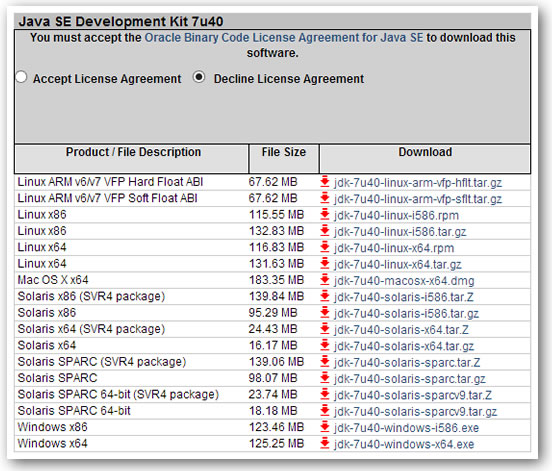
In order download the Java SE Development Kit, you have to sell your soul to Oracle and accept Larry Ellison as your Dark Master. Do this by clicking the Accept License Agreement radio button. The table’s appearance will change slightly…

…after which you can choose the JDK to download. I’m running the 64-bit version of Windows 8.1 RC (I like to live a little dangerously), so I downloaded the Windows x64 installer.
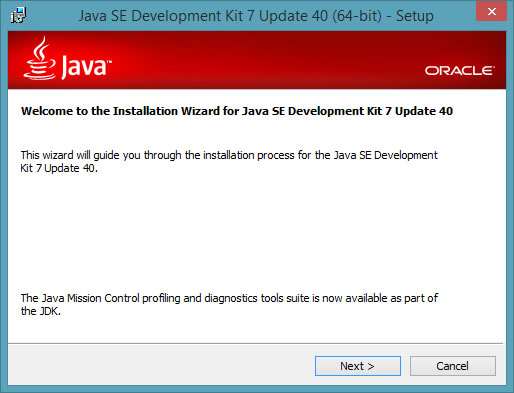
Once the installer is downloaded, run it. You should see this window:
Click Next:
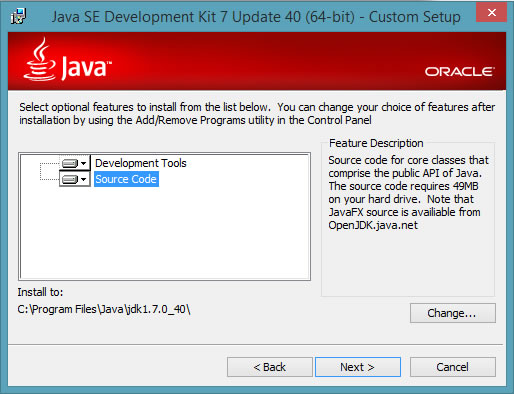
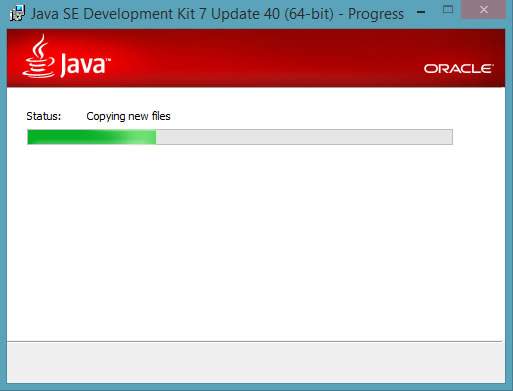
The default setting, which installs all the development tools and source code, is good one. Just go with it and click Next. Installation will begin you’ll see this:
After which you’ll see this:
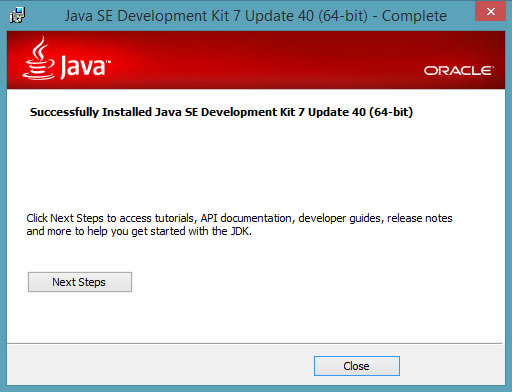
The installation process is now complete; click the Close button.
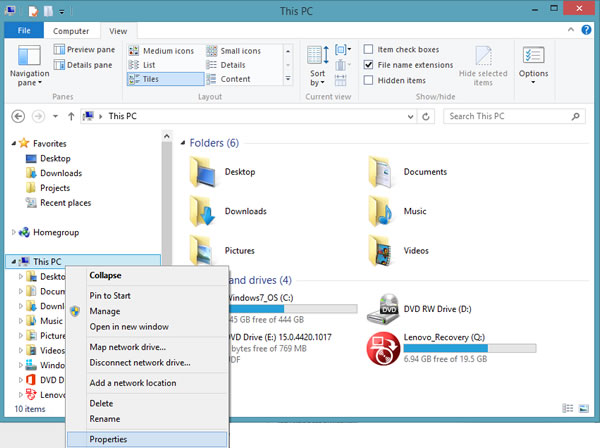
Java is now installed on your system, but your system doesn’t necessarily know where to find Java. It’s time to edit the Path environment variable. Go to explorer and right-click on the This PC icon (on pre-8.1 Windows systems, it’s called Computer, and on Windows 7 and earlier, it’s My Computer), and select the Properties item from the menu that appears:
This window (or one similar to it) will appear:
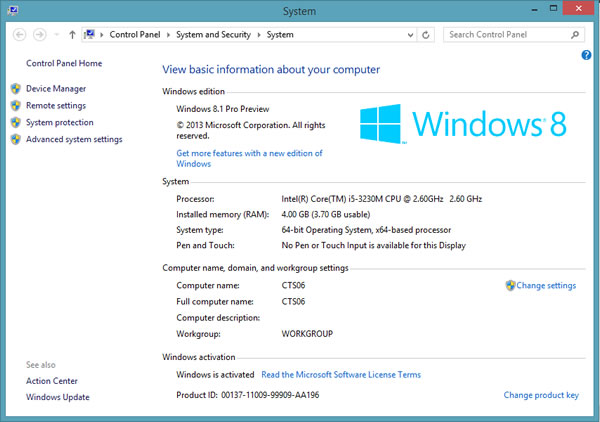
In the list of items along the left side of the window, click on Advanced system settings. You’ll be shown the System Properties dialog box:
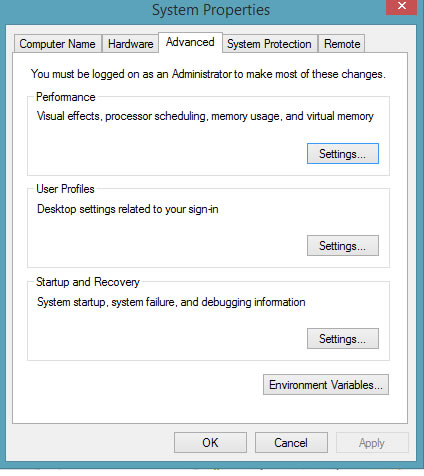
Click the Environment Variables… button, and you’ll be shown the Environment Variables dialog box:
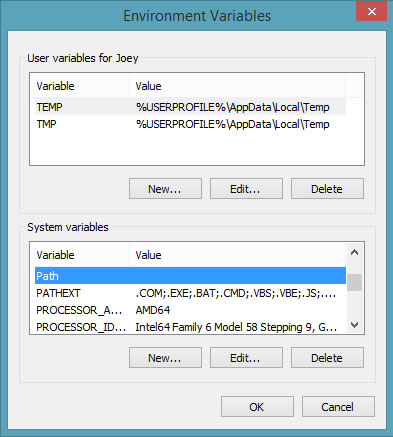
We want to edit your system’s Path variable, so select the Path item in the System variables list and click the Edit… button
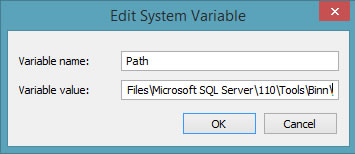
We want to add C:\Program Files\Java\jre7\bin to Path. Do this by adding the following to the end of the contents of the Variable value text field:
;C:\Program Files\Java\jre7\bin
Click OK, which will take you back to the Environment Variables window:
At this point, you can dismiss all the other windows that you opened in the process of setting the Path variable.
There’s only one more application to retrieve…
Part 4: Install ADT — Android Developer Tools
Go to the Get the Android SDK page:
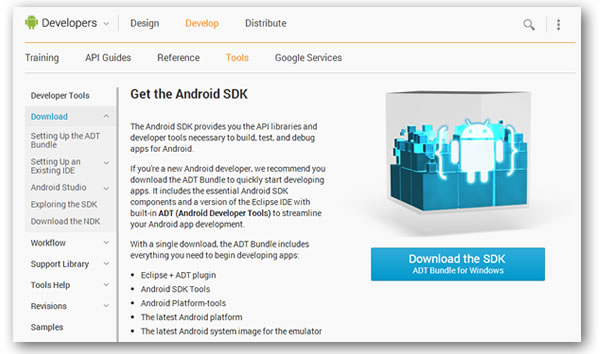
Click on the Download the SDK button, which will take you to this page:
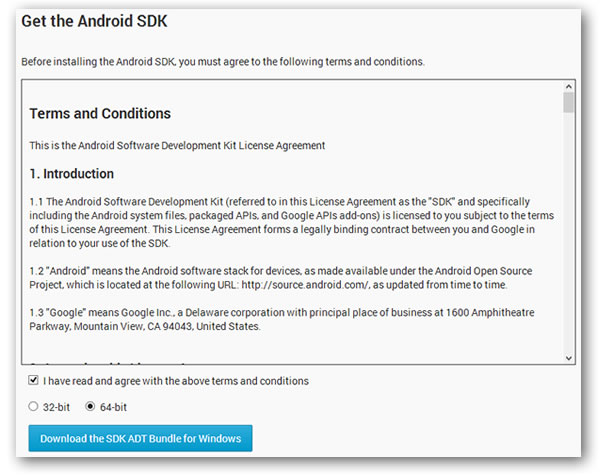
Check the I have read and agree with the above terms and conditions checkbox, which declares your soul the property of Larry and Sergei forever, and then:
- If you downloaded and installed the 32-bit (x86) version of the Java development kit, choose the 32-bit version of ADT.
- If you downloaded and installed the 64-bit (x64) version of the Java development kit, choose the 64-bit version of ADT.
Make sure you’ve chosen the correct version of ADT; the 32-bit ADT will not work with 64-bit Java, and the 64-bit version of ADT will not work with 32-bit Java!
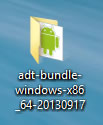
Click the Download the SDK ADT Bundle for Windows button, which will start the download process of a .zip file. The .zip file I got had the filename adt-bundle-windows-x86_64-20130917.zip; yours should have a similar one. The .zip file will contain a single folder with the same name as the .zip file, minus the .zip filename extension:
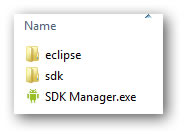
Unlike most Windows applications, ADT doesn’t have to be installed using an installer. You simply unzip it, and it’s ready to run. I renamed my ADT folder to simply just ADT and put it into the Program Files directory. You don’t have to do this, but it keeps things consistent.
Part 5: Confirm Everything Works By Building “Hello World”
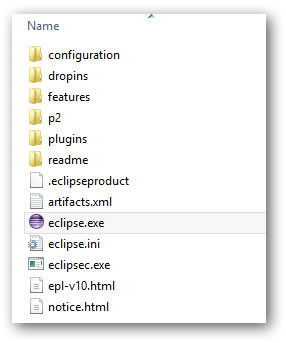
You’ll be using the Eclipse IDE to write and compile Android apps. Eclipse is in the ADT folder’s eclipse directory:
Open the eclipse directory and double-click eclipse.exe to start Eclipse:
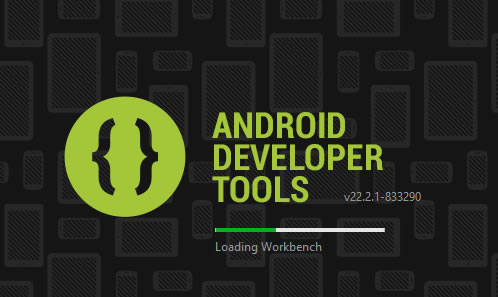
You’ll see this splash screen:

Followed by this dialog box, asking where your Android projects should be stored. I went with the default, which is typically \Users\your login name\workspace:

I checked Use this as the default and do not ask again and then clicked OK, after which this was displayed:
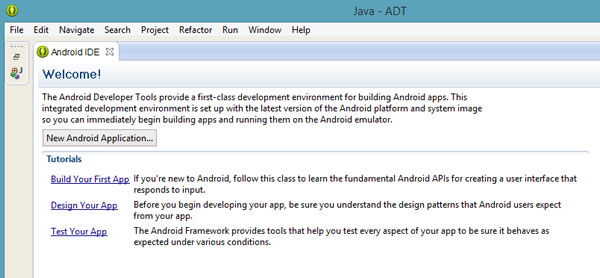
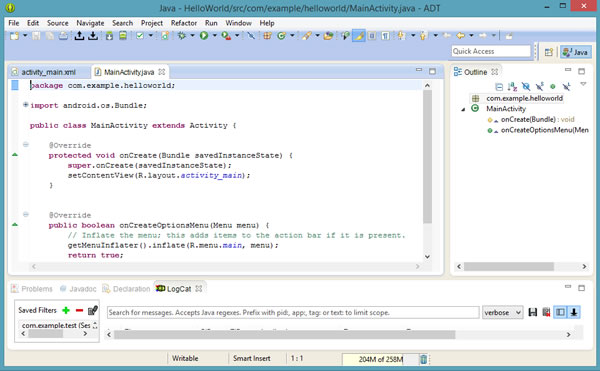
Once ADT has fully loaded, you should see a window that looks like this:
Let’s build a quick and dirty application. Click the New Android Application… button that appears below the “Welcome!” message. This will open the New Android Application dialog box:
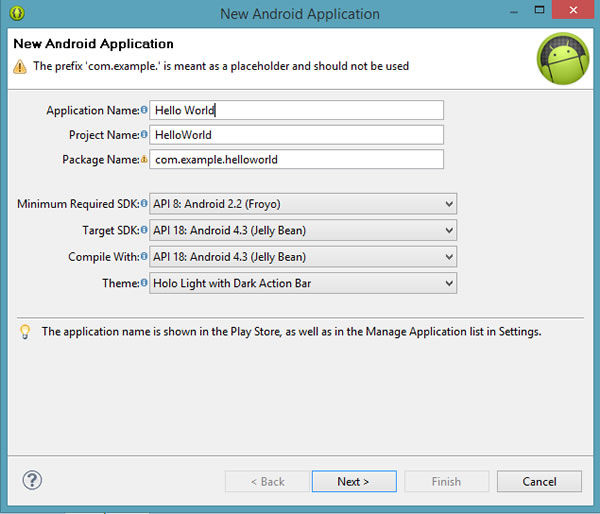
Enter Hello World into the Application Name text box. The Project Name and Package Name text boxes will fill themselves in appropriately as you type. Then click the Next button. You’ll be taken to the next step:
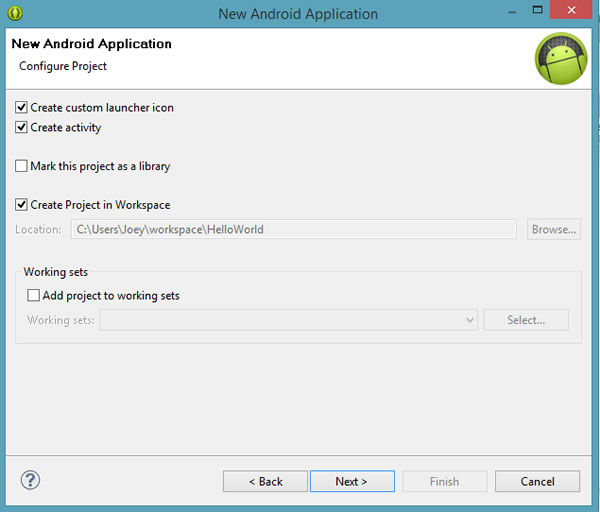
The defaults work for what we want to do, so just click the Next button. You’ll be taken to this window:
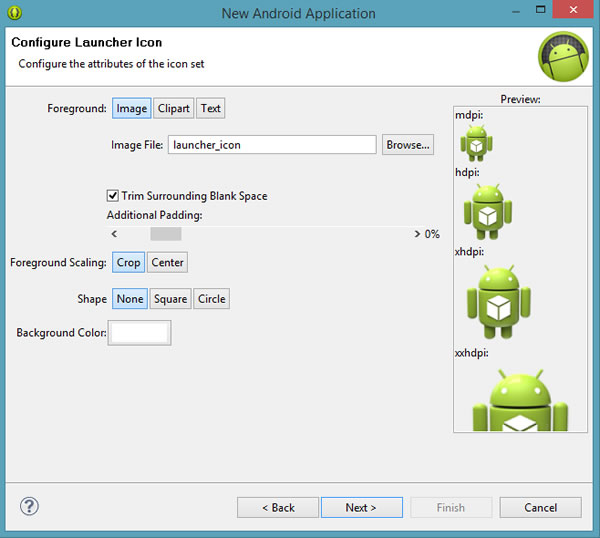
This window lets you define the icon for your app. The default “Android” icon works just fine, so click Next. You’ll be taken to this window:
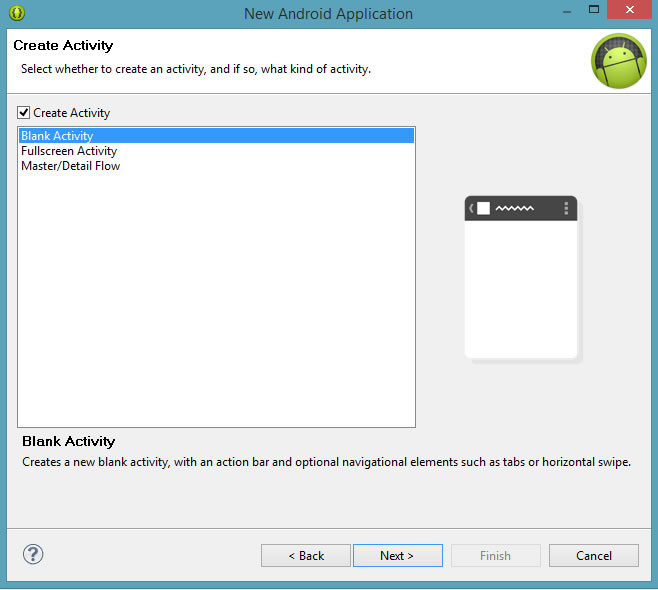
The simplest way to describe an Android activity is “a ‘screen’ presented to the user”. Android developers who are a little more pedantic might disagree, but for now, it’s a good enough explanation. Make sure that Create Activity is checked and that Blank Activity is selected in the list, then click the Next button. You’ll be led to one more setup window:
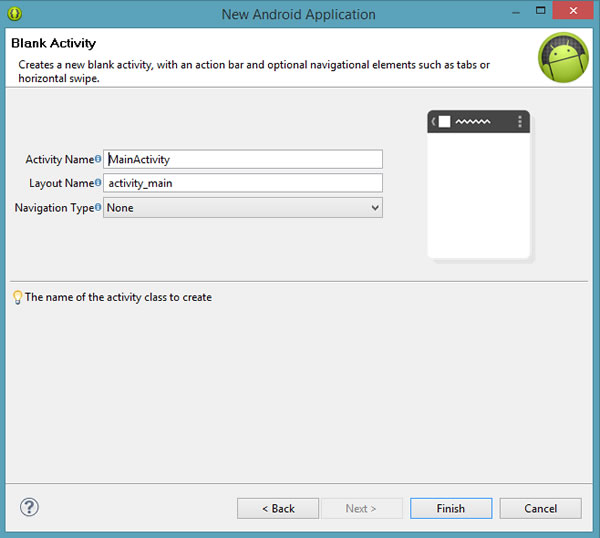
For the purposes of this quick-and-dirty app, the defaults are fine. Click the Finish button to conclude this setting-up phase, and you’ll be taken to the ADT IDE’s main window:
If you haven’t done so already, connect your Android mobile device to the computer with a USB cable.
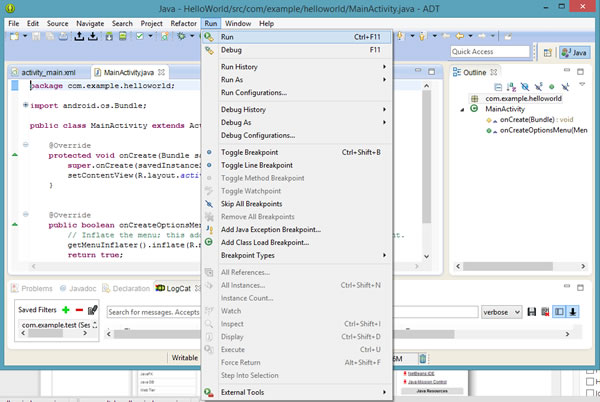
Let’s run our newly-created app to see if it works. from the menu bar, open the Run menu and choose the Run item:
You’ll be shown this window:
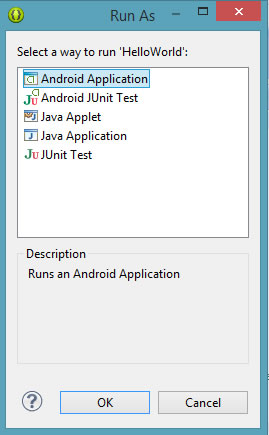
Make sure Android Application is selected, then click the OK button. You’ll be taken to the Android Device Chooser:
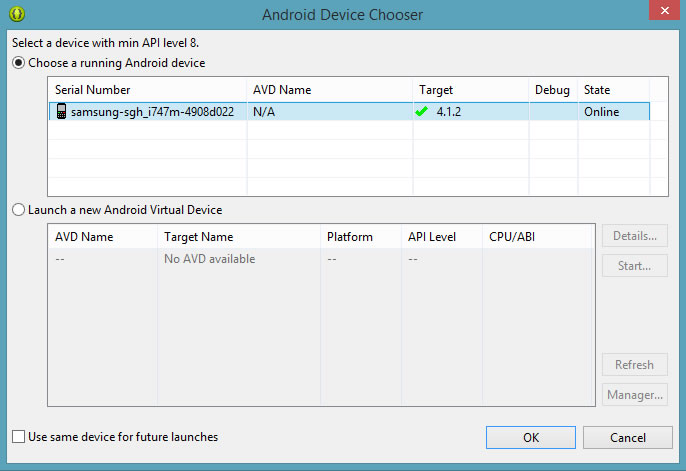
With my Samsung Galaxy S III plugged in, it showed up in the Choose a running Android device list as samsung-sgh_i747m-4908d022. If you successfully installed the drivers for your device, it should appear in the list. Select your device and click the OK button. If everything’s working, you should see the following on your device’s screen after a moment or two:

Success! You’ve now got a working Android developer setup.
12 replies on “How I Set Up My Windows 8 System for Android Development [Updated]”
[…] How I Set Up My Windows 8 System for Android Development … […]
[…] How I Set Up My Windows 8 System for Android Development (Joey deVilla) […]
[…] How I Set Up My Windows 8 System for Android Development … […]
[…] How I Set Up My Windows 8 System for Android Development … […]
Excellent. Worked perfectly. Thank you for sharing this.
Finally someone who actually knows what they are talking about. Thanks for the info.
[…] How I Set Up My Windows 8 System for Android Development [Updated] — Global Nerdy […]
thanks!! worked great.
that is fantastic thank you.
Great job on this tutorial. This should serve as a template for all software tutorials (please do Render to Texture on Windows Phone 8 next!).
Worked exactly as stated, thanks very much.
[…] How I Set Up My Windows 8 System for Android Development [Updated] — Global Nerdy. […]