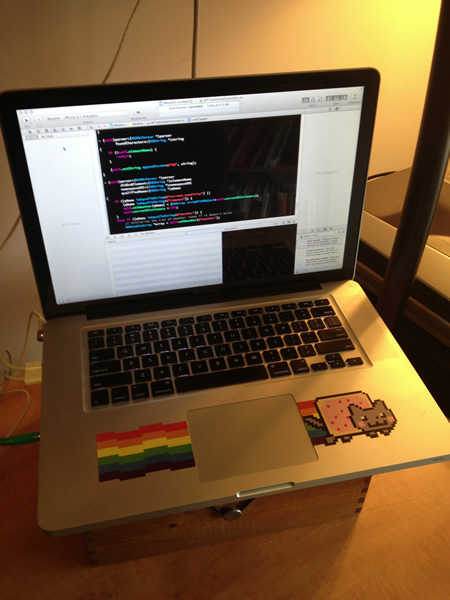
My trusty early-2011 15″ MacBook Pro — standard issue at Shopify at the time, and a fabulous parting gift from them — is in the shop again. There’s something going on with its MagSafe daughterboard, or at least I hope it’s just that daughterboard. Daughterboard replacements are relatively cheap, but if it’s the motherboard that’s fried, it might be better for me to buy a new Macbook. Normally, that wouldn’t be so bad a prospect, but money’s a little tight right now.
I still have a 20″ 2007-era iMac with its RAM maxed out to 6GB in my living room. It’ll let me continue with iOS development, but as a desktop unit, it’s stuck at home. My portable unit is a ThinkPad T430, a Core i5 machine that could use a little extra RAM but is otherwise decent. It runs both Ubuntu 12.04 (a.k.a. “Precise Pangolin”) and Windows 8.1 (a.k.a. “Return of the Start Button”). I’ve got Rails 4 installed on the Ubuntu side, but until now, I kept running into roadblocks trying to get it on the Windows side.

Rails was built on and for Unix-y systems, and relies on the features built into them. As a result, it’s not a natural fit for Windows. Luckily for Windows users, there are people who work hard on getting it to work on The Empire’s operating system. It means that when a new Rails release comes out, you have to wait for those people to come up with the magic recipe to make it work on Windows.
If you’ve been waiting for a way to get Rails 4 to work on Windows — even the latest version, Windows 8.1 — that magic recipe exists today, and Jonathan Macdonald shares the recipe in a series of videos! I followed these steps last night, and I’ve now got Rails 4 up and running on Windows 8.1 Pro.
The only difference that’s apparent to me so far is that if you follow these instructions, you have to use MySQL as your database rather than the default SQLite3. I’ve heard of a number of problems getting SQLite3 to work with Rails on Windows, which may be why this is the case. The end result is that if you want to create a new project, you’ll enter a slightly longer command:
rails new your_project_name -d mysql
The recipe has 5 steps, each with its own video:
- Install MySQL
- Install Ruby 2.0
- Install Git (and use it to clone something you need for the next step)
- Build the MySQL gem
- Install Rails
And now, the videos!
Installing MySQL
Installing Ruby 2.0
Installing Git
Building the MySQL Gem
Installing Rails 4
And once you’re done, go hit Michael Hartl’s Ruby on Rails Tutorial, which is free-as-in-beer, and written for Rails 4!
11 replies on “How to Install Rails 4 on Windows (Including Windows 8 and 8.1)”
[…] How to Install Rails 4 on Windows (Including Windows 8 and 8.1) (Joey deVilla) […]
Very nice article to make Rails 4.0 work with MySQL.
Thank you for these detailed, up-to-date instructions for upgrading to Rails 4! Developing Rails apps on Windows is hard enough as a newbie, and the thought of upgrading to Ruby 2.0 and Rails 4 was pretty daunting. You made the upgrade WAY easier than I thought it would be…
Exceptional in every way. Thank you very much. As far as I can tell, it is working with the latest version of Rails, which was installed when I clicked over to the updated Rails installation videos. Followed the install node.js instructions as well, so when I went to the application environment on localhost:3000, node.js was already the Javascript Runtime and looks like everything is good to go.
Quick question – we completed the Git Bash install, but I notice you are still using the Windows CMD prompt. Any reason why? Can Git Bash be used just as effectively?
Thank you again!
Absolute class tutorial!!
a very good article. Several problems solved it.
Thanks you so much! I was starting out some tutorials that needed me to have sql installed and it was failing. I think this was because I was installing the 64 bit version of the ruby.
Kudos!
Thanks for taking the time to create these excellent tutorials.
I’ve been using nitrous.io for rails since I’m on a Windows 8.1 ultrabook, but I think I’ll try to install locally, as Nitrous Desktop no longer wants to sync.
Question: I already have mySql installed from a previous Xampp installation to develop WordPress projects. Any reason why I couldn’t hook Ruby into that, using it’s current path?
Getting a type error Object doesn’t support this property or method
on your last video (in C:/Ruby200/lib/ruby/gems/2.0.0/gems/turbolinks-2.5.3/lib/assets/javascripts/turbolinks.js.coffee)…. true %>
how to solve this error…….
plz help for us……
C:\dev\mysql2>gem install mysql2-0.3.13.gem –no-ri –no-rdoc — –with-mysql-dir=c:\mysql-connector-c-noinstall-6.0.2-win32
Temporarily enhancing PATH to include DevKit…
Building native extensions with: ‘–with-mysql-dir=c:\mysql-connector-c-noinstall-6.0.2-win32’
This could take a while…
ERROR: Error installing mysql2-0.3.13.gem:
ERROR: Failed to build gem native extension.
C:/Ruby22-x64/bin/ruby.exe -r ./siteconf20151008-2204-14wsjeb.rb extconf.rb –with-mysql-dir=c:\mysql-connector-c-noinstall-6.0.2-win32
checking for rb_thread_blocking_region()… no
checking for rb_wait_for_single_fd()… yes
checking for rb_hash_dup()… yes
checking for rb_intern3()… yes
checking for main() in -llibmysql… no
*** extconf.rb failed ***
Could not create Makefile due to some reason, probably lack of necessary
libraries and/or headers. Check the mkmf.log file for more details. You may
need configuration options.
Provided configuration options:
–with-opt-dir
–without-opt-dir
–with-opt-include
–without-opt-include=${opt-dir}/include
–with-opt-lib
–without-opt-lib=${opt-dir}/lib
–with-make-prog
–without-make-prog
–srcdir=.
–curdir
–ruby=C:/Ruby22-x64/bin/$(RUBY_BASE_NAME)
–with-mysql-dir
–with-mysql-include
–without-mysql-include=${mysql-dir}/include
–with-mysql-lib
–without-mysql-lib=${mysql-dir}/lib
–with-libmysqllib
–without-libmysqllib
extconf failed, exit code 1
Gem files will remain installed in C:/Ruby22-x64/lib/ruby/gems/2.2.0/gems/mysql2-0.3.13 for inspection.
Results logged to C:/Ruby22-x64/lib/ruby/gems/2.2.0/extensions/x64-mingw32/2.2.0/mysql2-0.3.13/gem_make.out
Thank you so much! this helped me A LOT!!!!!!