On the most recent Amazon Prime Day — an annual trick that Amazon pulls in order to boost sales in the same vein as Cyber Monday, but in the summer — I managed to limit myself to buying just one sale-priced thing that I didn’t really need: the CanaKit Raspberry Pi 3 Complete Starter Kit. It normally sells on Amazon for US$75, but it was on sale that day for US$60.
The Raspberry Pi 3 is the current version of a series of single-board computers about the size of a deck of playing cards, and are:
- Low-cost. The Raspberry Pi 3 board, released in February 2016, sells for as little as US$35. The Raspberry Pi Zero, a much smaller, more pared-down version, was released in November 2015, and its price — about US$5 — was so low that MagPi, the official Raspberry Pi magazine, gave them away with their 40th issue.
- Surprisingly powerful. The Raspberry Pi 3 sports an ARM Cortex-A53 processor running at 1.2 GHz.
- Ready to support a number of operating systems.
- Expandable via USB, “hardware attached on top” (HAT) daughterboards, and the general purpose input/output (GPIO) pins along the edge of the board opposite the HDMI interface.
- Supported by a community of software and hardware innovators and enthusiasts who produce all sorts of add-ons, peripherals, software, and guidance for making the most of the Raspberry Pi.
I plan to use the Raspberry Pi to make some initial delving into IoT (Internet of Things) development, and as part of my journey into developing for that category of computer that I call “tiny and shiny” — smartphones, tablets, and now Raspberry Pi / Arduino-type boards.
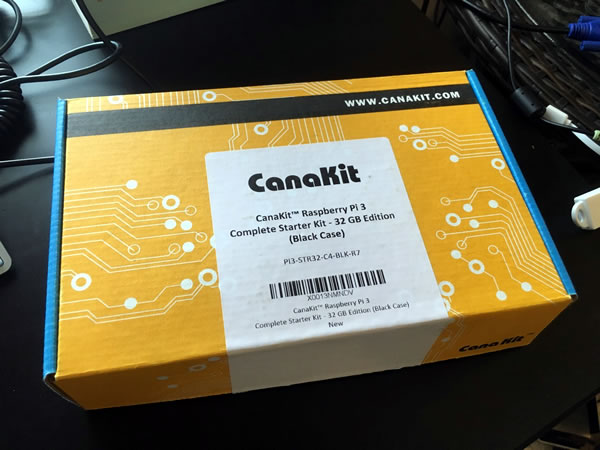
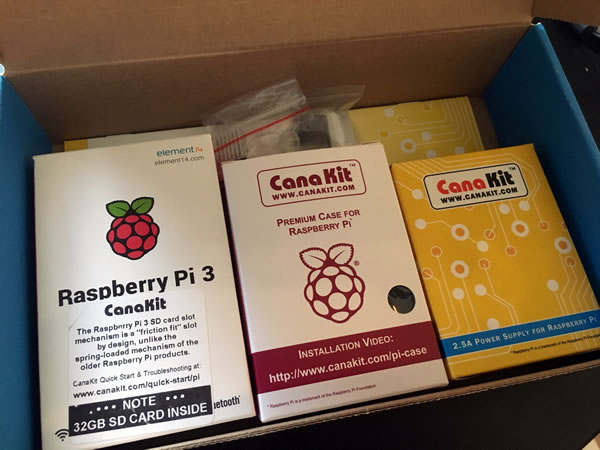
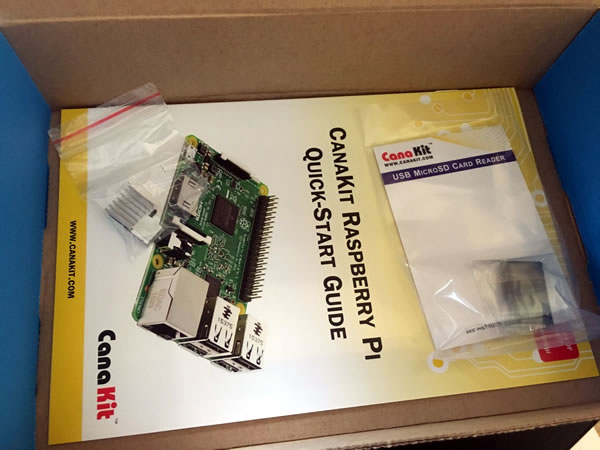
Here’s the CanaKit Raspberry Pi 3 Complete Start Kit box:
When I opened it, I saw this:
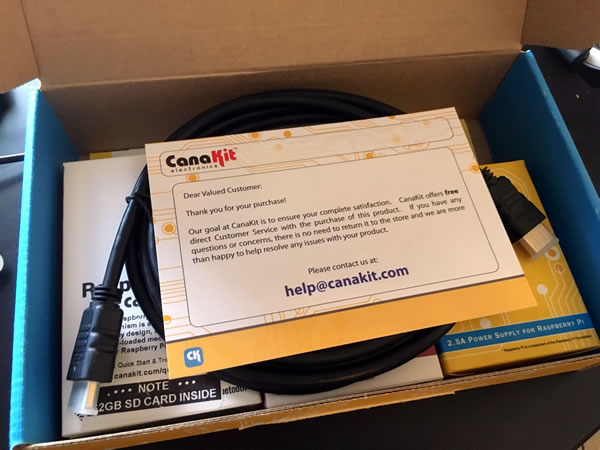
The first thing you should see is a greeting card that also provides an email address for assistance, should you need it. The other side of the card has a diagram explain what each of the GPIO interface pins on the Raspberry Pi 3 board is for.
Below the card was an HDMI cable:
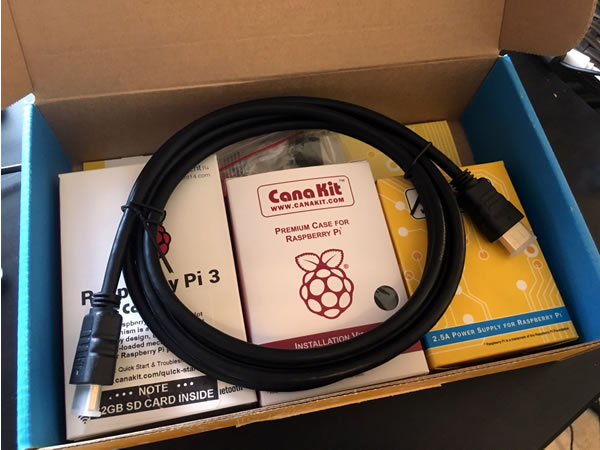
And below that were three boxes:
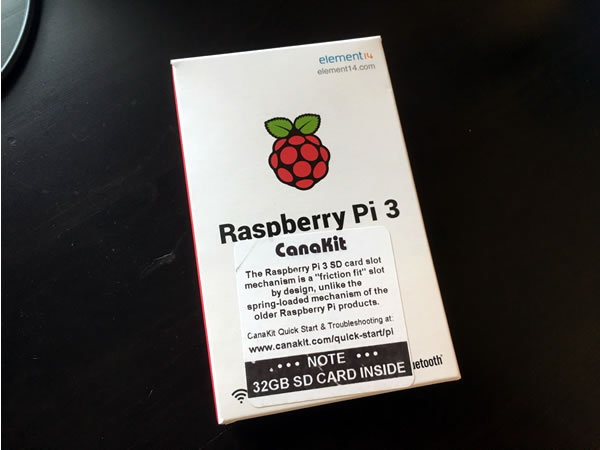
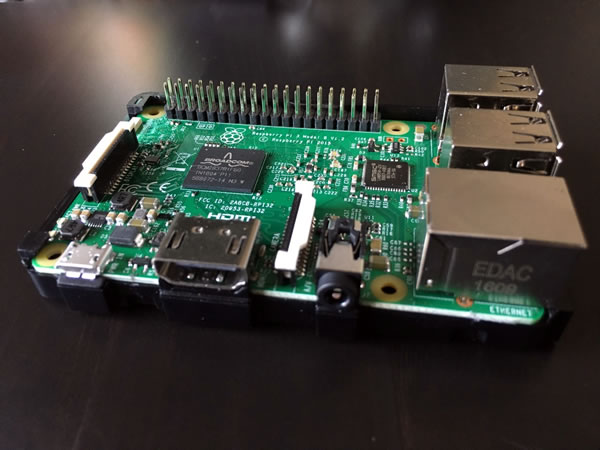
From largest to smallest, the three boxes contained the Raspberry Pi 3 board and SD card (which functions as its “hard drive”)…
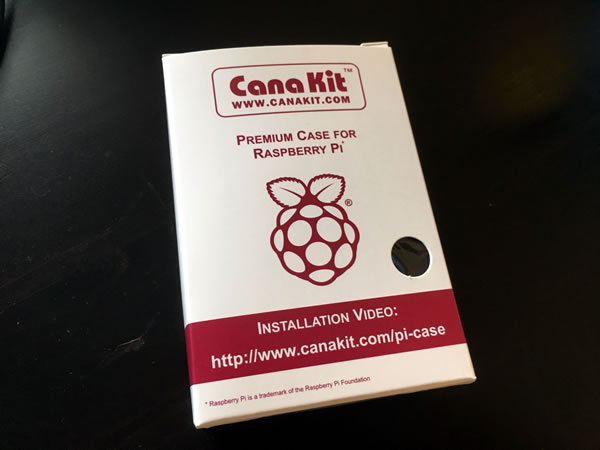
…a case for the board…
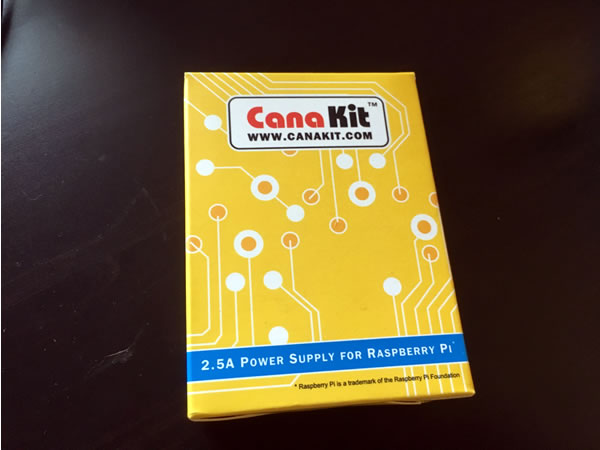
…and a power supply for the board:
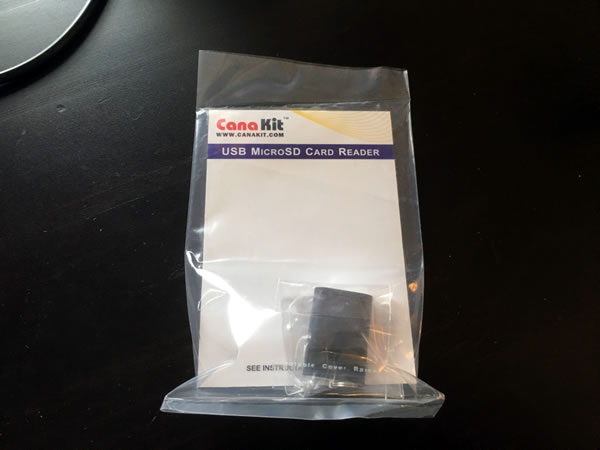
Below the boxes were these items:
One bag contained a USB microSD card reader. It allows you to use your regular computer to download updated or different versions of the Raspberry Pi OS or software and transfer them onto the microSD card:
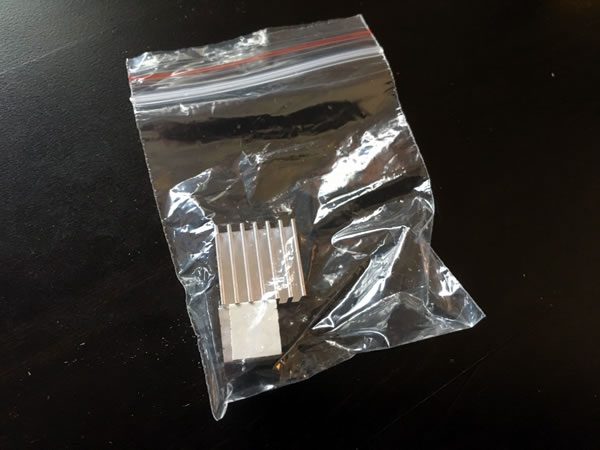
The other bag contained two heatsinks for its chips. They already have heatsink adhesive attacked to them; you just have to peel off the backing and stick them onto their respective chips:
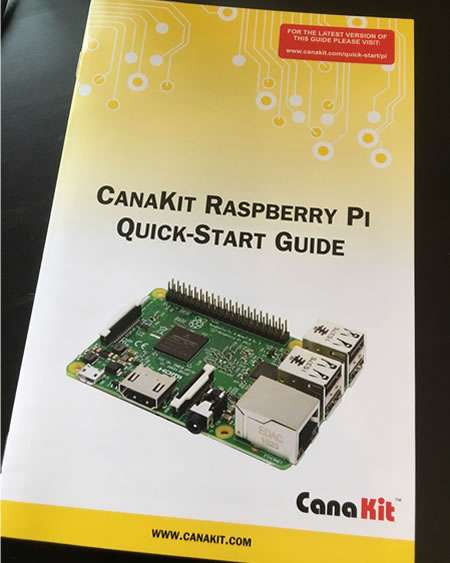
At the bottom of the box was the “quick start” guide:
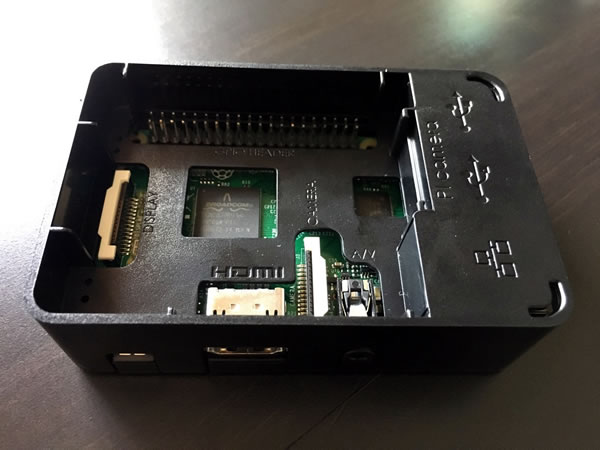
Here’s the board mounted in the lower tray portion of the case:
And here’s the board with the middle section of the case attached:
And here’s what the Pi looks like once the case is assembled:
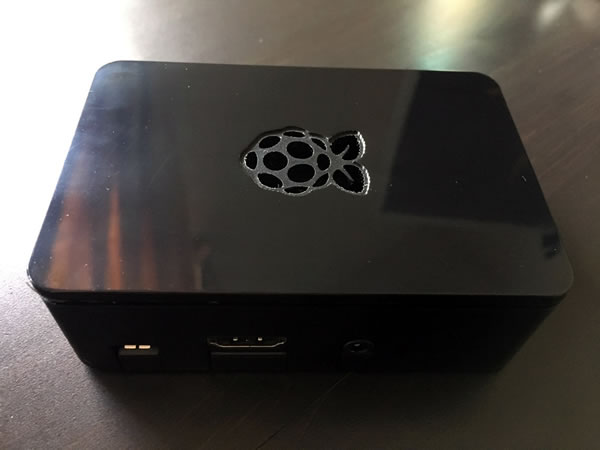
Assembling the case is pretty easy, as no tools are required. It simply snaps together.
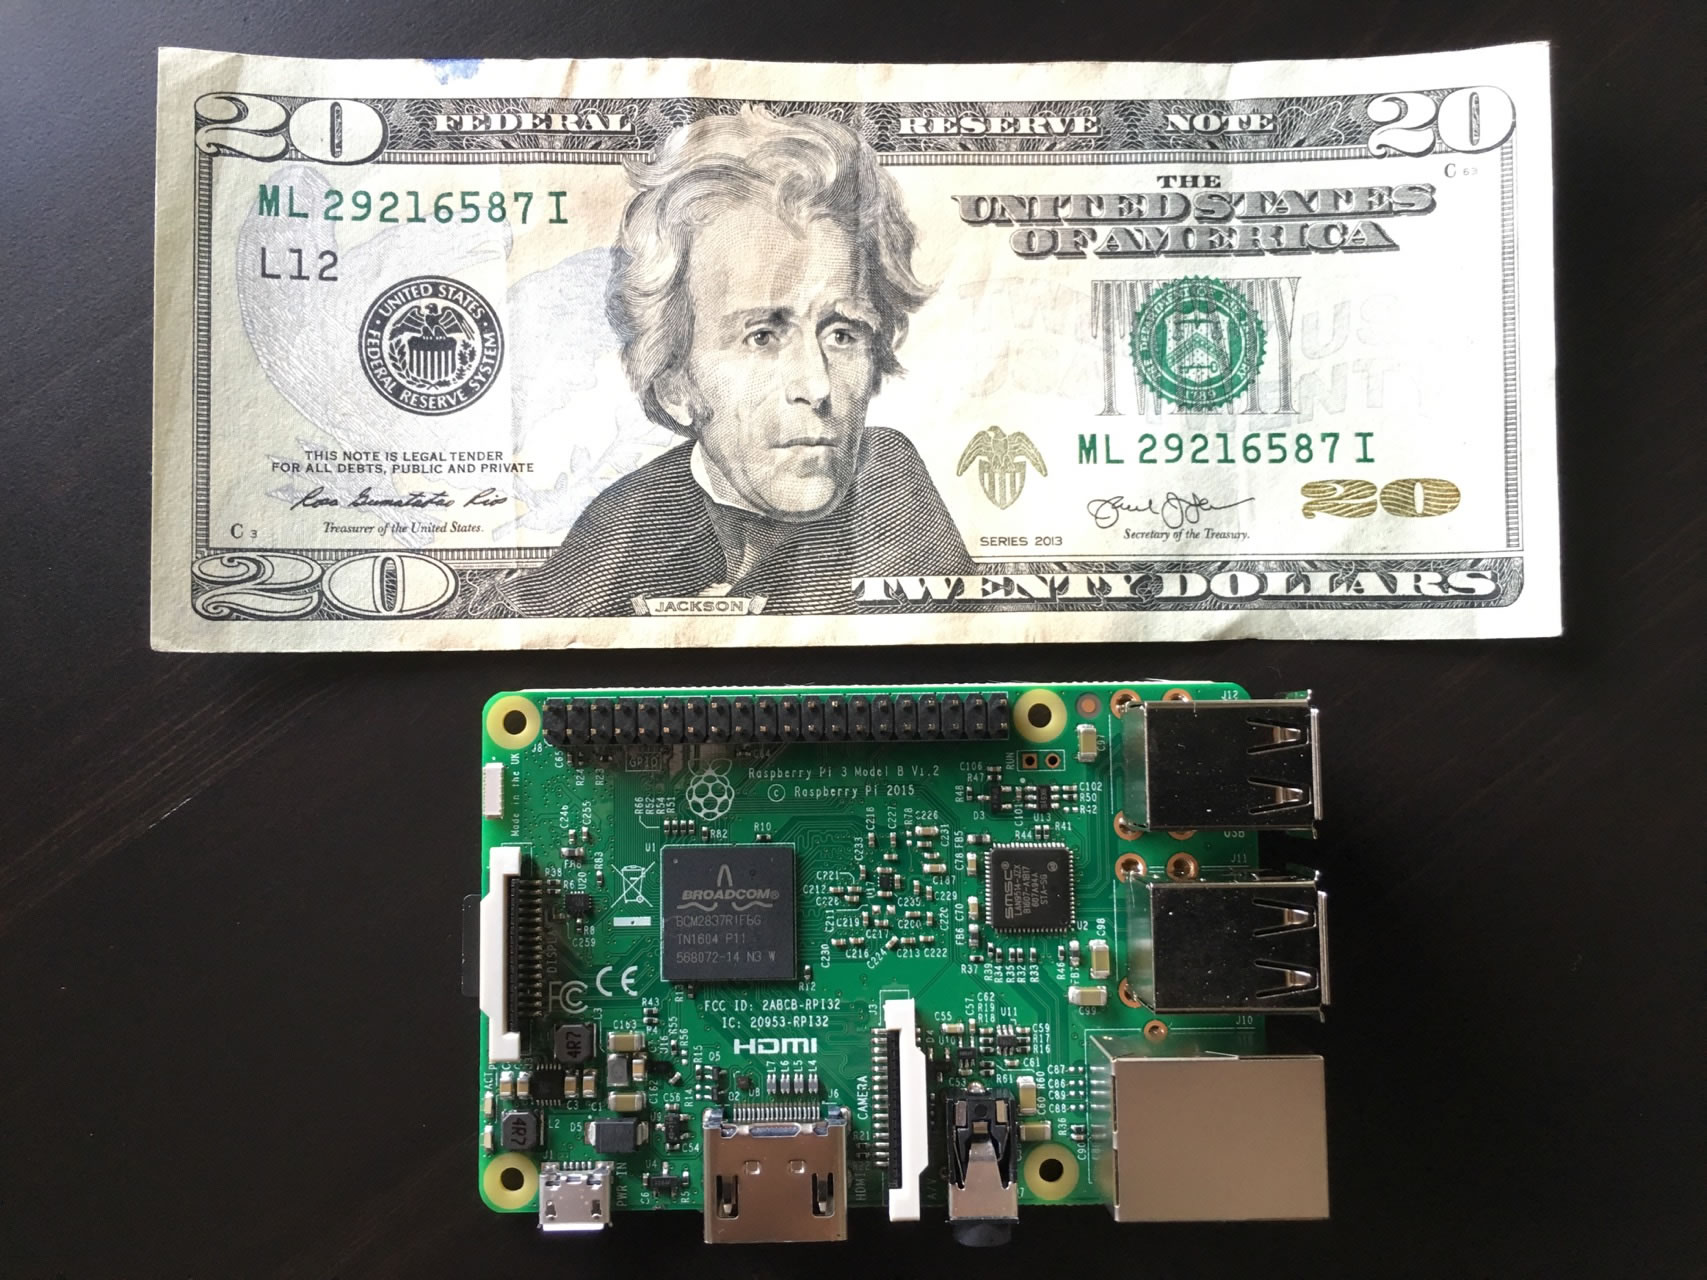
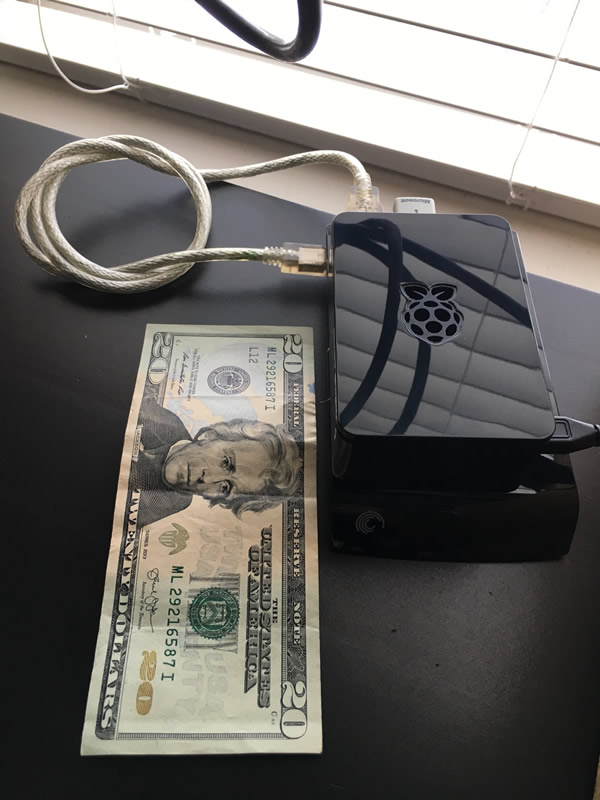
Here’s the case on my desk, placed beside a $20 bill for size comparison:
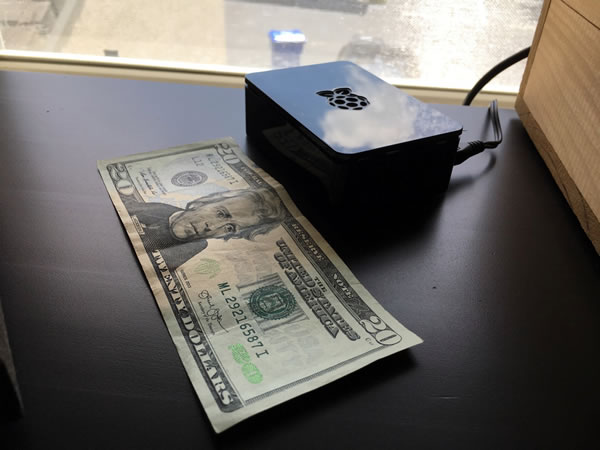
The Pi case is smaller than the hard drive that I connected to it (you can see it below the Pi):
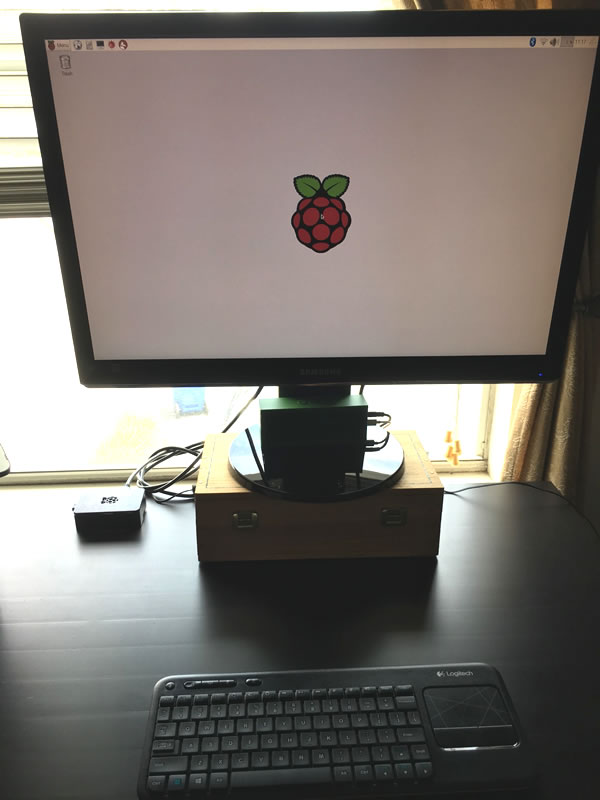
I decided to take the beginner route and start up the system using NOOBS, short for “New out of the box software”. It came pre-loaded onto the SD card that came with the board, and it installed Raspbian, the official supportedRaspberry Pi OS, and based on Debian. Once the OS is installed, here’s what you see when you boot up the Pi:

Once it finishes booting up, you’re taken to a GNOME desktop:
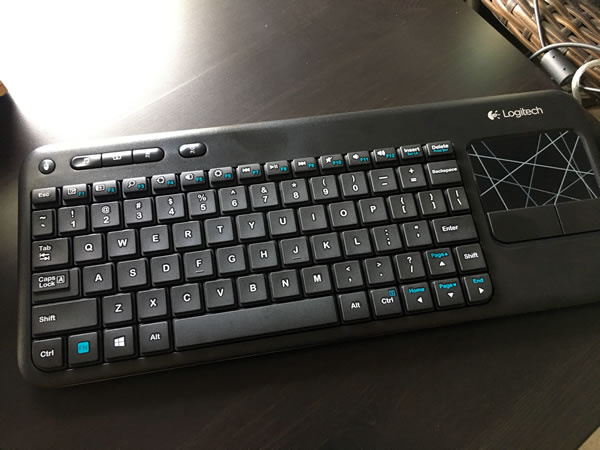
I used to have a stack of USB keyboards, but I’d given most of them away to friends and family, and my last couple are still back in Toronto. Figuring that I’d end up taking the Pi to meetups, BarCamps, and other demo sessions, or perhaps use it as a living room media center / internet device, I went with the Logitech K400 all-in-one keyboard, shown below. It’s currently on sale at Walmart for US$20:
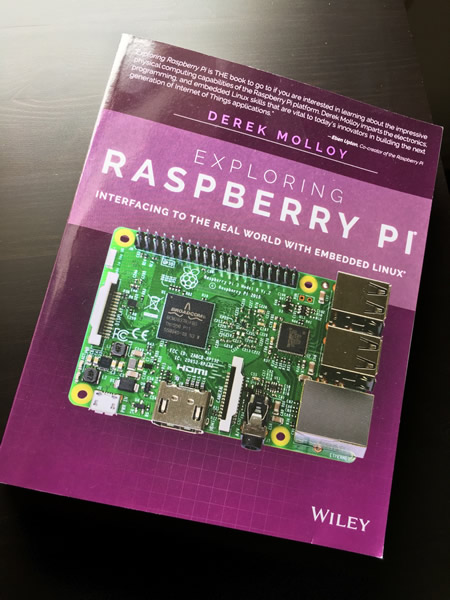
And thanks to Anastasia Sistevaris, an intern at Wiley, I got hooked up with a set of Raspberry Pi books, the first of which arrived recently: Exploring Raspberry Pi by Derek Molloy. I’ll do a writeup of this book in a later article:
Watch this space for more Raspberry Pi articles as I start noodling with my new toy!
2 replies on “Unboxing the CanaKit Raspberry Pi 3 Complete Starter Kit”
[…] Pi 4 as part of the cybersecurity course I took last summer, I haven’t done any work with my older Raspberry Pi 3, which is still a decent computer, especially considering its size and […]
[…] Pi 3 Model B: I’ve had this one for a while, performing all sorts of yeoman service tasks for me in the […]