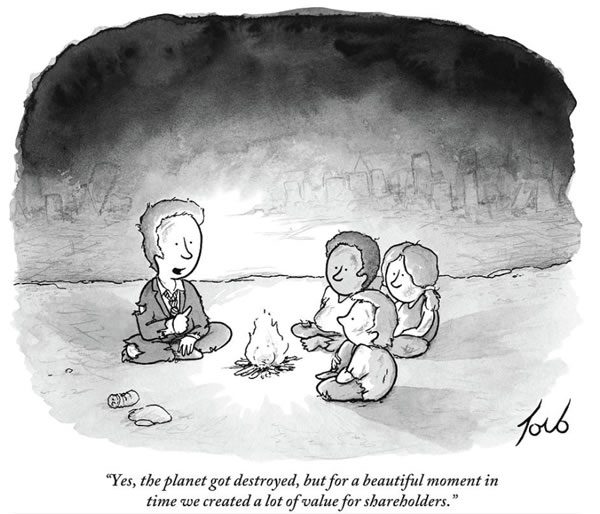
Lan Bui, who works at mobile marketing firm Leanplum, posted the photo above on LinkedIn, which I found through our mutual friend Analise Perry.It occurred to me that there’d be some people today who’d find it cryptic, and it would be a complete mystery to a reader from a mere ten years ago.
“Lit” has had a slang meaning for over a century, “AF” would make sense to someone from a decade ago once you expanded the acronym, and a designer from that time period might call refer to the little pictures of fire as “pictograms” rather than “emoji”.
Photo by Matthew Paulson. Click to see the source.
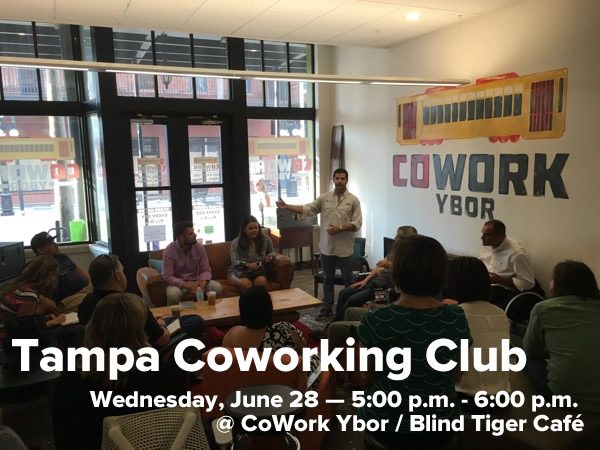
Every week, I compile a list of events for developers, technologists, and tech entrepreneurs in and around the Tampa Bay area. We’ve got a lot of events going on this week, and here they are!
The cool girl in tech plays ping pong, drinks beer at work, is “one of the guys”, participates in inappropriate slack .gif threads, says things like “she’s overreacting”, “I don’t consider myself a feminist, I just work hard”, “I’ve never experienced discrimination at work”. The cool girl doesn’t call out sexist remarks, she laughs at your ‘jokes’, she defends you to other women, and helps silence them. The cool girl is ‘one of the boys’.
The cool tech girl is a toxic myth, she helps men feel safe in their sexism. She enables the persistent and perpetual gender discrimination in our field. She’s hurting you, and me, and she needs to fuck right off already.
Congrats, Alexia: you’re a cool tech girl!
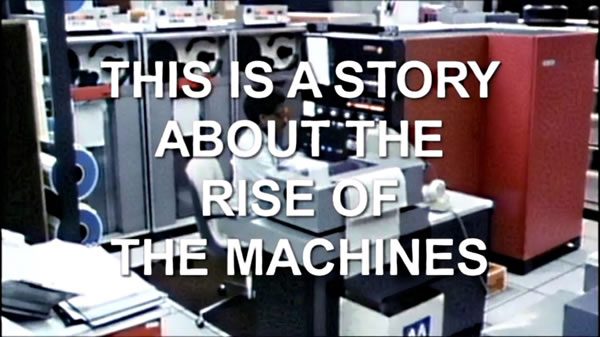
Bill Gurley plays Smithers to Kalanick’s Mr. Burns
There will be many pages in the history books devoted to @travisk – very few entrepreneurs have had such a lasting impact on the world.
Note to Gurley: Dude, in the final analysis, he created an app that combined crowdsourcing, taxi services, and 21st century serfdom. This sort of hyperbolic praise reminds me of the “making the world a better place” bit from the finale of Silicon Valley’s first season:
For a longer look at where this inflation-of-importance mindset in the Valley comes from, check out part one of the BBC documentary All Watched Over by Machines of Loving Grace, whose thesis is that computers have failed to liberate humanity, and instead have “distorted and simplified our view of the world around us”.
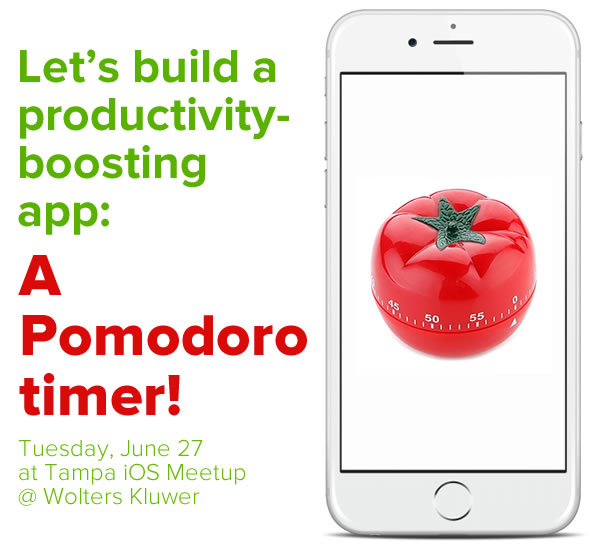
If you’ve always wanted to learn how to write mobile apps, but never knew how to get started, you should join Tampa iOS Meetup! It’s a beginner-friendly gathering of people who are either new to programming or new to iOS development that learns it by building an app at a time.
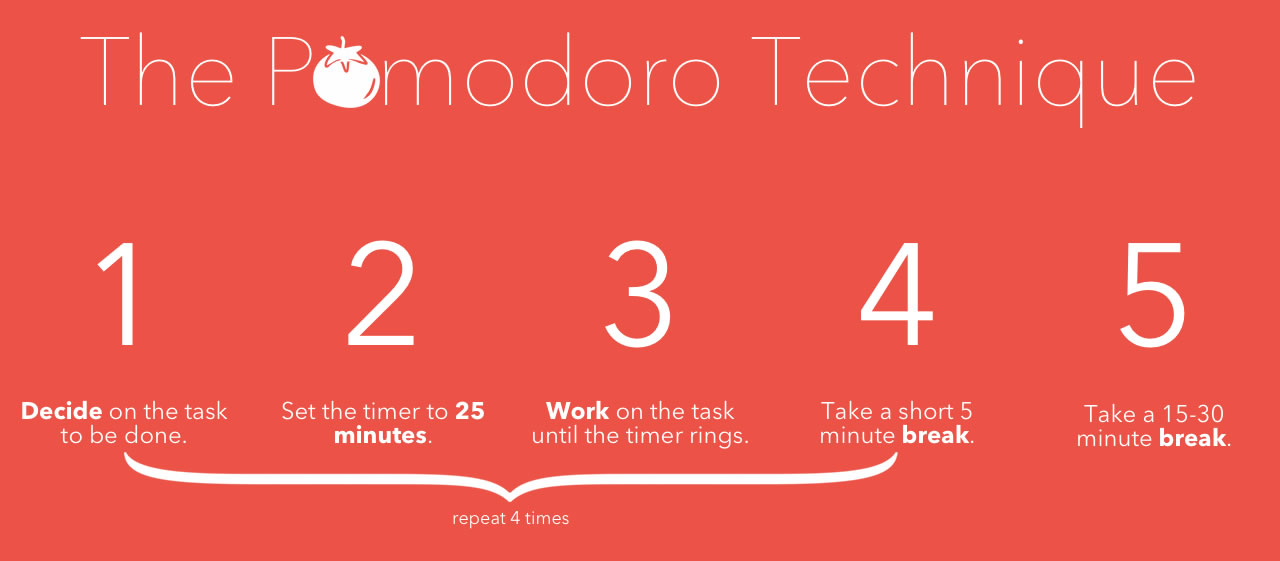
Pomodoro is the Italian word for “tomato” and refers to the tomato-shaped kitchen timer that the technique’s inventor, Francesco Cirillo, used in developing the technique. The technique itself is pretty simple:
Pick a task that you want to tackle.
Set a timer for 25 minutes. Because Cirillo used a tomato-shaped kitchen timer, he called this 25-minute interval a “pomodoro”.
Work on the task — and nothing but that task — until the timer rings.
After the timer rings, put a checkmark on a piece of paper.
If you have fewer than four checkmarks, take a five-minute break, then start another pomodoro.
If you have four checkmarks, take a longer break — typically 15 to 30 minutes — and reset your checkmark count back to zero. Then start a new pomodoro.
By breaking a large task or series of tasks into short, focused intervals, the Pomodoro Technique aims to have your brain to work in short sprints — which it’s evolved to do — and take regular breaks to help it recharge. The intended result is to ensure consistent productivity, motivation, and creativity.
Want to know more about the Pomodoro technique? Check out this video…
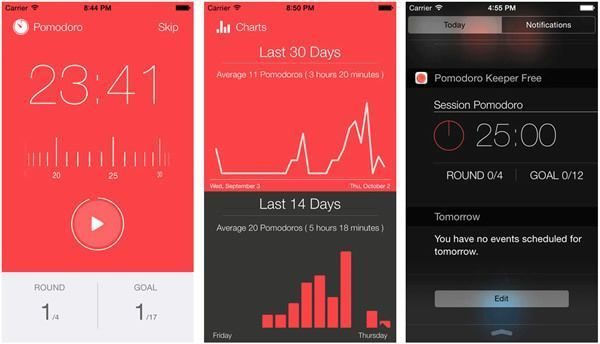
There are a number of Pomodoro apps out there, such Focus Keeper (pictured above). In this meetup, we’ll build one that you can then expand upon and maybe even put in the store!
You’ll learn how to:
Write code that is automatically at regularly-timed intervals
Get user input in the user-friendliest and appropriate way
Use sound and animations to make a polished-looking app
What will you need to bring?
If you’ve got a MacBook, you’ll want to bring it (make sure you’ve installed Xcode), because we’re going to code this app during the session! I’ll set you up with a starter project, and then write the actual code that powers it. By the end of the session, you’ll be able to write your own Pomodoro productivity app and tweak it to make it your very own.
(And yes, you can still come if you don’t bring a Mac laptop.)
Will there be food?
Yes! In addition to providing us with the space, the fine people at Wolters Kluwer (and their doubly-fine representative, John Wang) will provide food and drink for free. The food varies; sometimes it’s pizza, sometimes it’s pasta, sometimes it’s sandwiches. There’s usually a vegetarian option.
Let’s give Wolters Kluwer a golf clap for making the meetup possible!
When, where, and how do you register?
When: Tuesday, June 27, 2017, from 6:30 to 8:30 p.m.
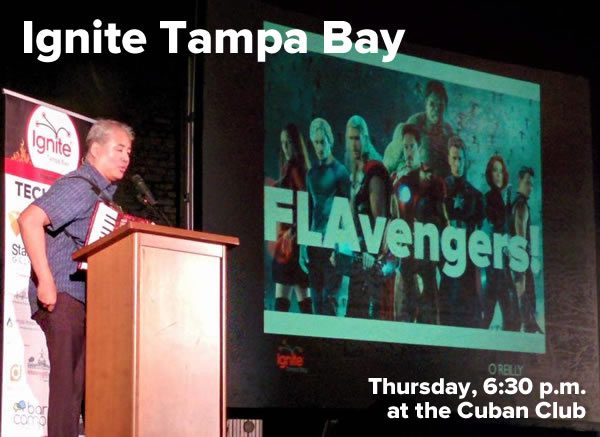
Every week, I compile a list of events for developers, technologists, and tech entrepreneurs in and around the Tampa Bay area. We’ve got a lot of events going on this week, and here they are!