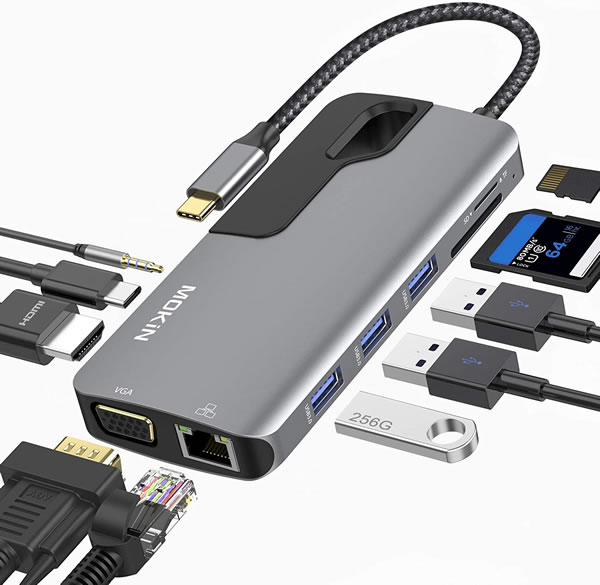
I recently got a Mokin 10-in-1 USB-C dongle for use with my work computer, a 2019 16″ MacBook Pro, whose only connectors are 4 Thunderbolt/USB-C ports and a 3.5 mm audio jack.
The dongle worked like a charm out of the box with the notable exception of one part: The Ethernet port. I had a pretty good guess why this was happening and how to fix it.
TL;DR: You need a driver — here it is!
Here’s the installer for version 1.0.22 of the macOS driver, which works for macOS 10.9 through 10.15. Unzip it, run it, and then go to the section titled Step 4 below.
The longer explanation
The problem and the plan
Most dongle vendors are integrators. They may manufacture the cases and simpler electronics, but they purchase lot (or all of) the fancier tech from manufacturers, such as networking chips.
Here’s a pic showing a Mokin dongle and its internals:
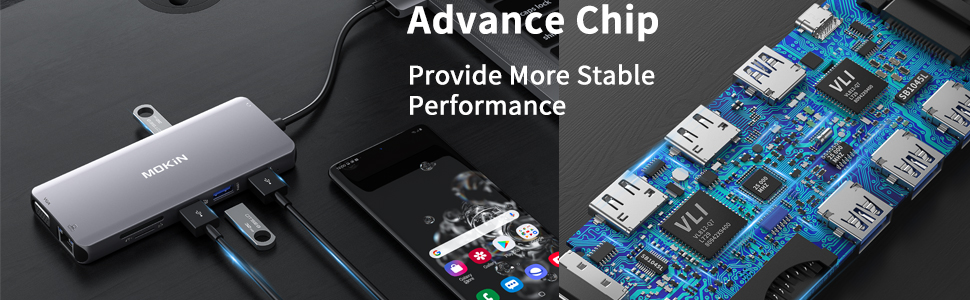
My plan was to find the manufacturer of the networking chip inside my dongle, then find their webpage, then hopefully find a driver.
Here’s what I did.
Step 1: Identify the vendor
With the dongle plugged into my MacBook, I opened the Apple menu and selected About This Mac. This window appeared:
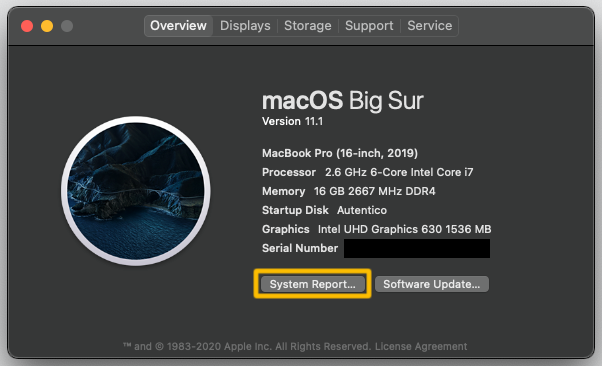
I clicked the System Report… button, which opened the System Report window:
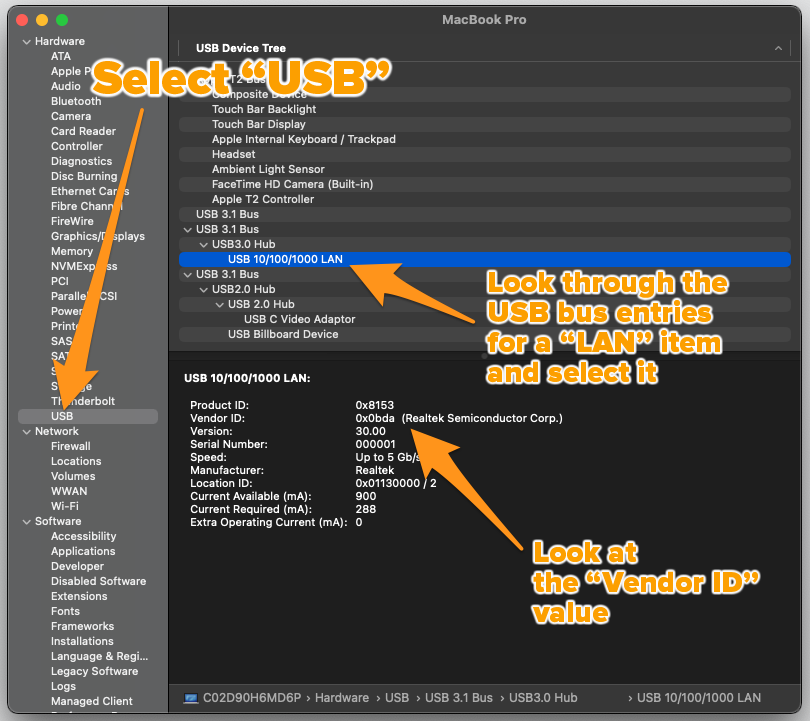
This window provides a run-down of the hardware, software, and networking on your Mac. Its Hardware list provides information about the hardware in and attached to the computer. A lot of peripherals have information such as vendor IDs encoded to them, and you can use System Report to find it.
I expanded the Hardware menu and selected the USB item. The USB Device Tree list appeared in the window’s right pane.
I then went through the USB 3.1 Bus entries in the USB Device Tree list in search of an entry containing the word LAN. Once I found that entry, I clicked on it, which then caused its details to appear in the lower part of the right pane.
I found the information that I needed: the Vendor ID, and better still, an actual vendor name: Realtek.

This shouldn’t have been a surprise: Realtek, a chip manufacturer in Taiwan, has had the majority share of the ethernet controller market since the early 2000s. They also have a good chunk of the sound chip market, so I’m no stranger to their drivers or their distinctive “crab” logo.
Step 2: Search for the vendor’s site, and in particular, the page containing the driver you need
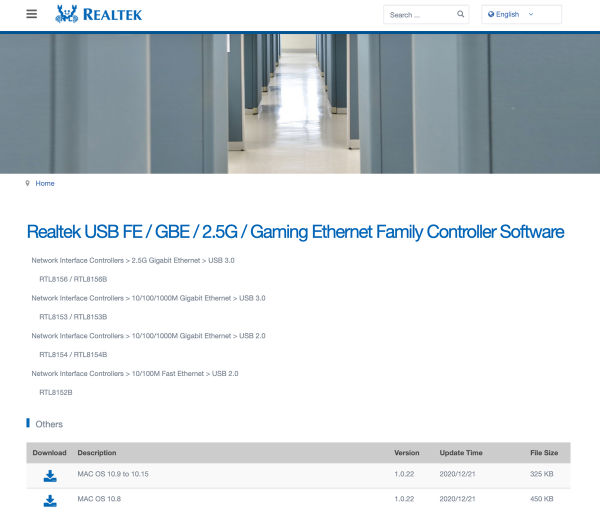
Now that I had a vendor name, I did a search with using the search term realtek lan 10/100/1000 driver mac. This was my first result:
What if you don’t have a vendor name, but just a vendor ID number?
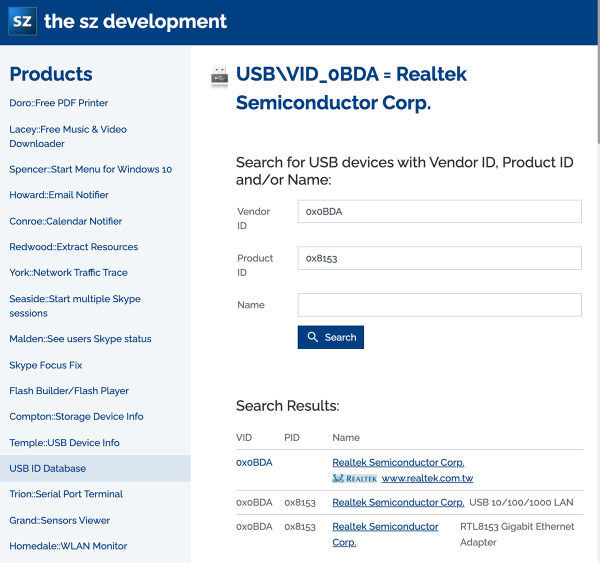
In the case where you just have a vendor ID number and no name, you should consult a USB ID database, such as the one at The SZ Development:
I decided to see if I could find the driver using this route.
I entered the vendor ID reported by my Mac, 0x0BDA, in the Vendor ID field and the reported product ID, 0x8153, in the Product ID field. I clicked Search and got these results:
- USB 10/100/1000 LAN
- RTL8153 Gigabit Ethernet Adapter
The links that the site provides aren’t all that useful. You’ll get much farther if you simply include the result text with the words driver and mac as your search term.
Doing that took me to the same page as the previous method:
Step 3: Install the driver
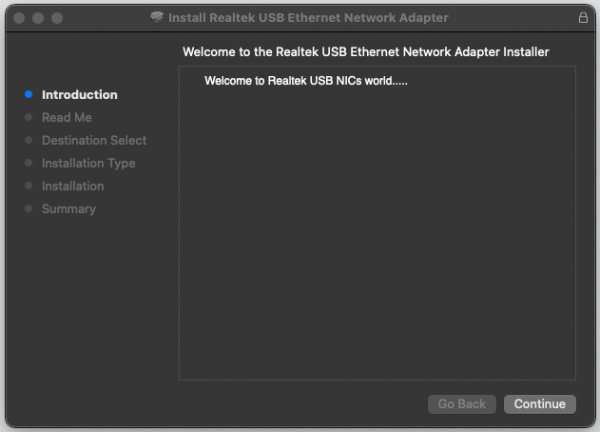
From the Realtek page I found, I downloaded the installer that applied to me and ran it. It worked without a problem.
(They would be well-served by a team that could do a half-decent job localizing the language on their installer.)
Step 4: Enable wired networking
With the driver installed, it’s time to make wired networking happen!

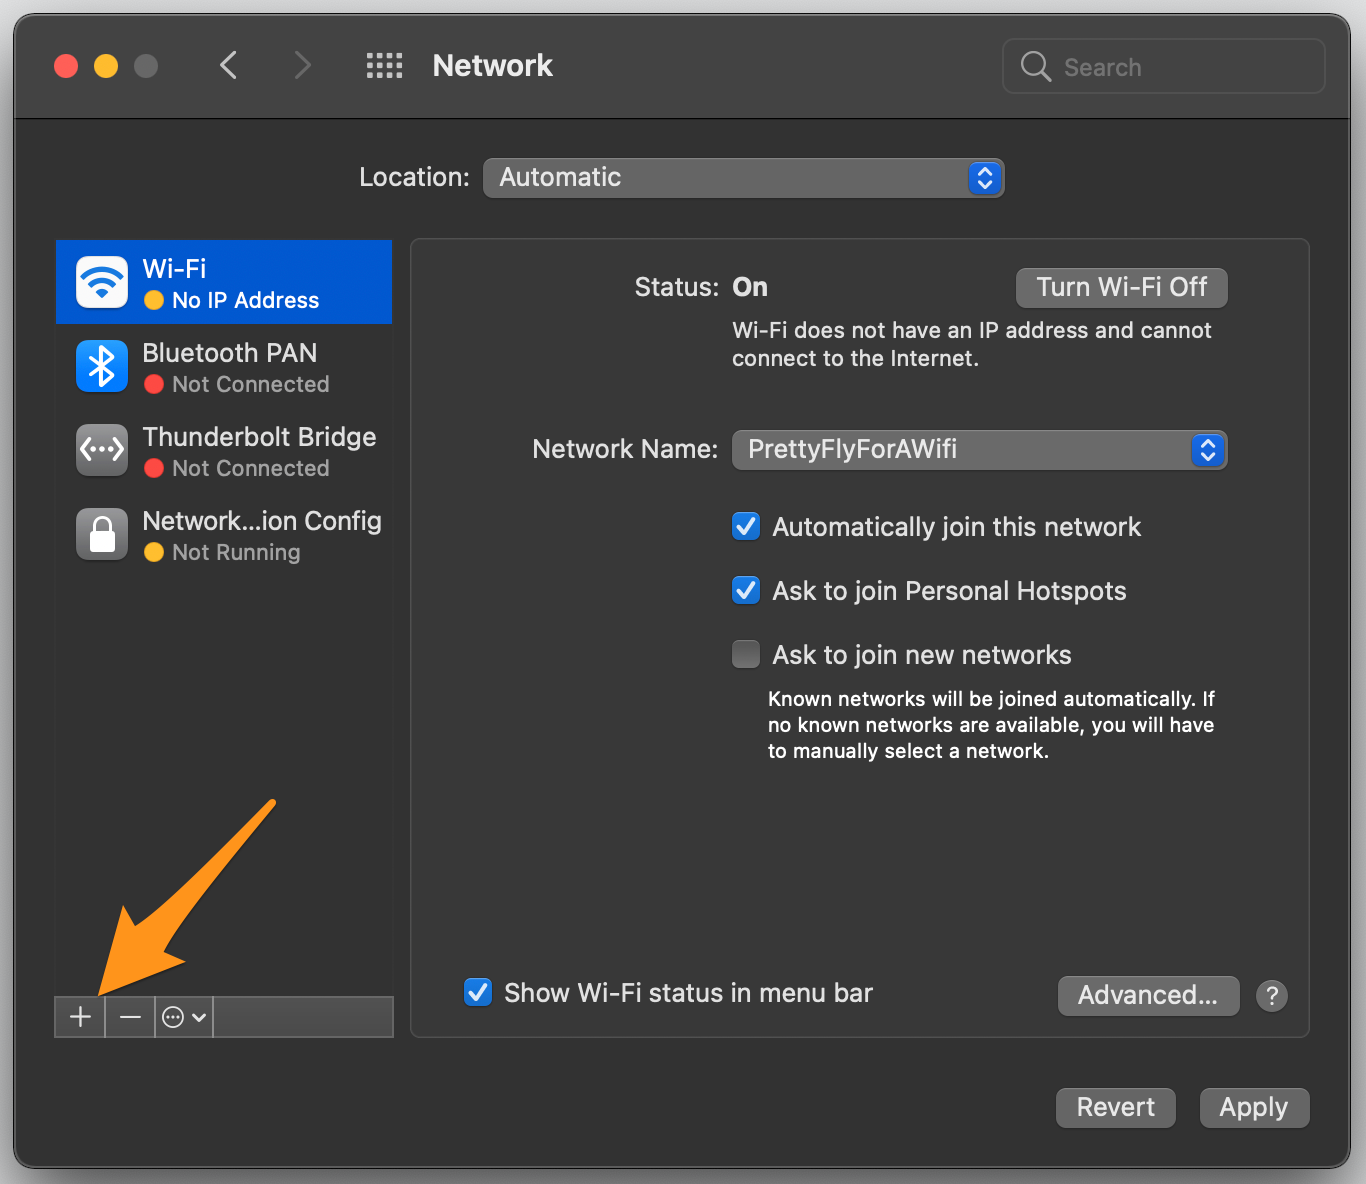
Open System Preferences. To add wired networking, you’ll need to add a new networking service, which you do by clicking the + button at the bottom of the menu on the left side of the window:
You’ll be asked to select the interface and provide a name for the new networking service. Select USB 10/100/1000 LAN from the Interface menu, and enter whatever you like for in the Service Name field. I entered “Wired” for mine:
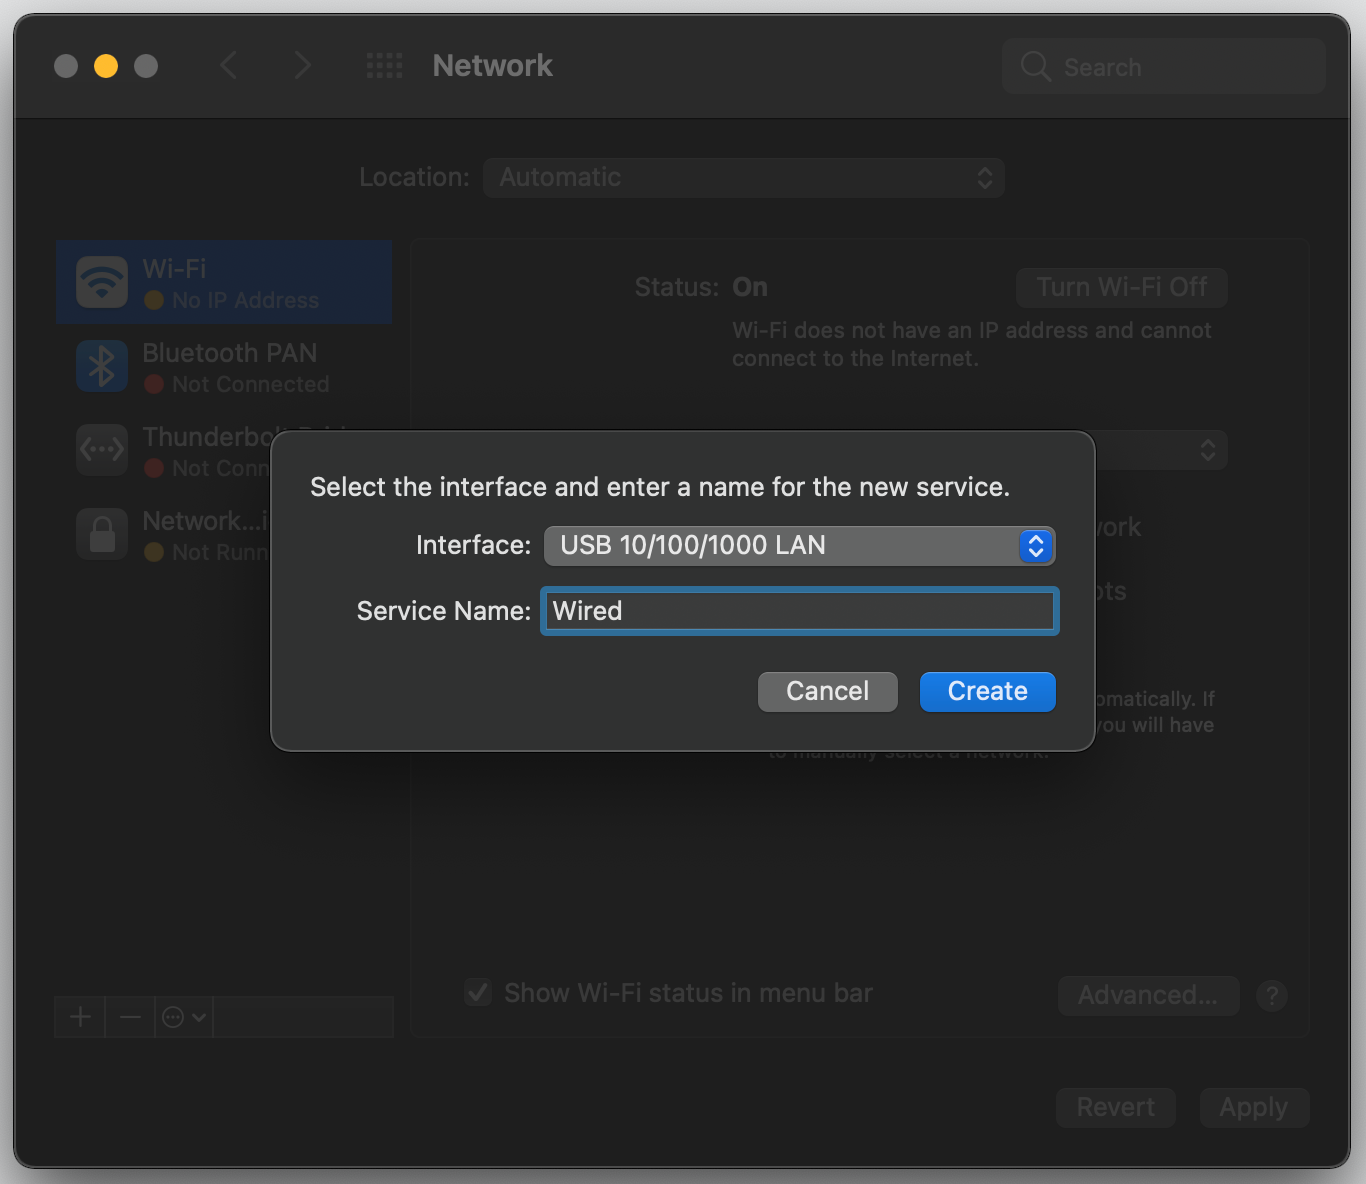
I clicked the Create button, which created the service and dismissed the dialog box. The new service, named Wired, appeared in the menu on the left side, with Not Connected as its subtitle.
I clicked the Apply button…

…and the Wired service went from Not Connected to Connected:
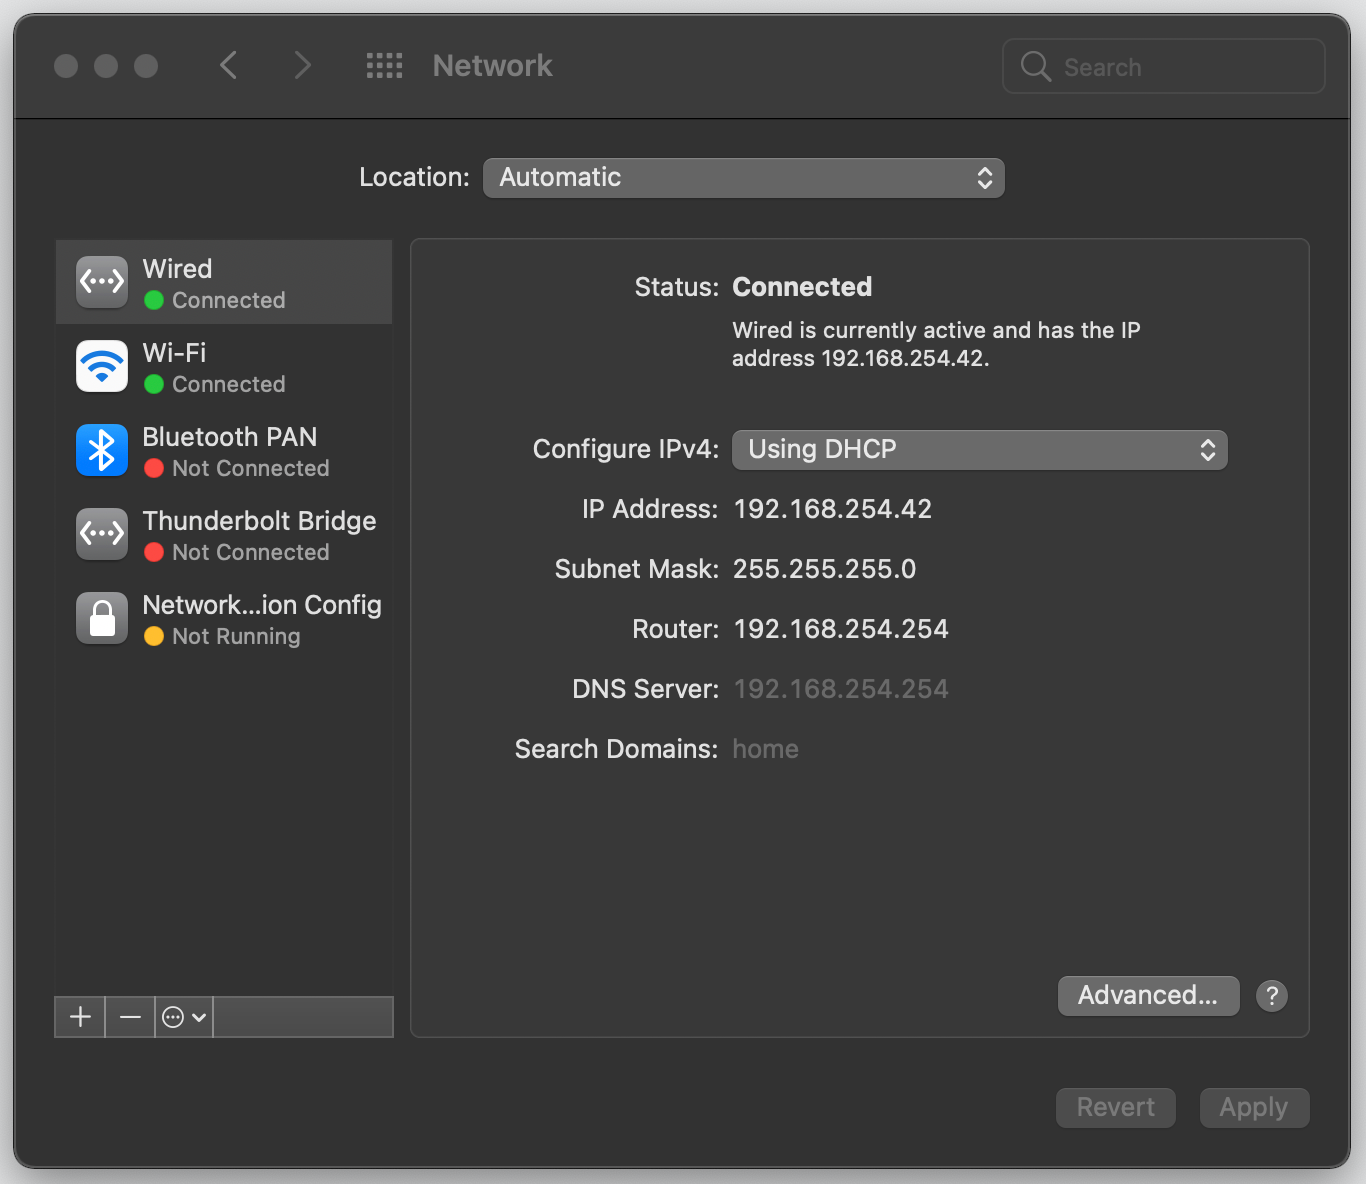
Success!
Now it was time to test the connection. I shut off wifi and ran Speedtest.net on my wired connection. The results shown below are for my work computer, which uses a VPN that I need to always keep on (or there will be. consequences):
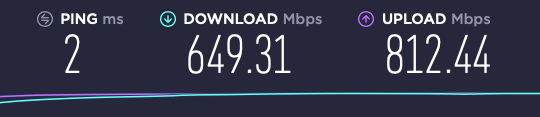
That’s a good deal faster than I get on wireless, and I’m sure I’ll get better speeds on my personal computer when it’s not on a VPN.