
Wednesday: Day 3 continued the heavy hands-on portion of Hardware 101, the first segment of my five weeks at UC Baseline, the cybersecurity training program offered by Tampa Bay’s security guild, The Undercroft.
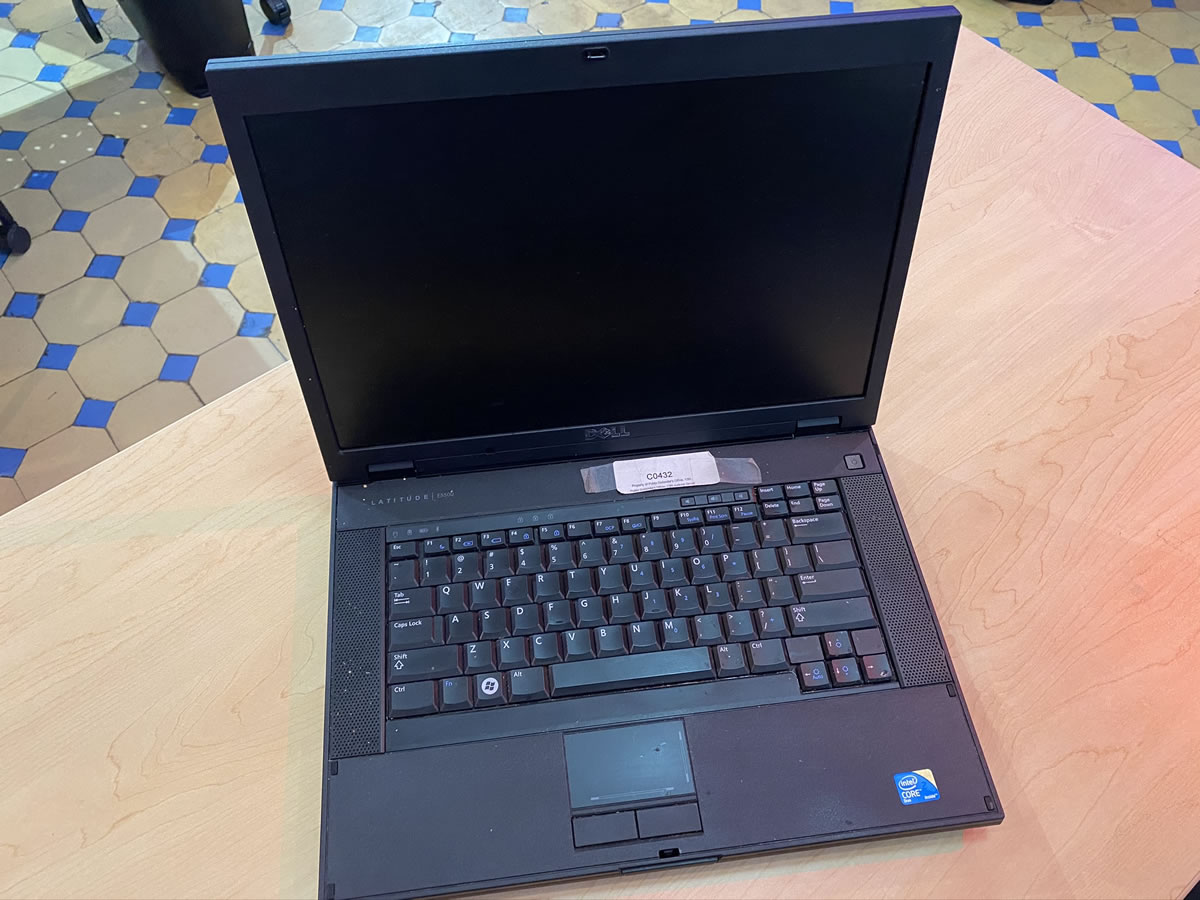
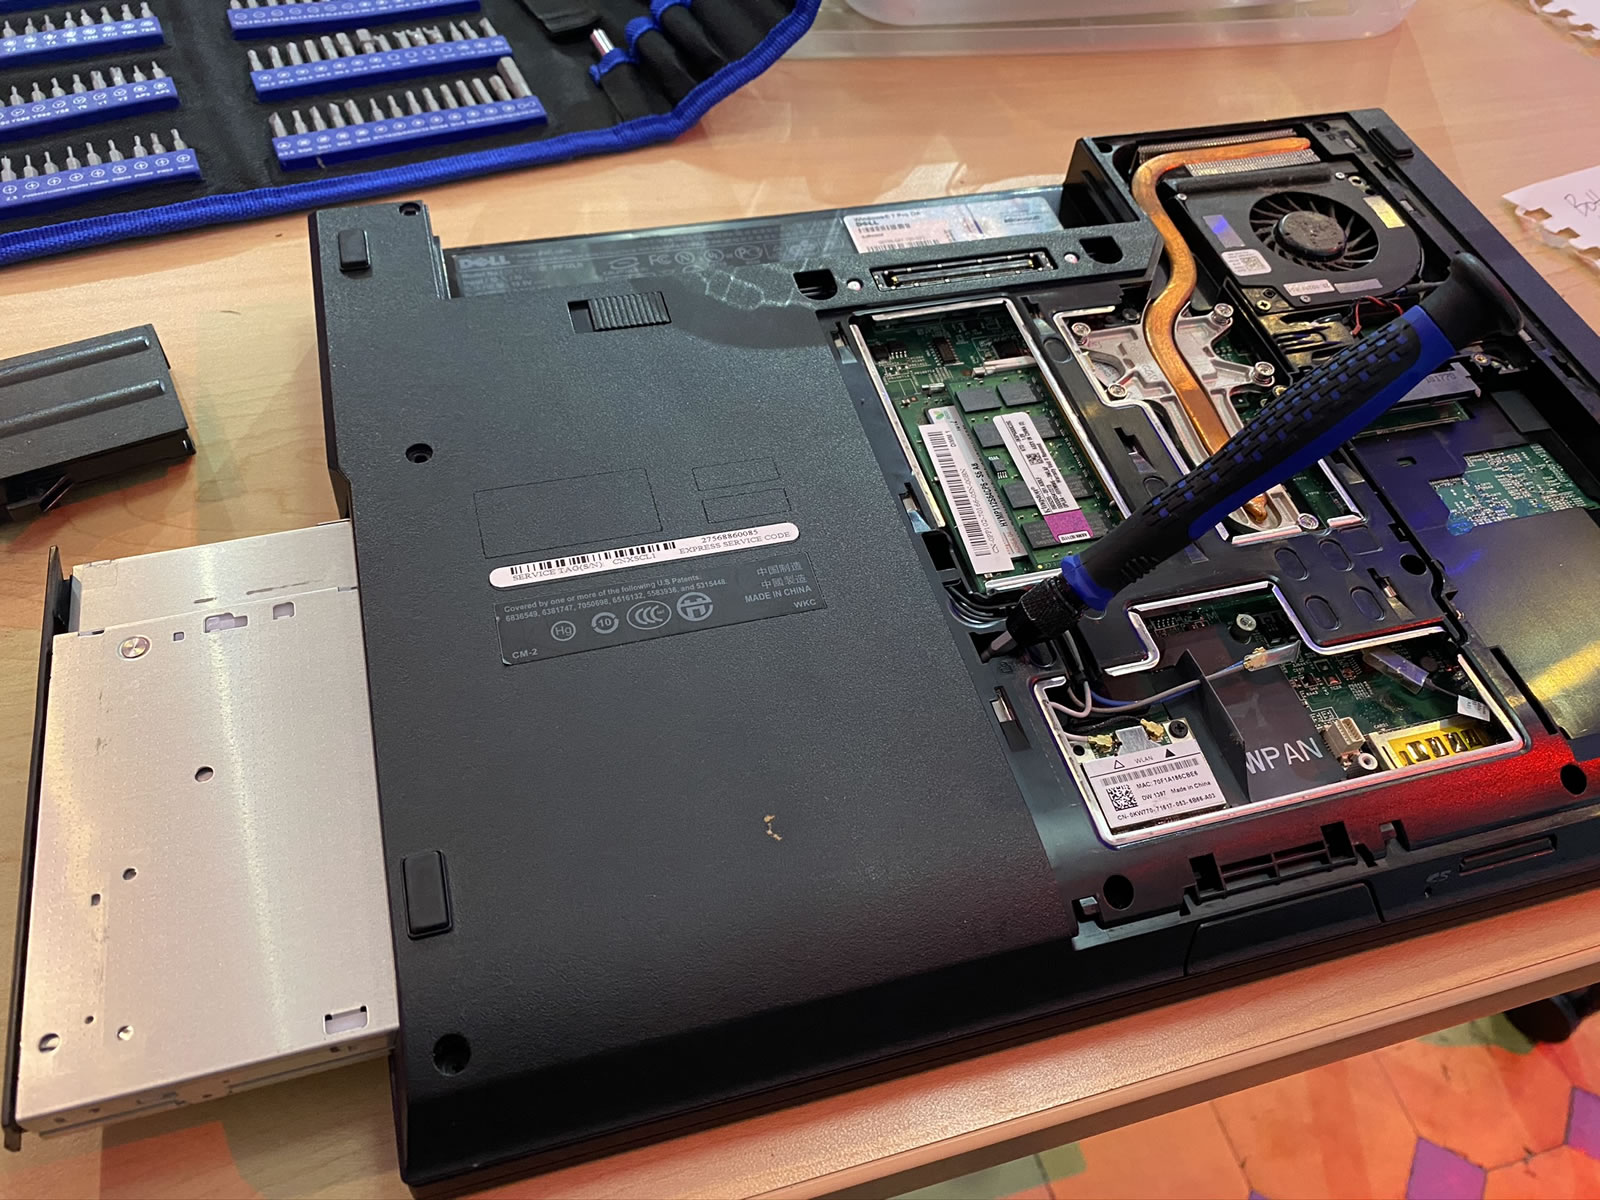
After taking apart and reassembling a desktop, it was time to up the ante and do the same with at least one laptop. I started with a Dell Latitude E5500, a bulky beast by today’s laptop standards, but one that’s more user-serviceable — and more easily taken apart — than most.
First step: Removing the battery.

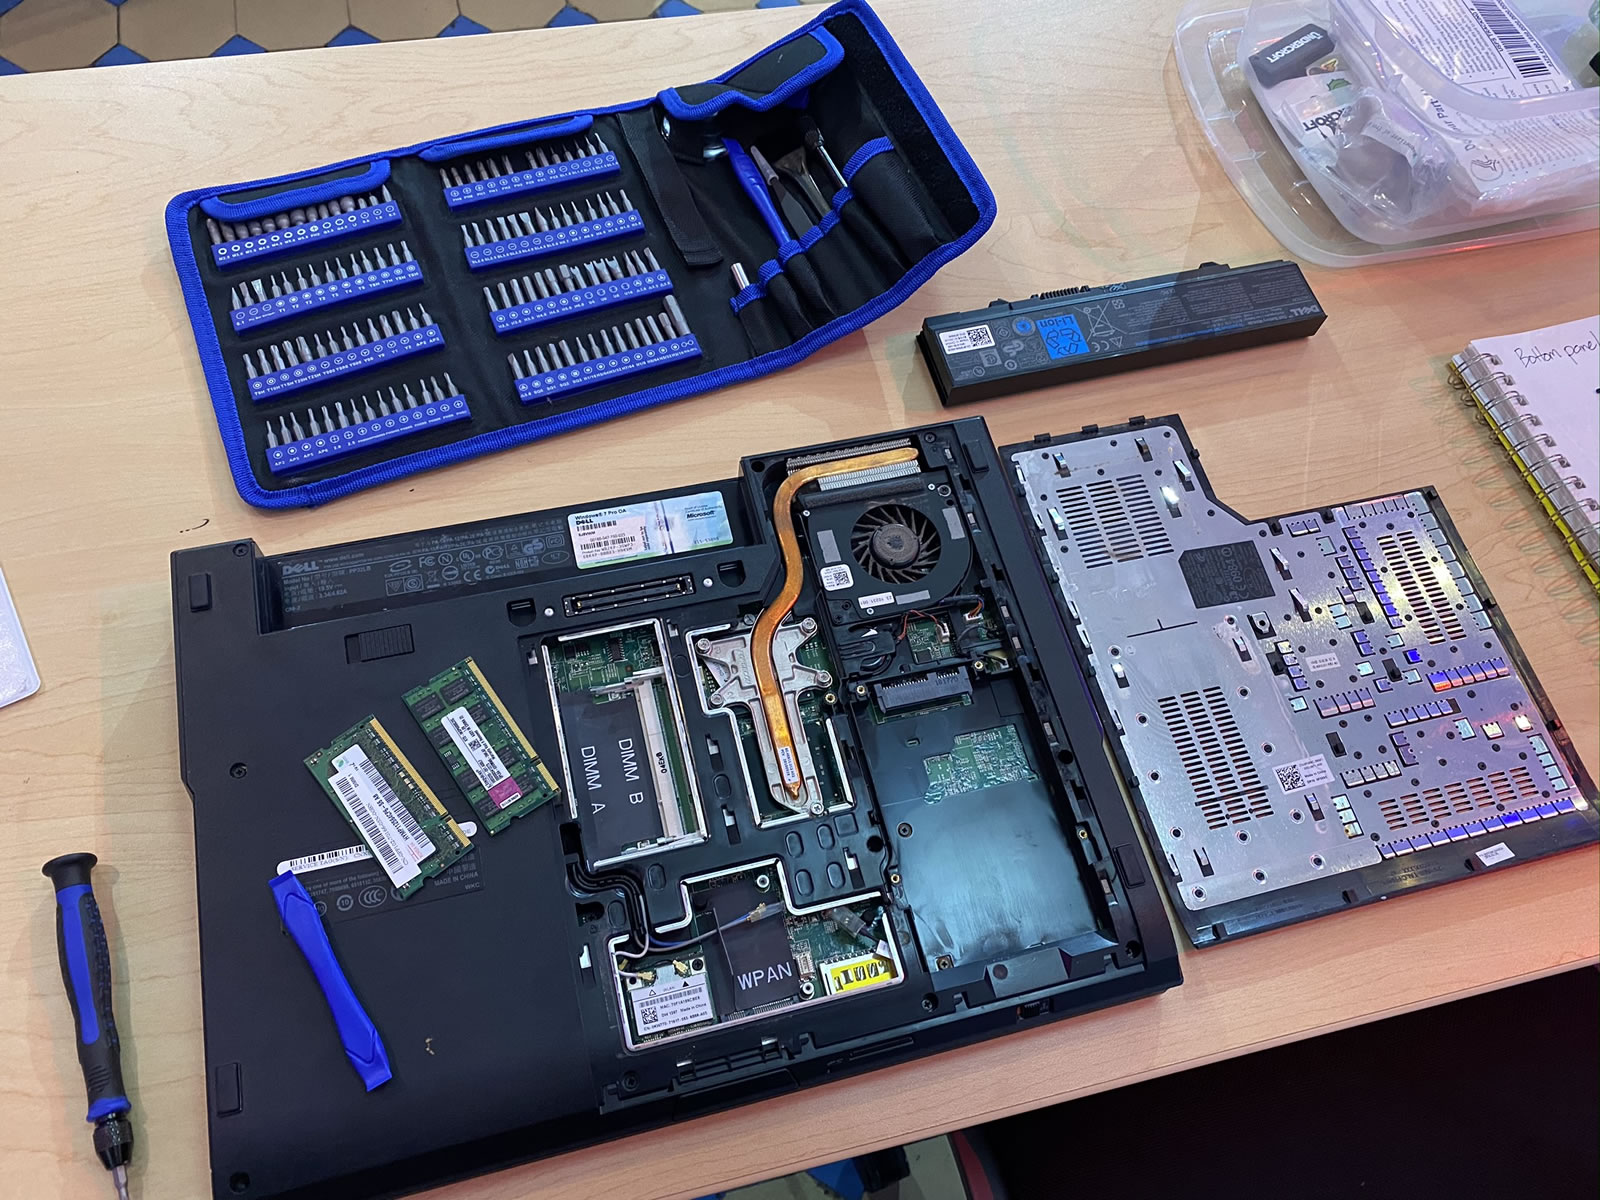
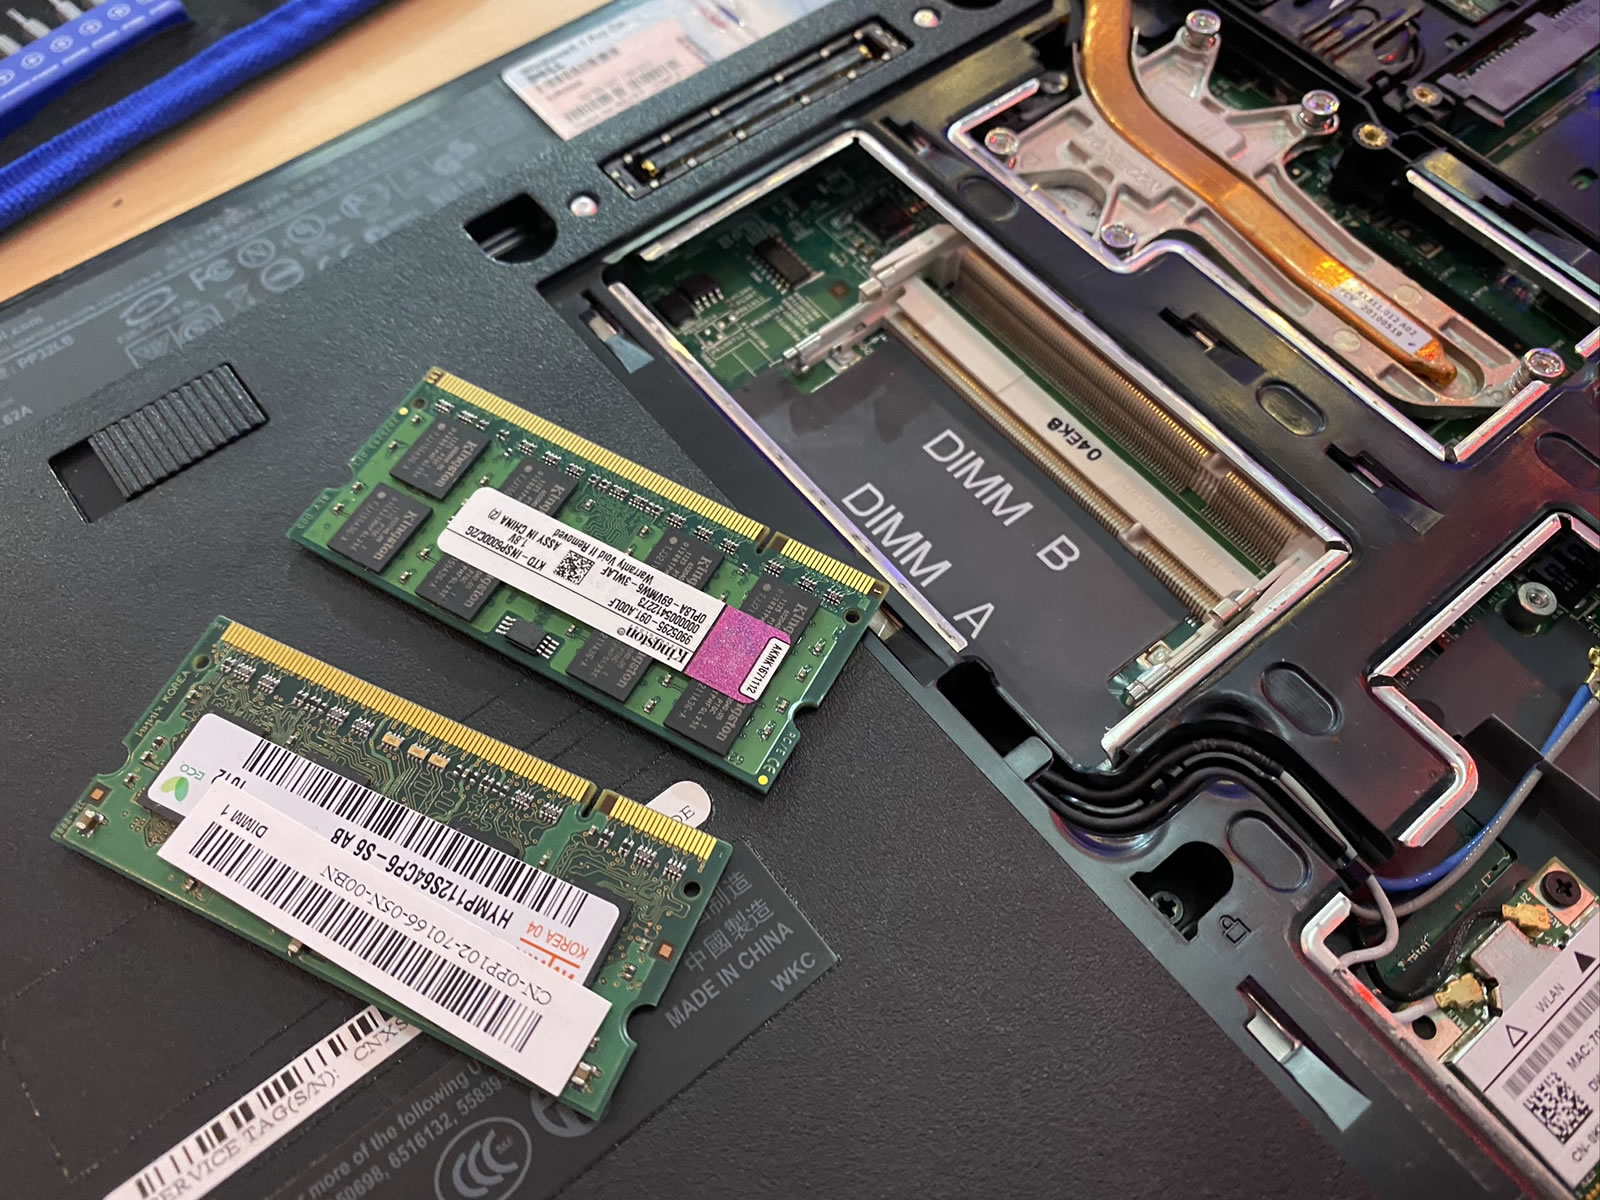
The bottom panel was easy to pop open. It was held in place by nothing fancier than standard Phillips screws, which provided easy access to the RAM.
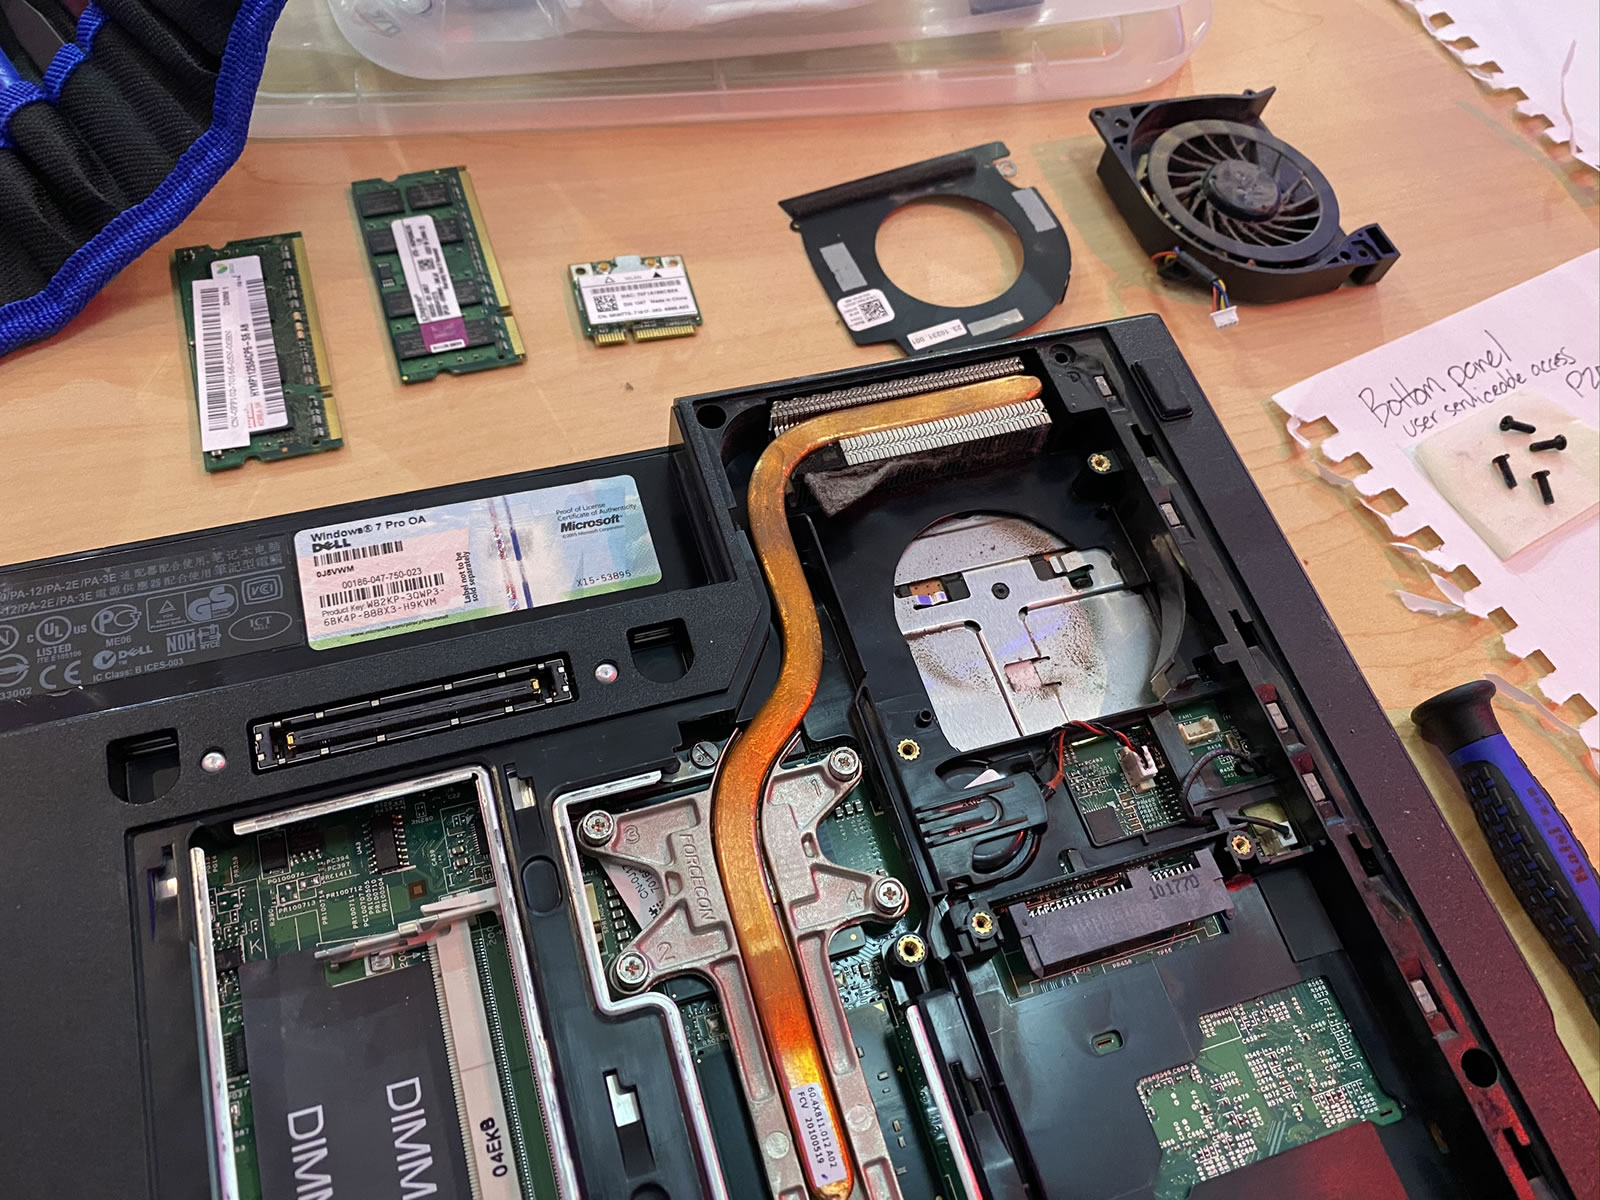
Next on the removal list: The optical drive. Once again, pretty straightforward — remove some anchoring screws, and then use a flathead screwdriver tip to push the the drive casing out.
The fan was quite easy to remove, as was the CPU heat sink.
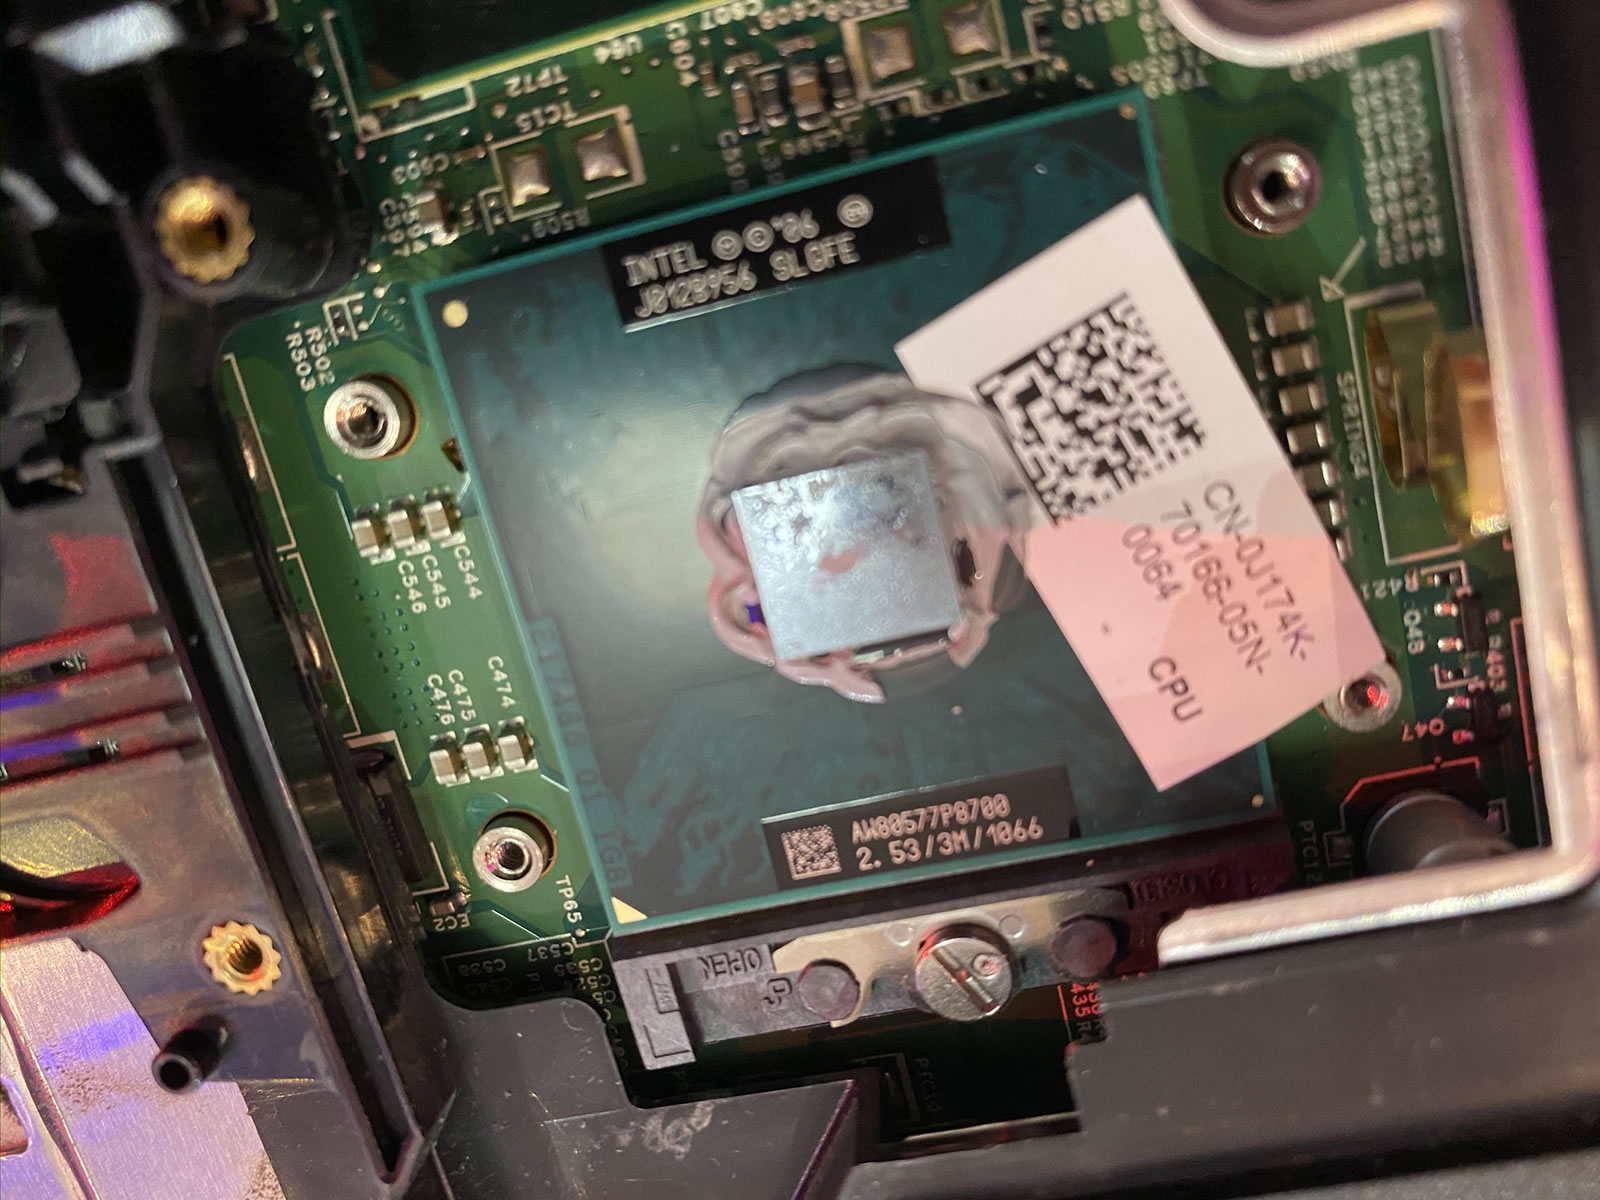
Unlike the previous day’s desktop machines’ CPUs, which were in ZIF (zero insertion force) slots, laptop CPUs aren’t typically swappable, as they’re generally soldered onto the motherboard. This machine had a notebook-grade Core 2 Duo, which was typical for a mid-level laptop in the Windows 7 era.
It was also pretty easy to remove the keyboard…

…and once that was done, detaching the screen was a simple process.
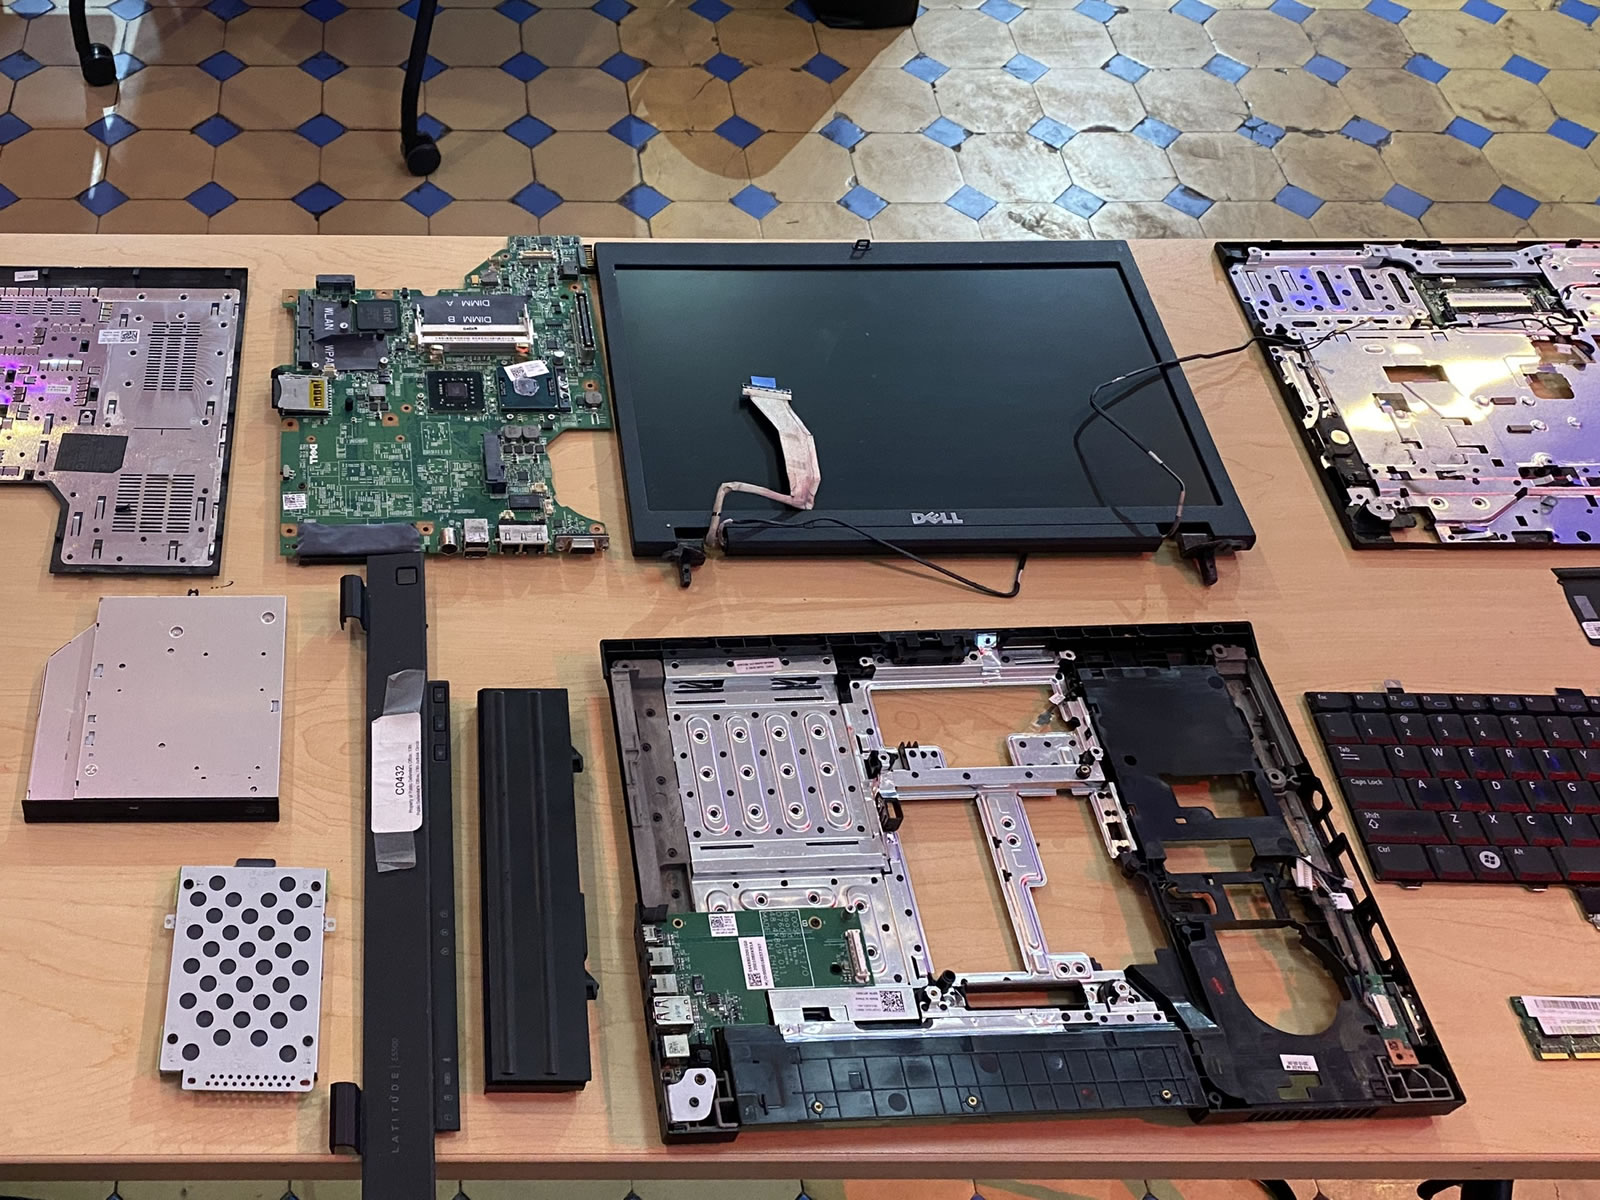
With the disassembly complete, I laid out and labeled the parts that I’d extracted:
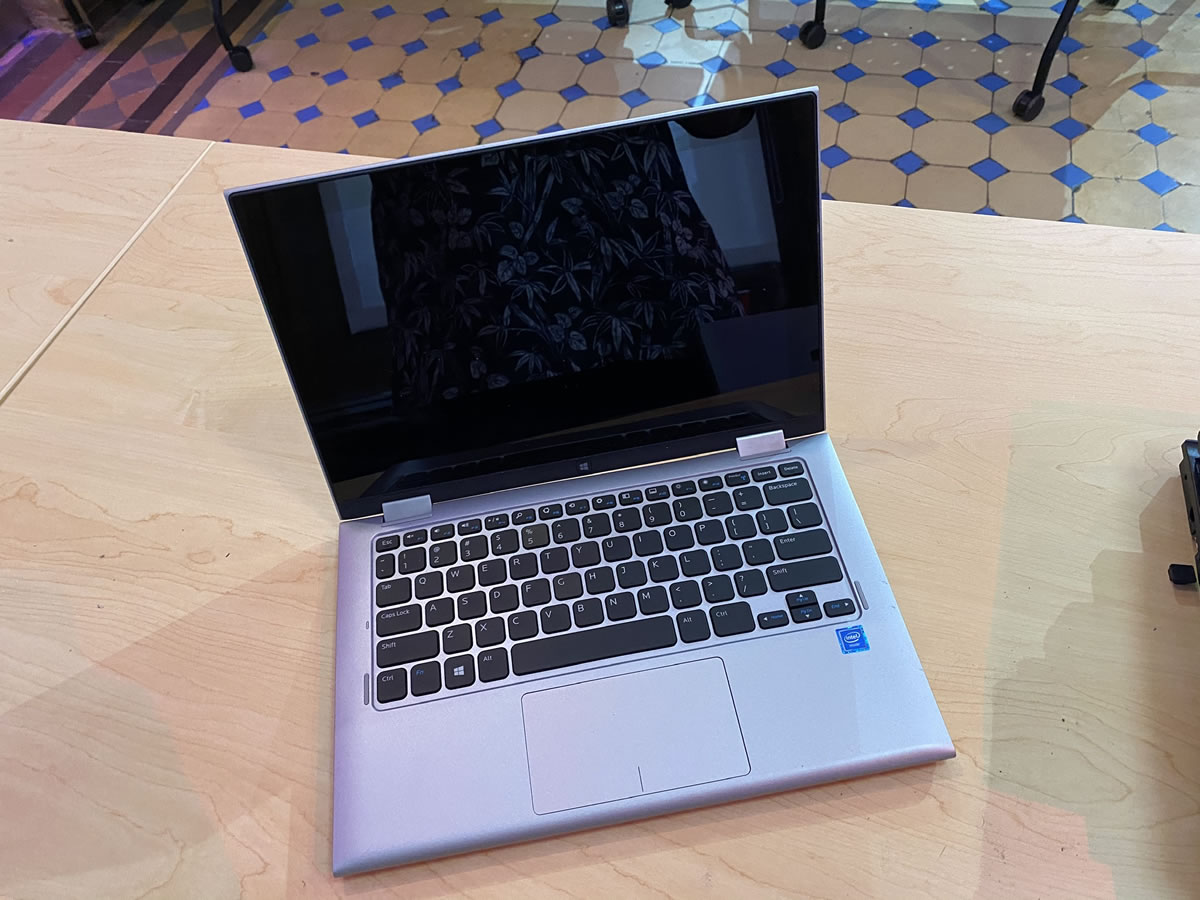
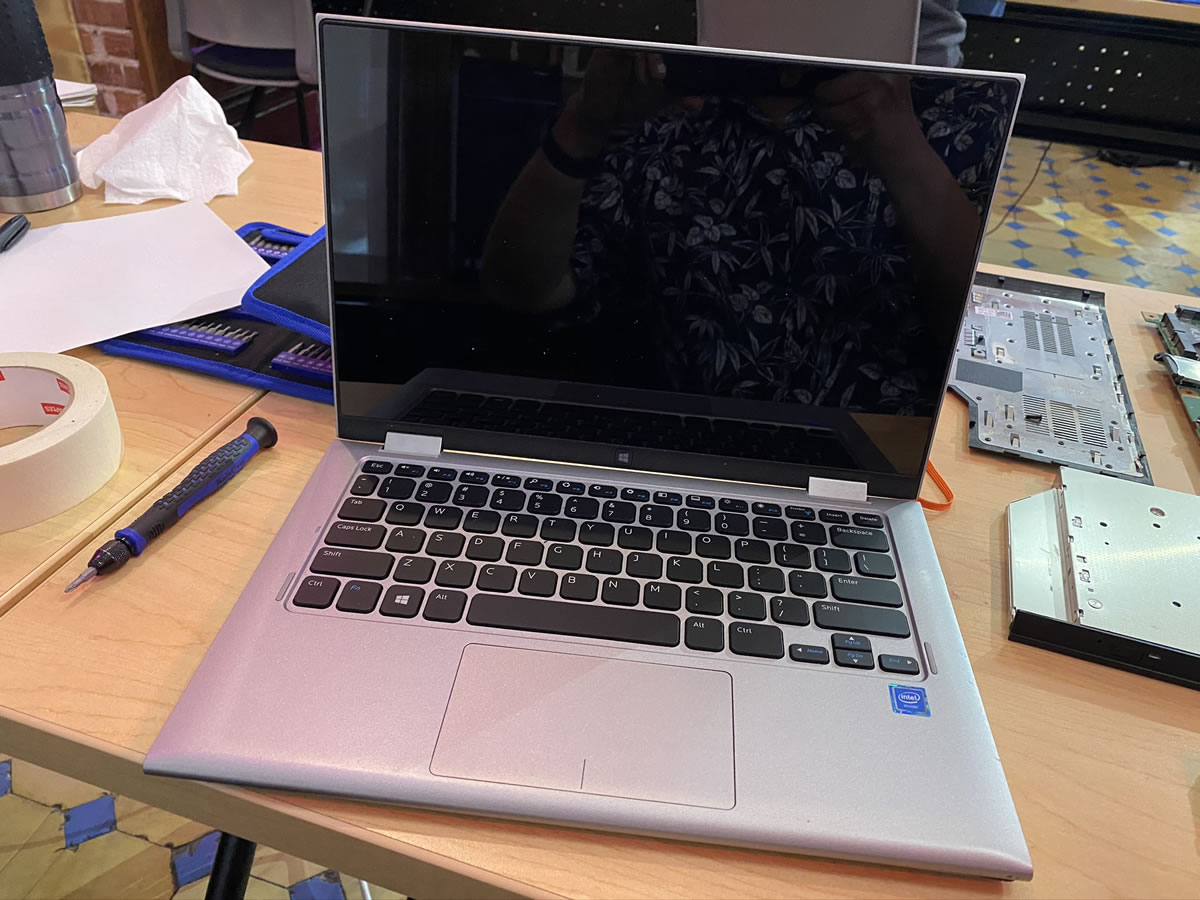
“All right, next challenge,” said Tremere, our instructor for the Hardware 101 portion of the course. “Disassemble, then reassemble the small one…”
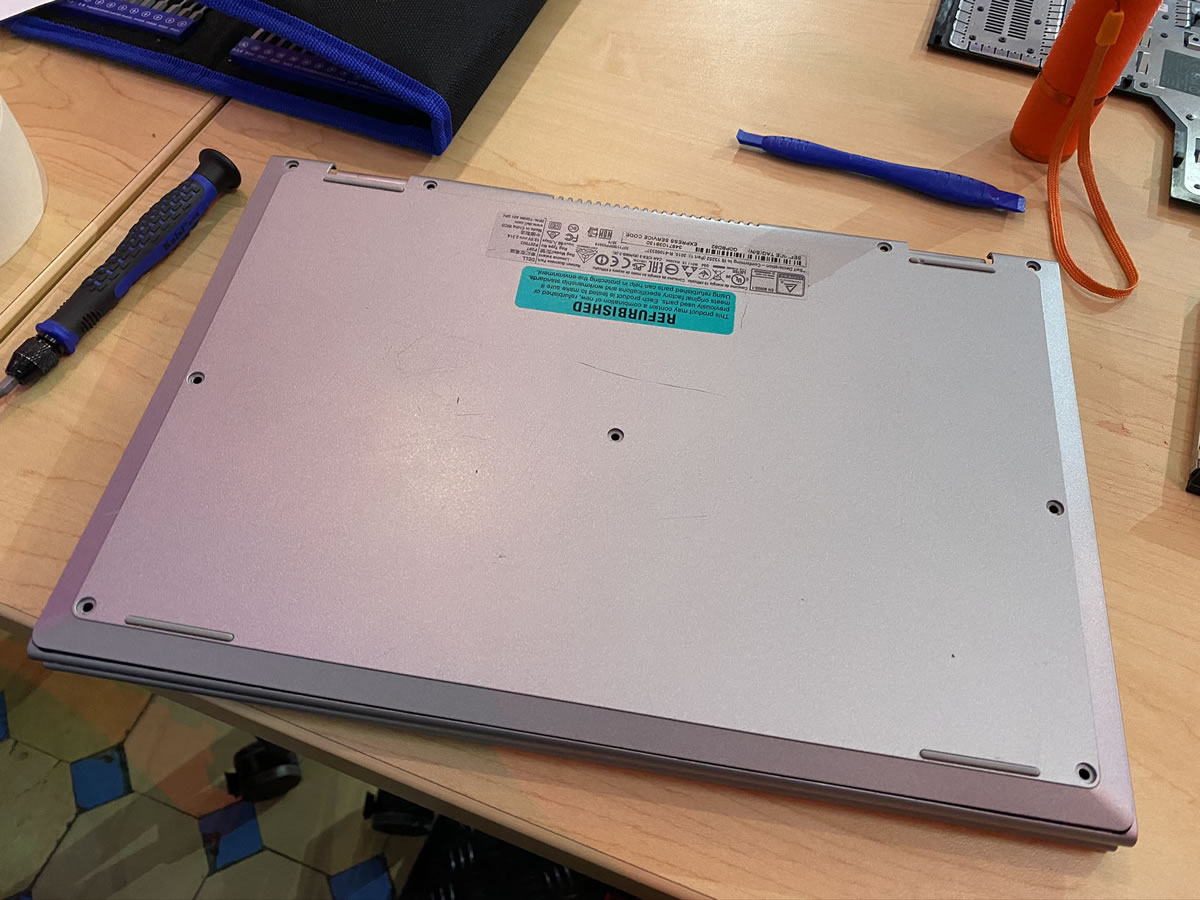
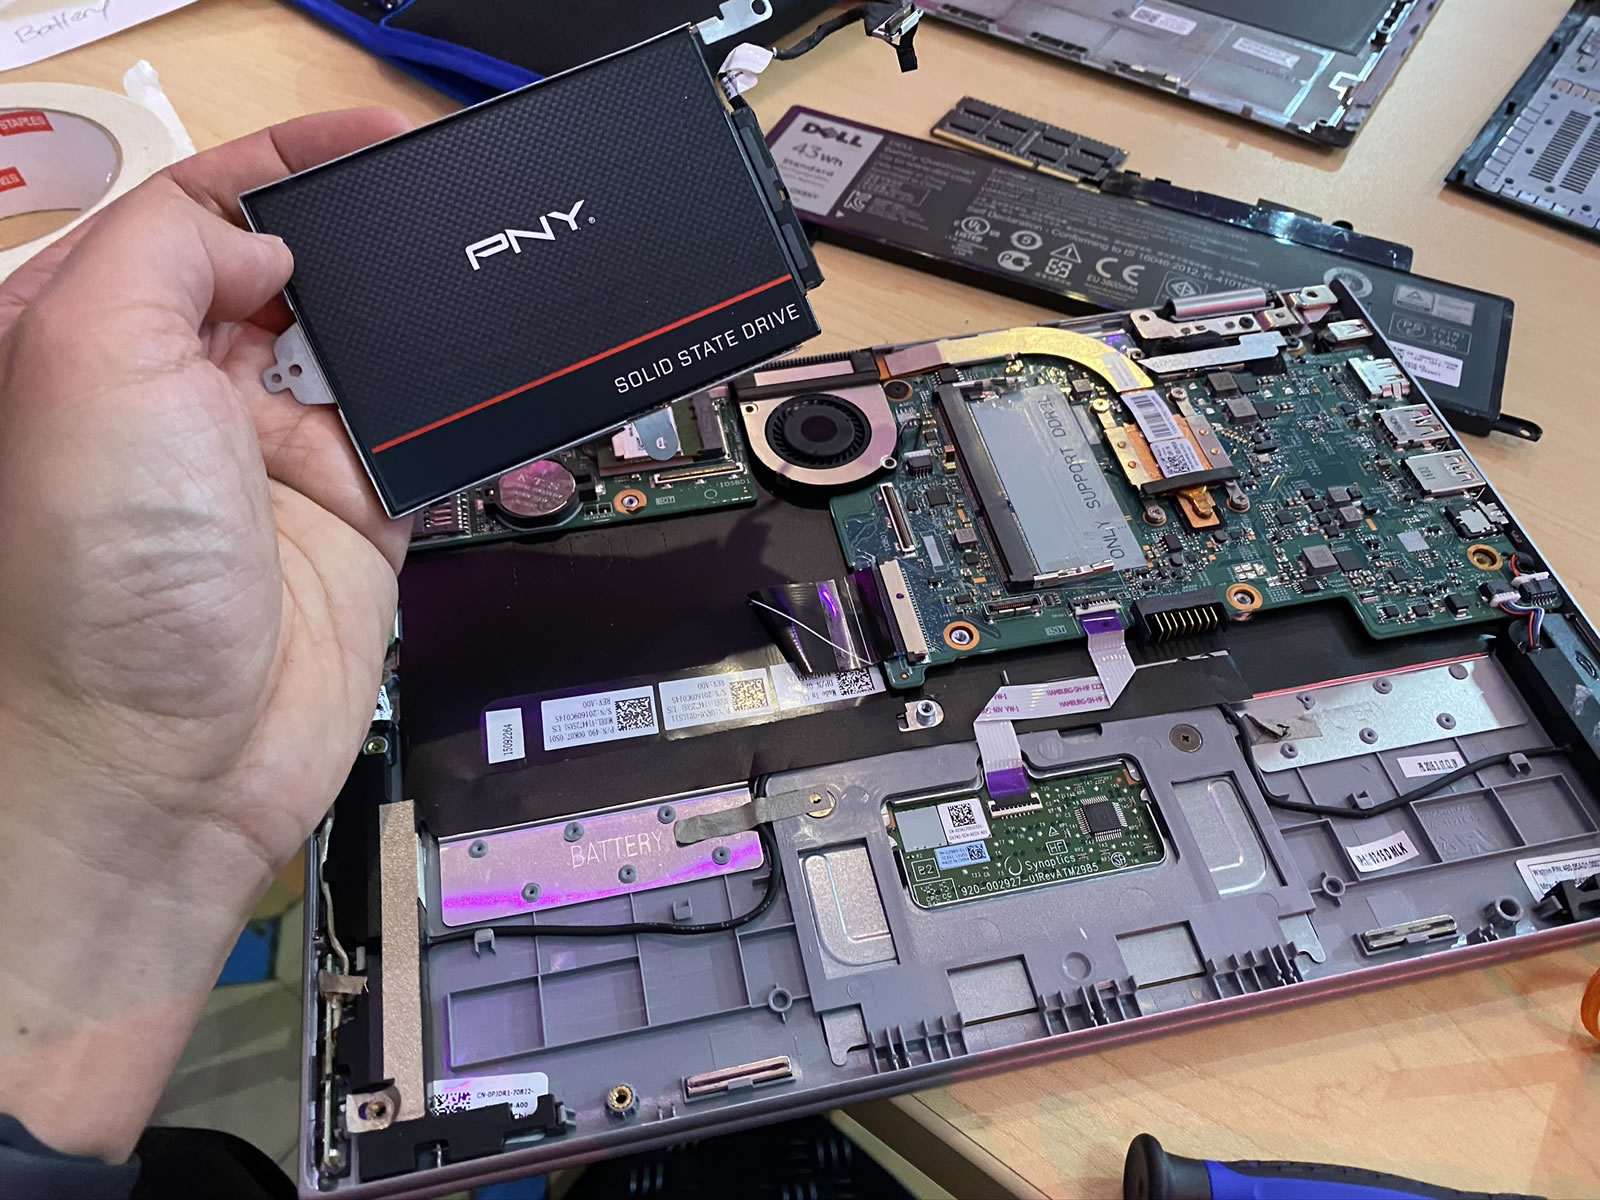
I flipped it over, pleasantly surprised to see standard Phillips screws that were easy to access:
At this size, a laptop’s battery-to-actual-computer ratio jumps significantly:
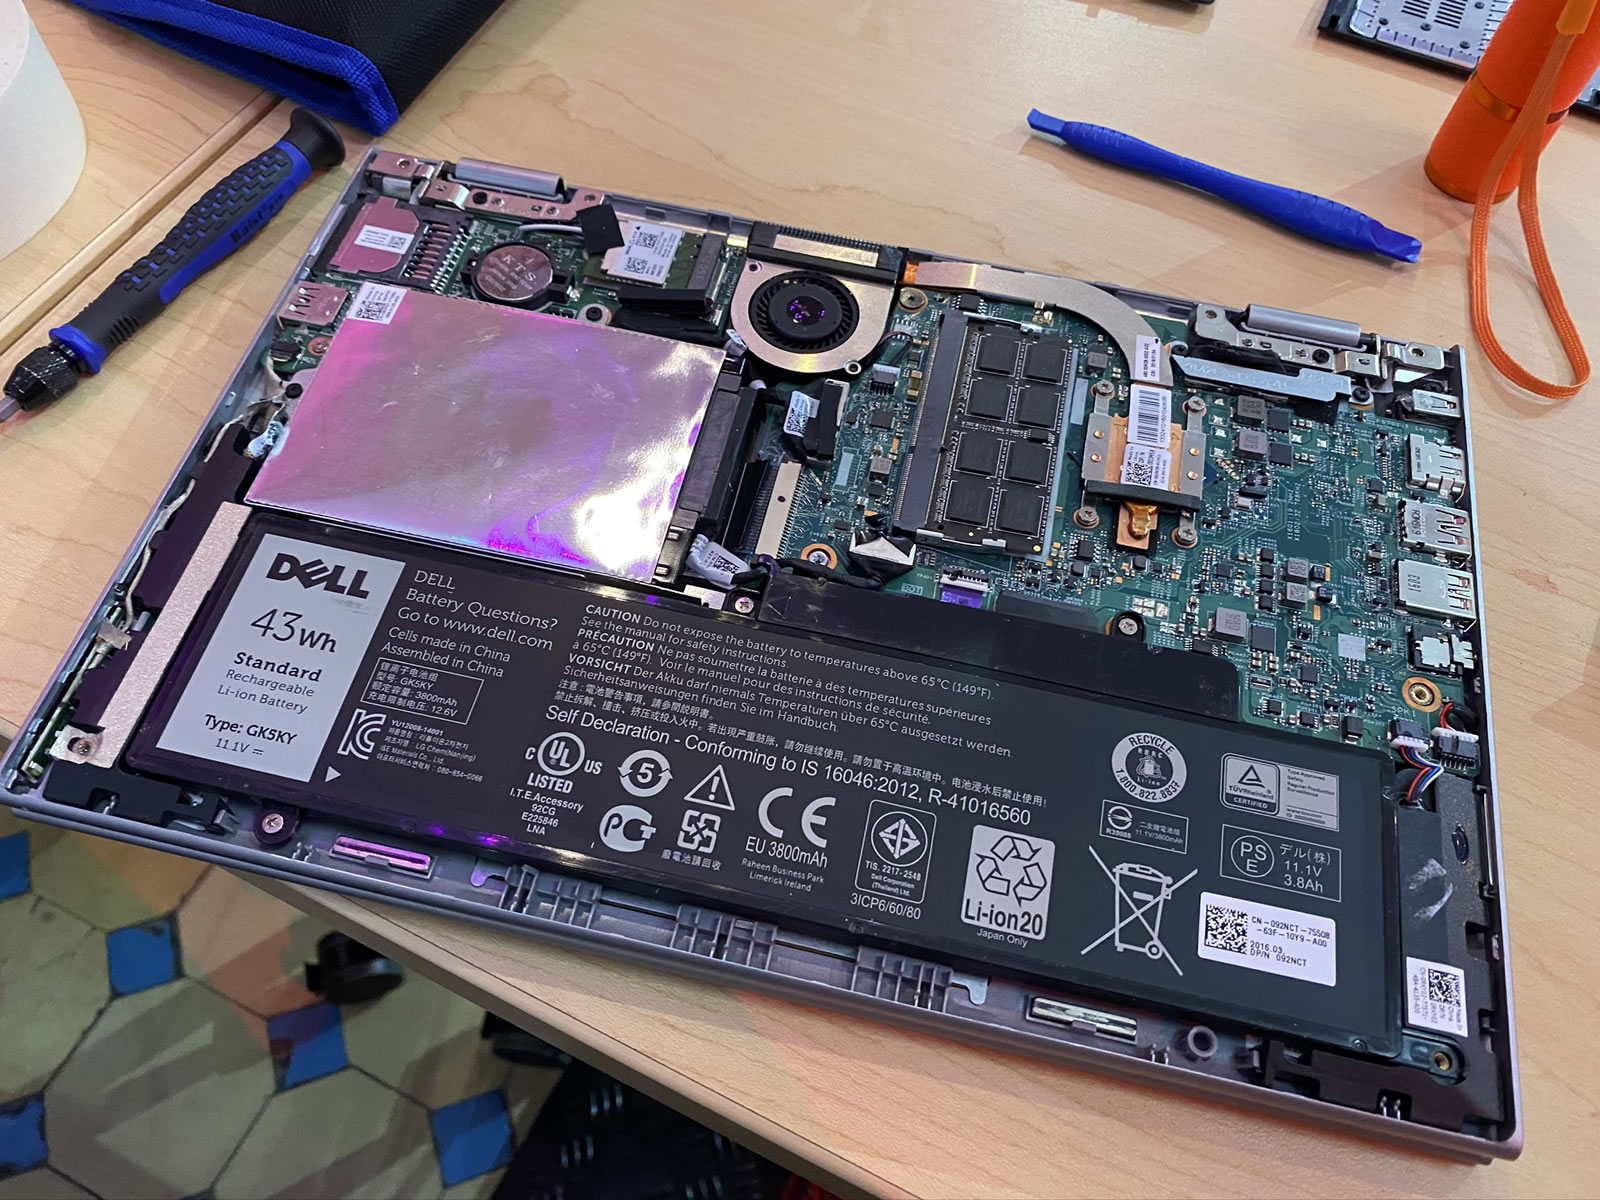
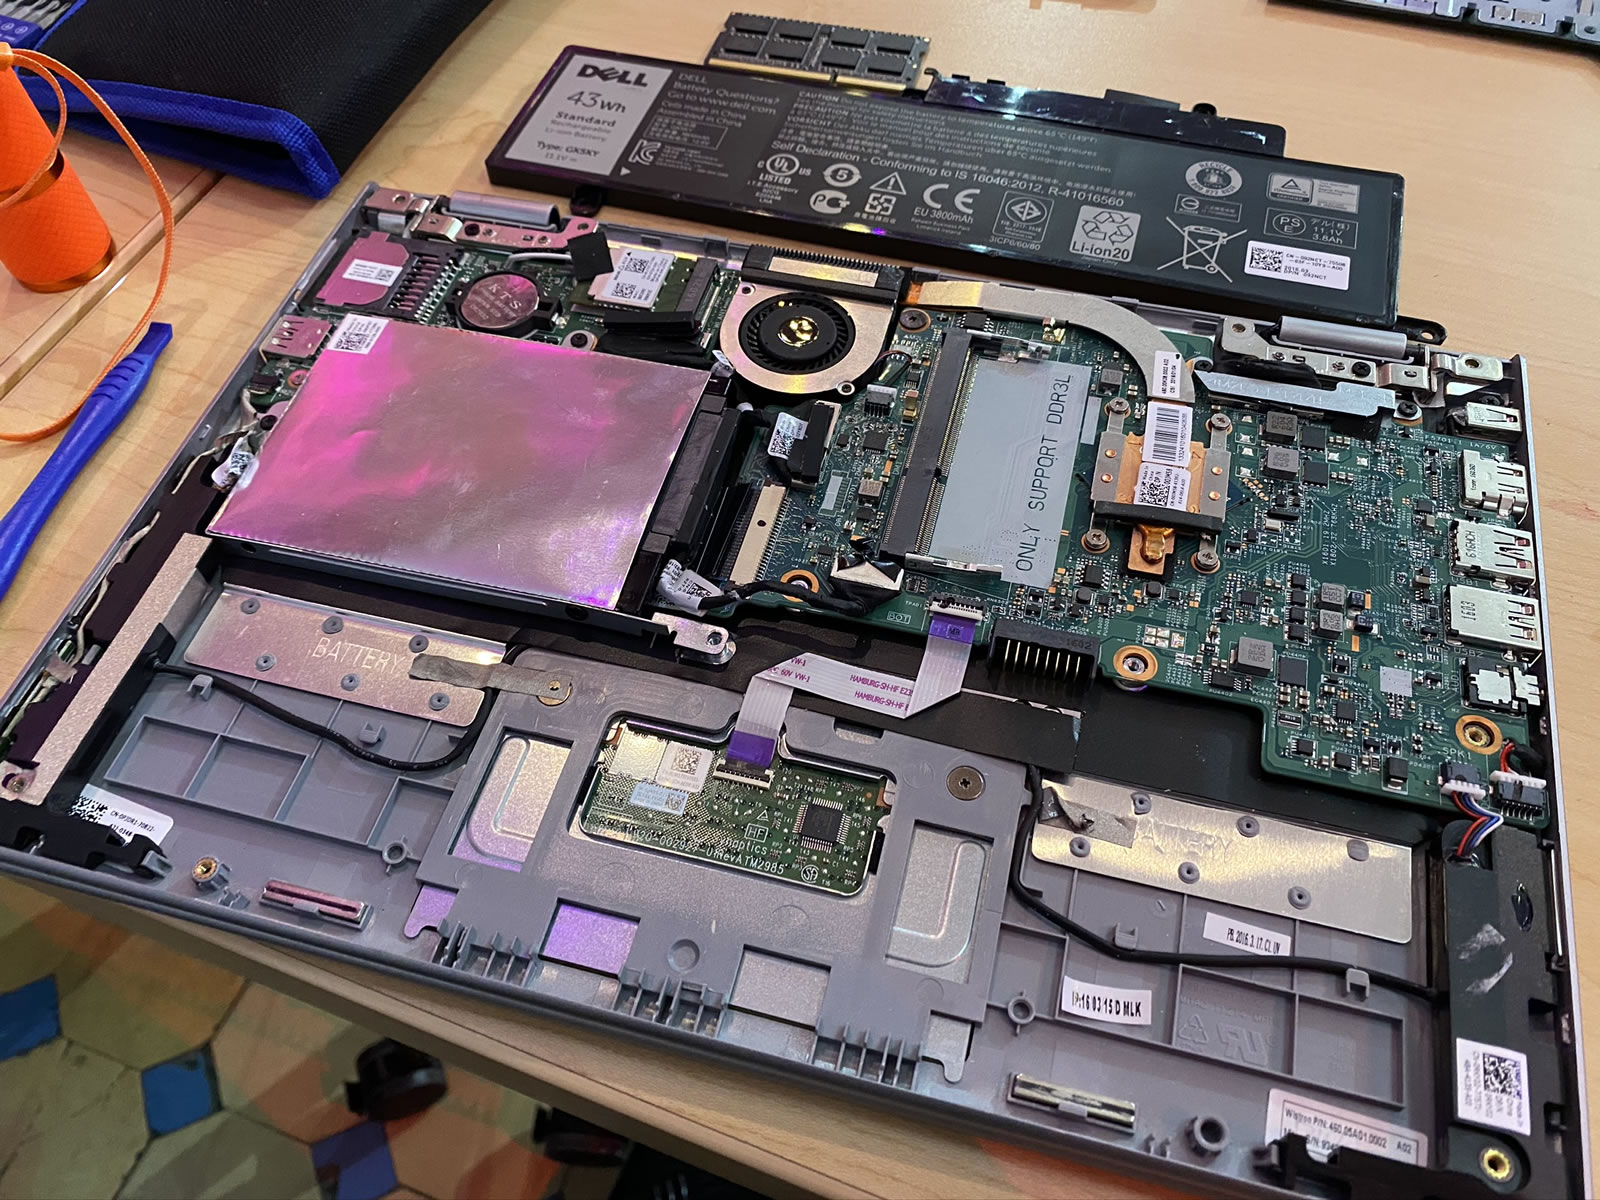
This machine was still intended to be somewhat user-serviceable, so the battery and RAM were still easy to remove:
The drive didn’t take much effort to liberate, either:
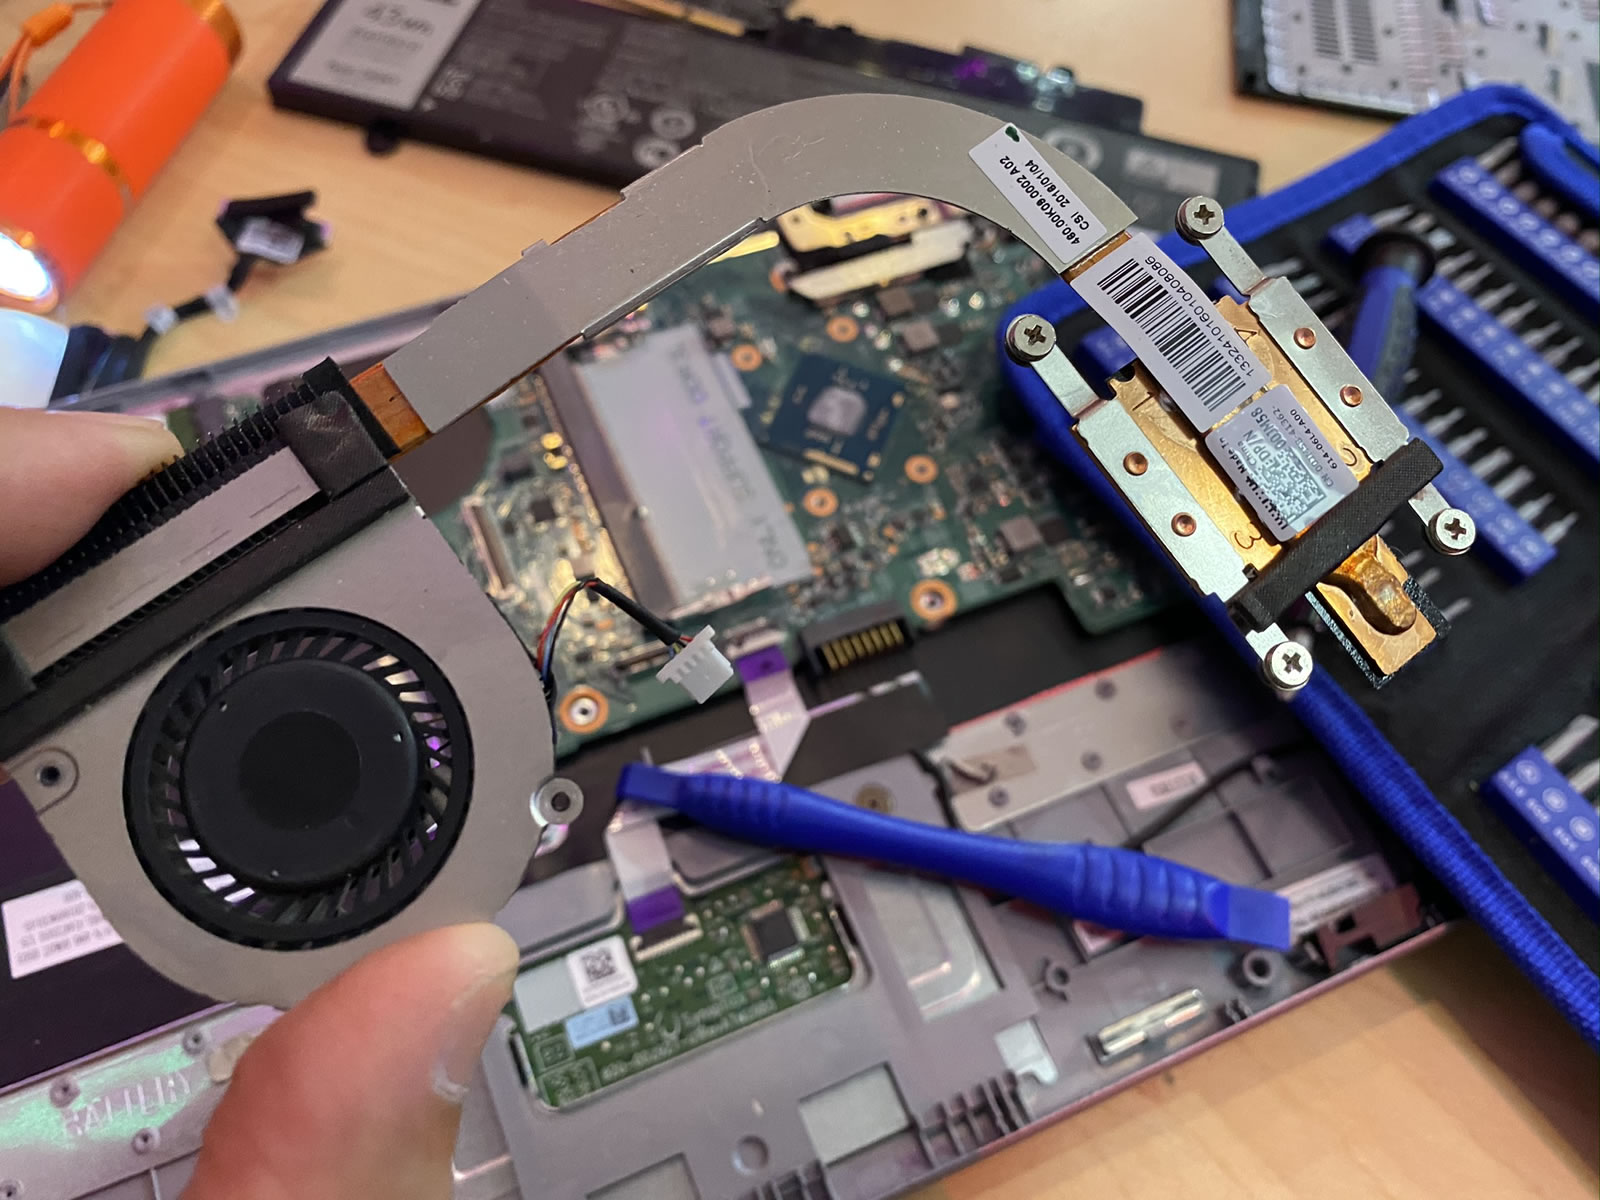
The fan/heat sink combo didn’t put up much of a fight:
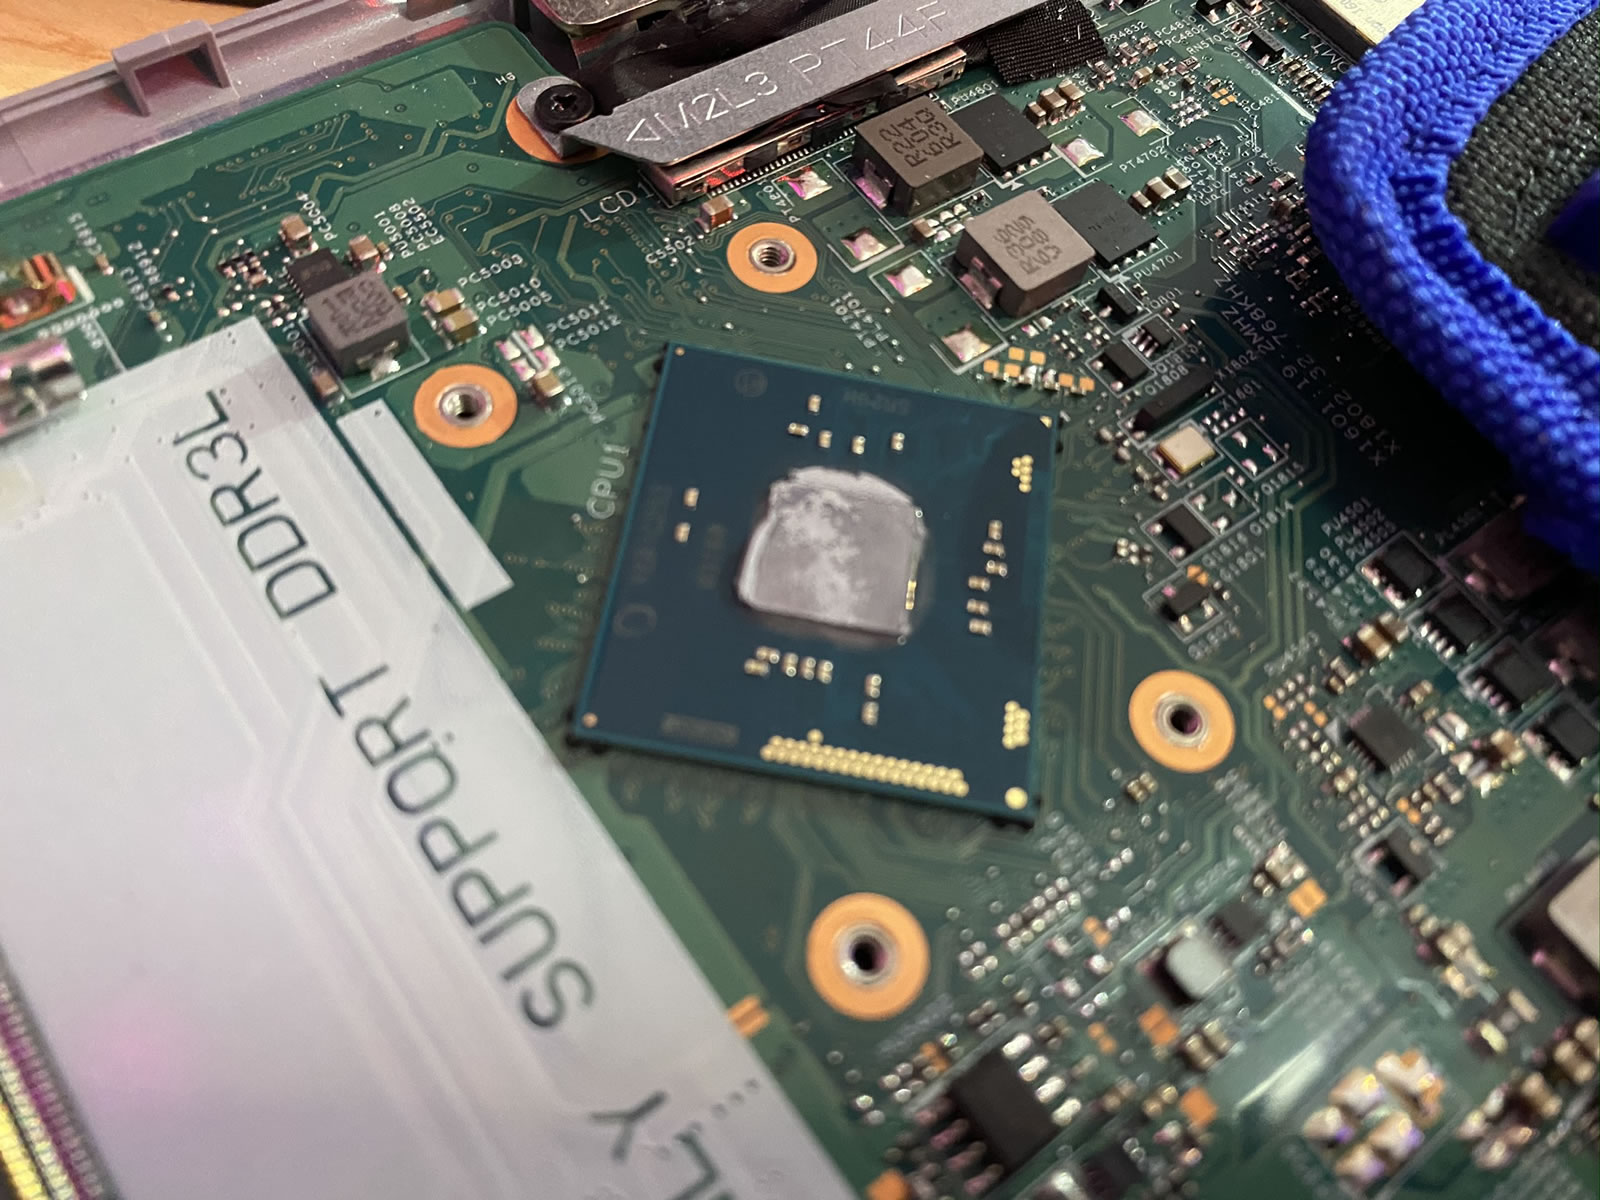
This is a machine made specifically for writing TPS reports and not much else, judging from its CPU. Still, I’m sure it could still do a serviceable job running a modern lightweight Linux — assuming it survives my disassembly and subsequent attempt to put it back together again.
Here are both patients, spread out across the operating table…

Re-assembly took a little longer, and I didn’t bother with photos of that process. I did manage to get it back together again, and with no extra parts!

I even the screen reattached! Later, I found a power adapter, and the machine managed start and get up to the BIOS screen, although the screen looked a little dim. Since I’m not trying out for a CompTIA hardware certificate, I’ll simply declare the procedure a success and not get too bogged down with fussy minutae such as “functioning” and “usable”.