
Tuesday was Day 2 of the UC Baseline cybersecurity training program offered by Tampa Bay’s security guild, The Undercroft. I lucked out and got into the inaugural cohort, which means that I’ll spend 8 hours each business day in the classroom (masked and distanced, of course) for the next four weeks.
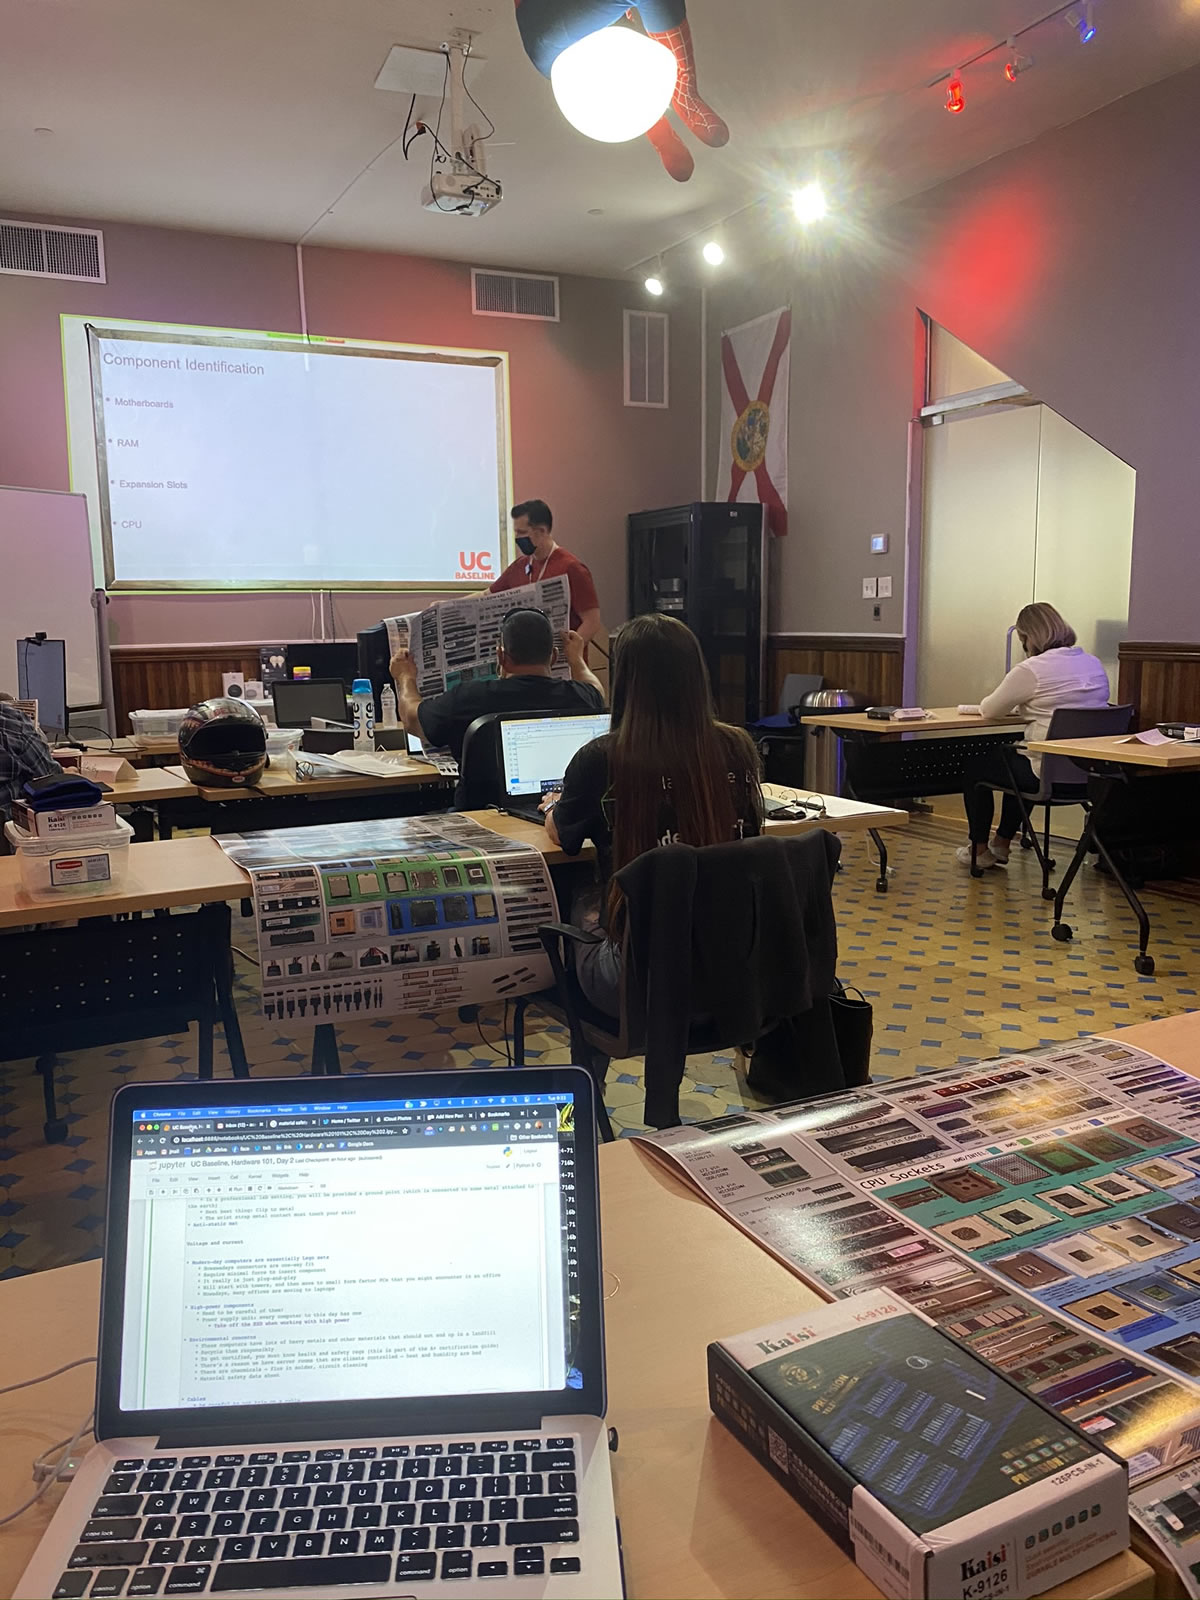
UC Baseline is made up of a number of separate units, which The Undercroft also provides individually. Week 1 is taken up by the Hardware 101 course, which is all about hardware and providing the class — some of whom have a deep technical background, while others don’t — a baseline knowledge of how the machines that make up the systems that we’re trying to secure.
I suspect that there’s an additional goal of removing any fear of tinkering.
Day 1 of Hardware 101 was mostly lectures about hardware, starting with logic gates and working all the way up to CPUs and SOCs, and Days 2 and 3 were the “tear down/rebuild” days. Day 2 focused on taking apart and then rebuilding desktops, and Day 3 took it up a notch by doing the same thing with laptops.
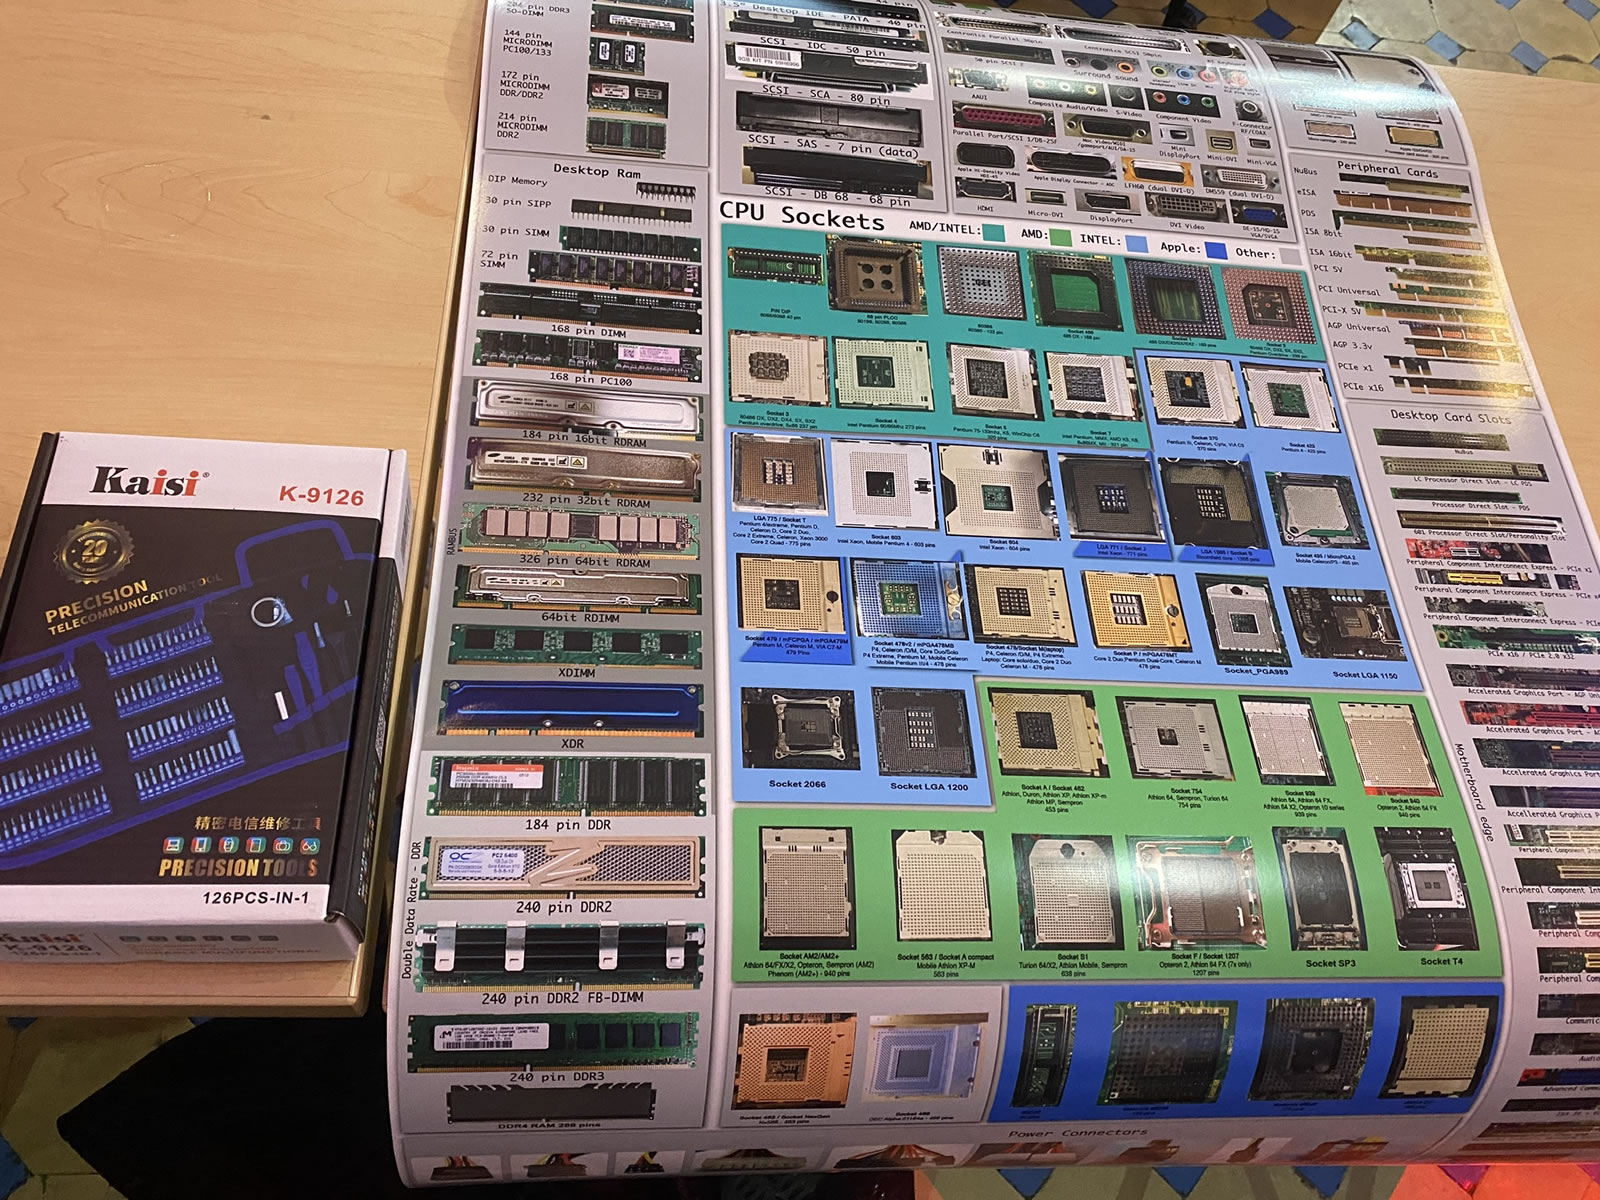
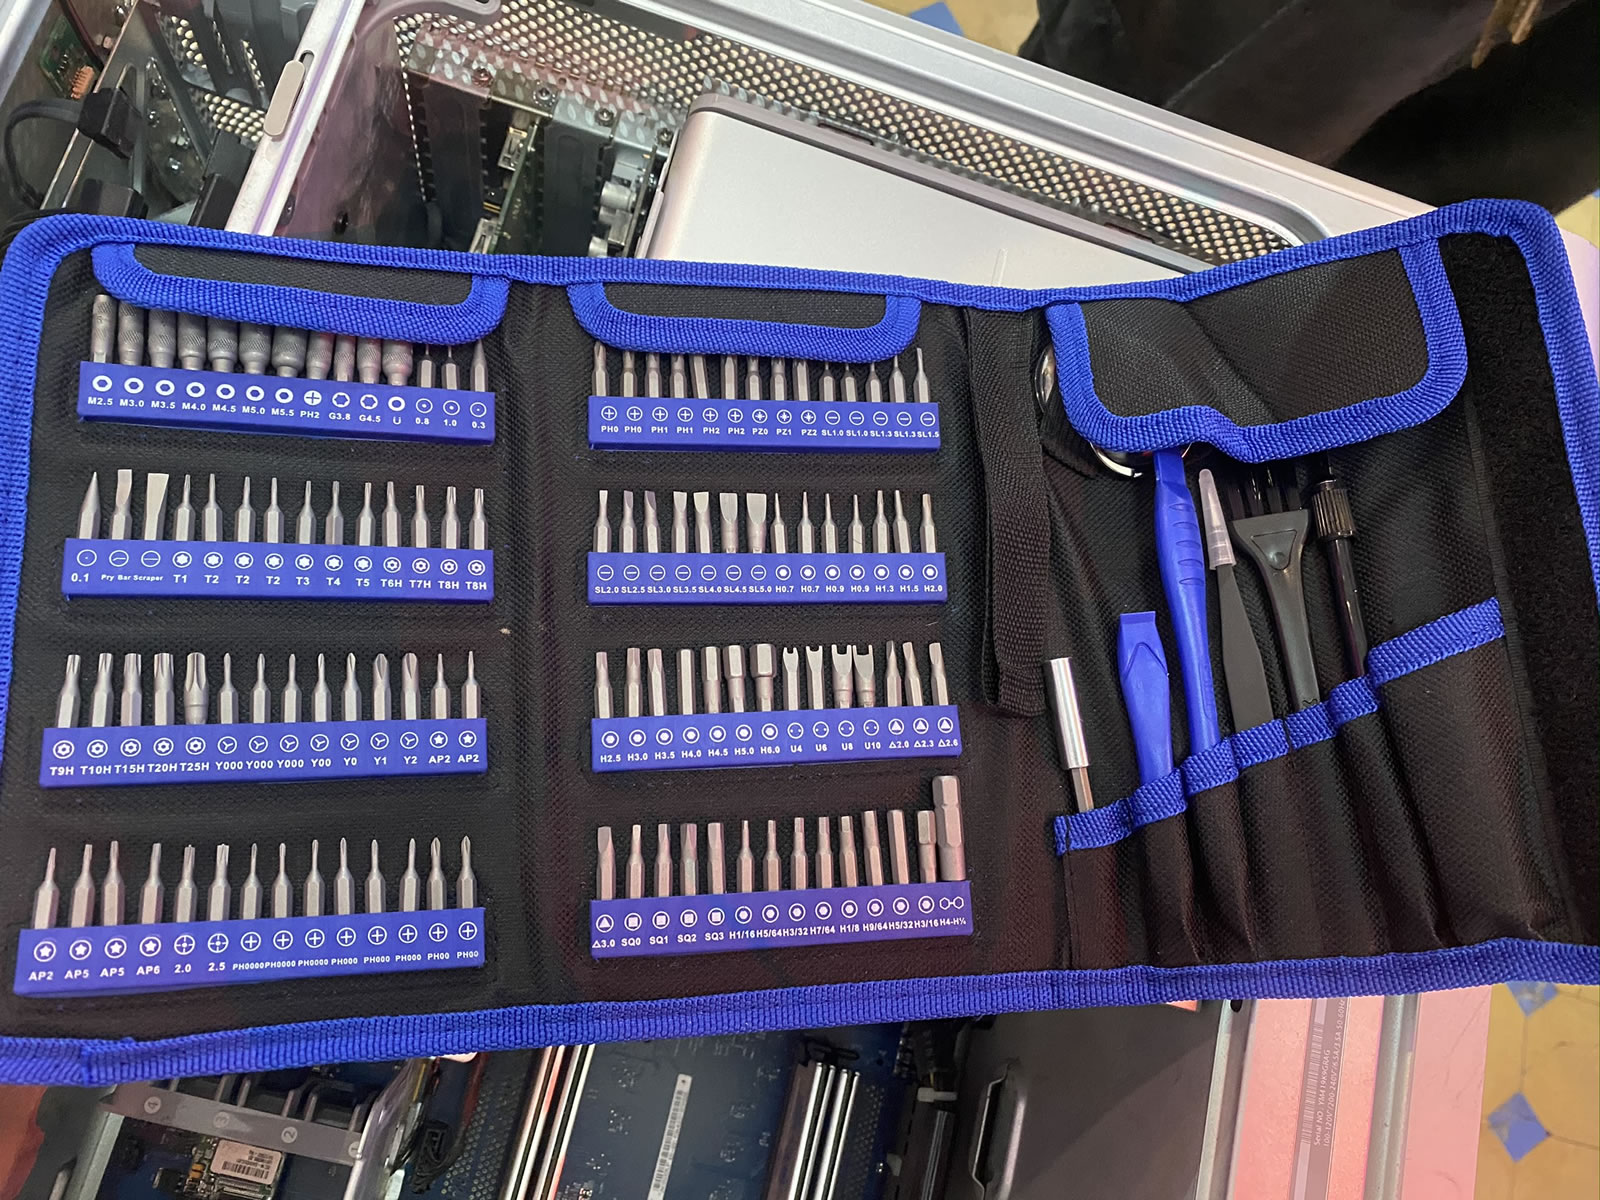
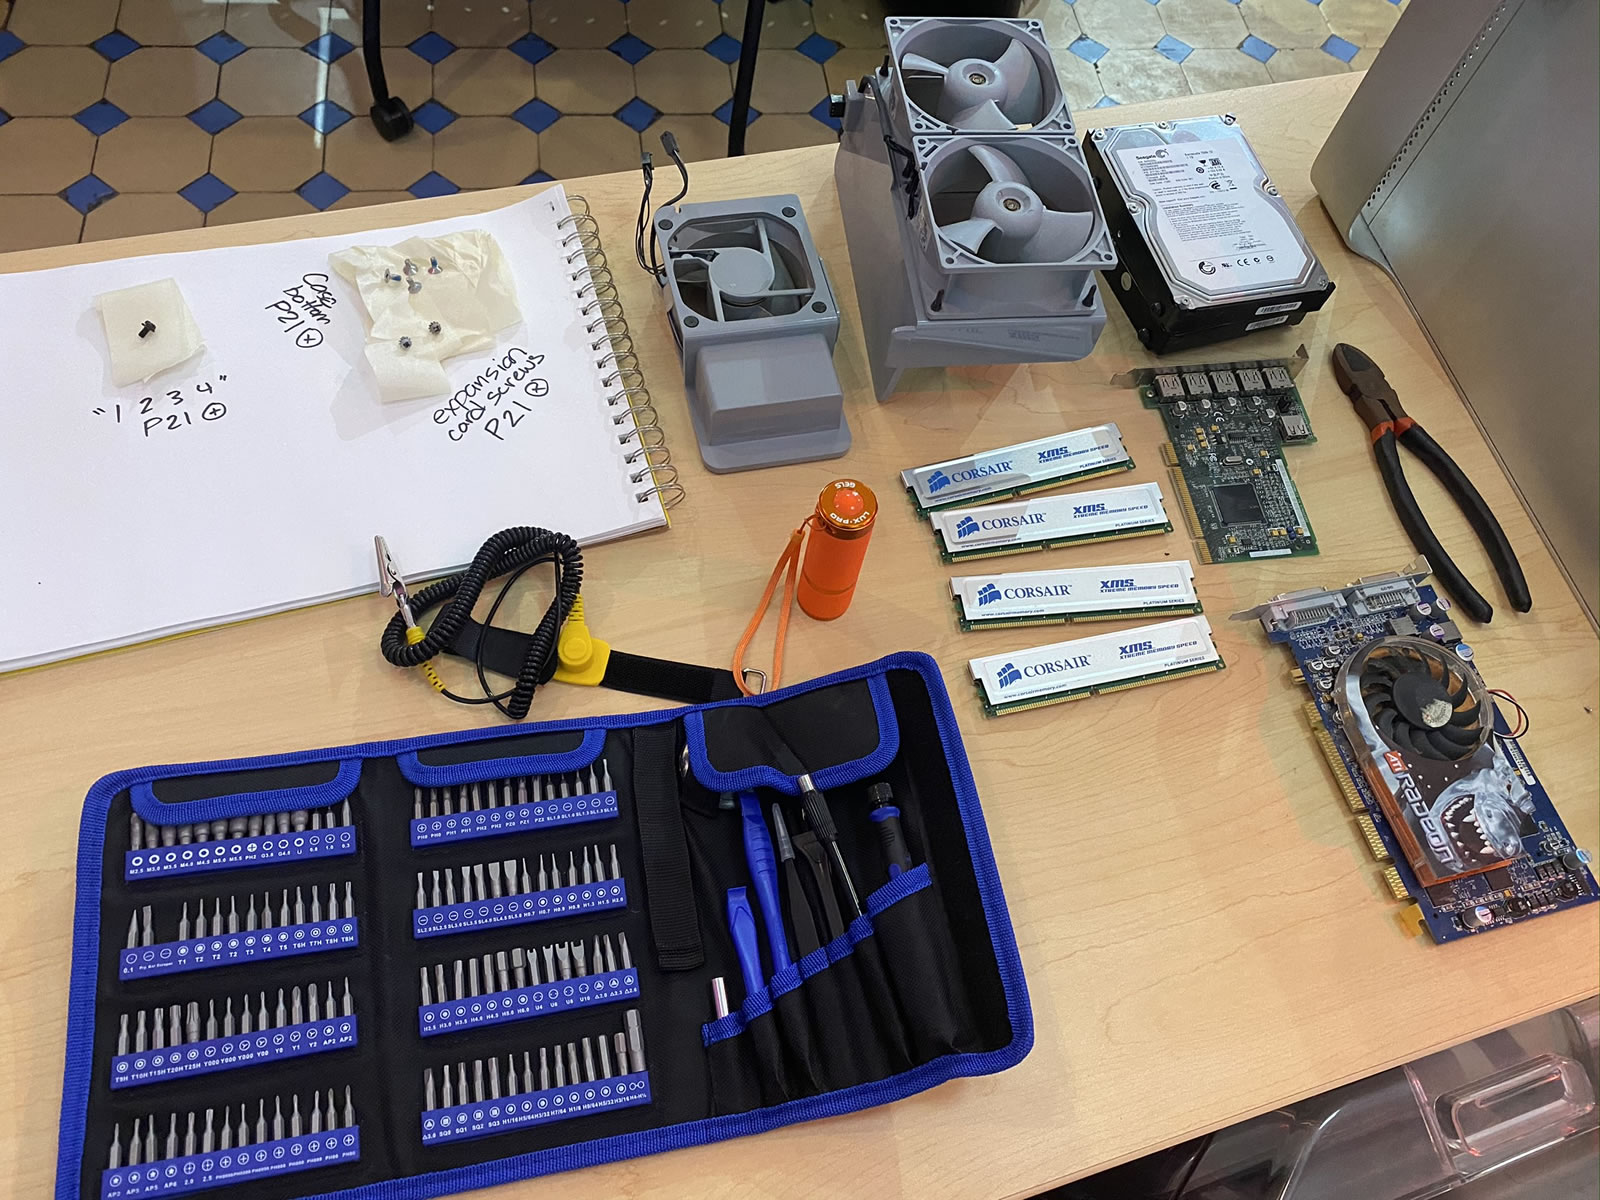
One of the goodies that we got (and get to keep) is the toolkit pictured below:
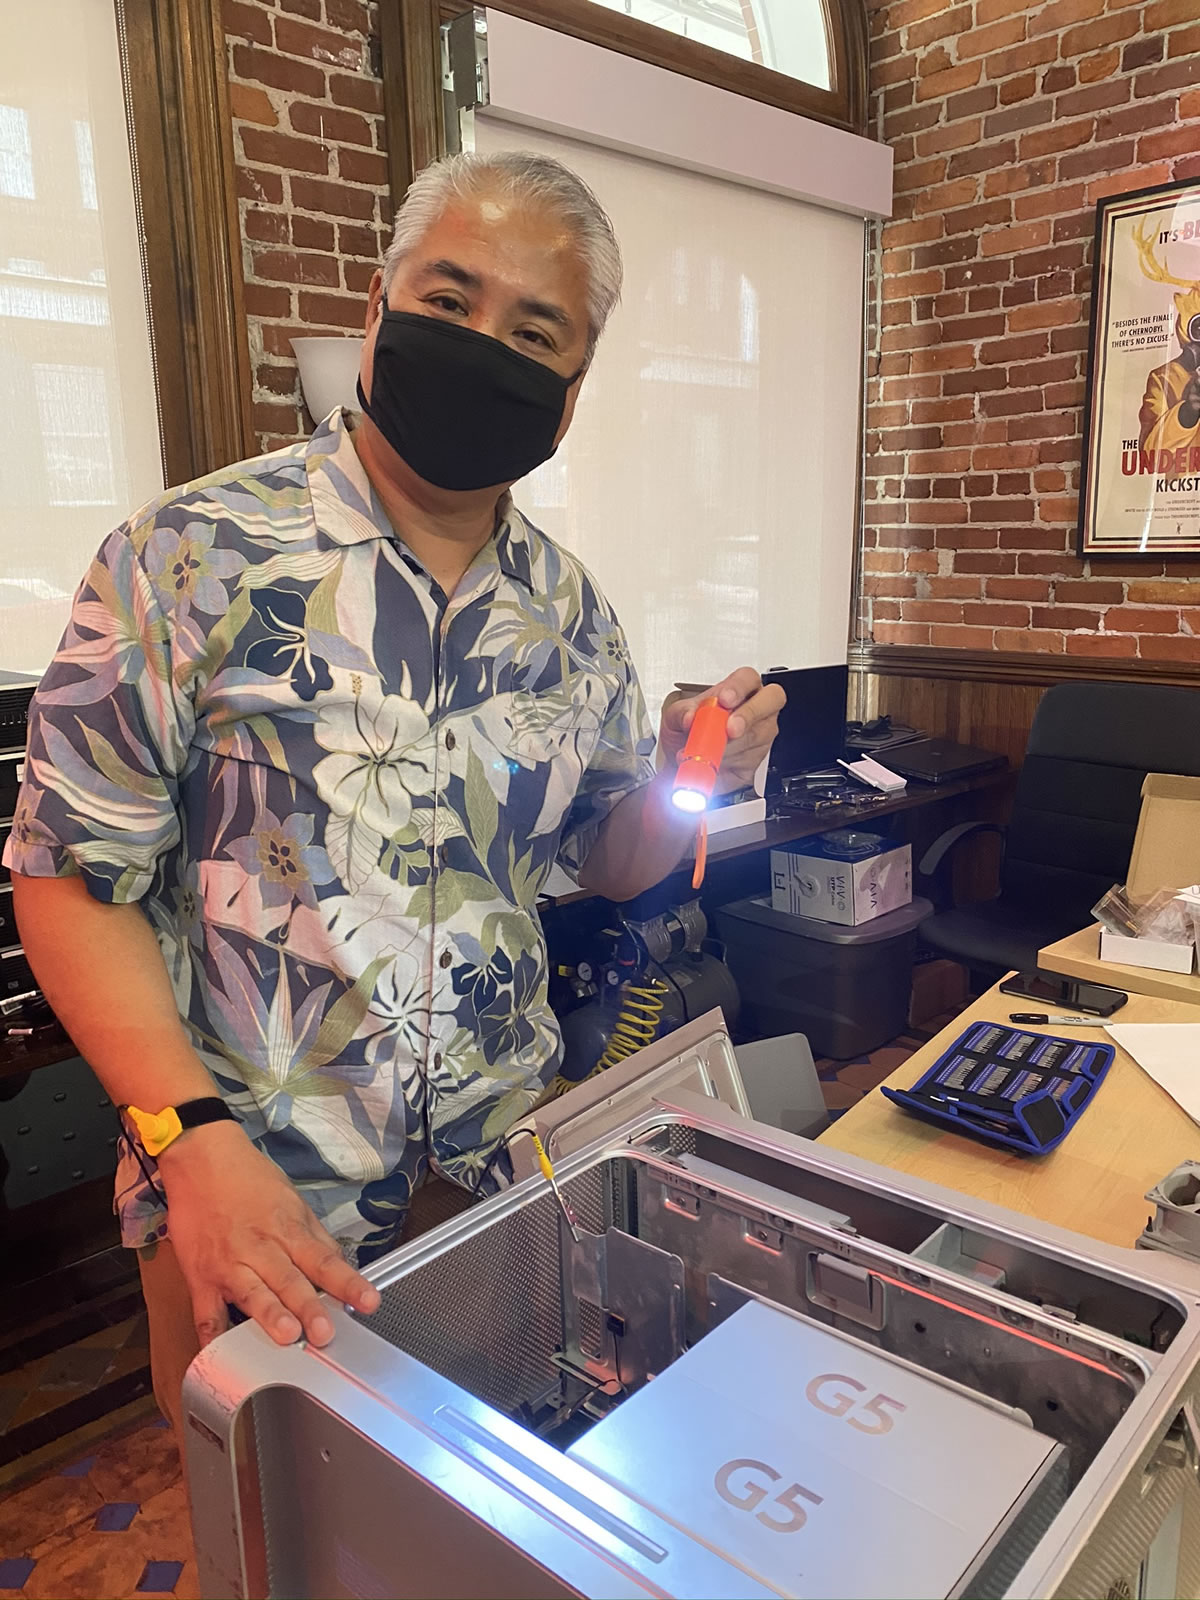
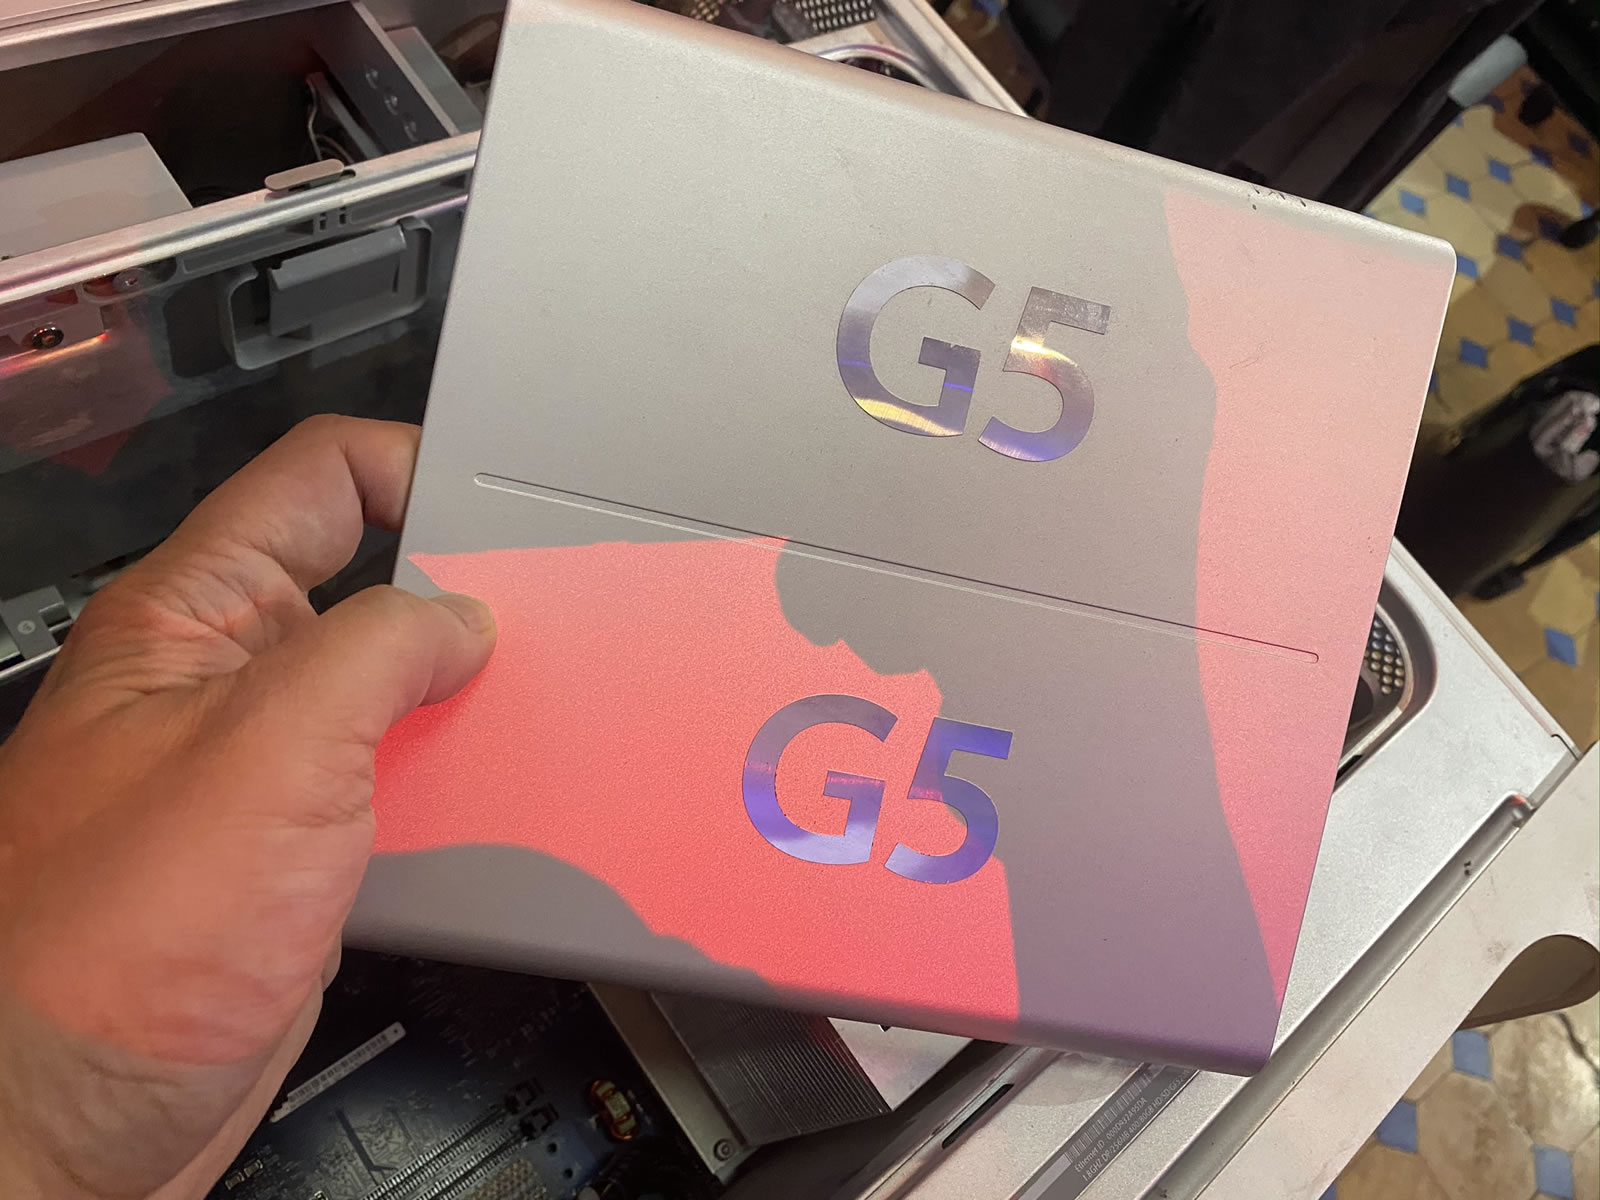
The first exercise was a teardown-only one. We could choose from a selection of old computers at the back of the room to tear apart, and I thought it might be fun to try and take apart this old Power Mac G5 from the mid-2000s. These machines are notoriously opaque, and I thought it might be fun to try to dig through its guts:
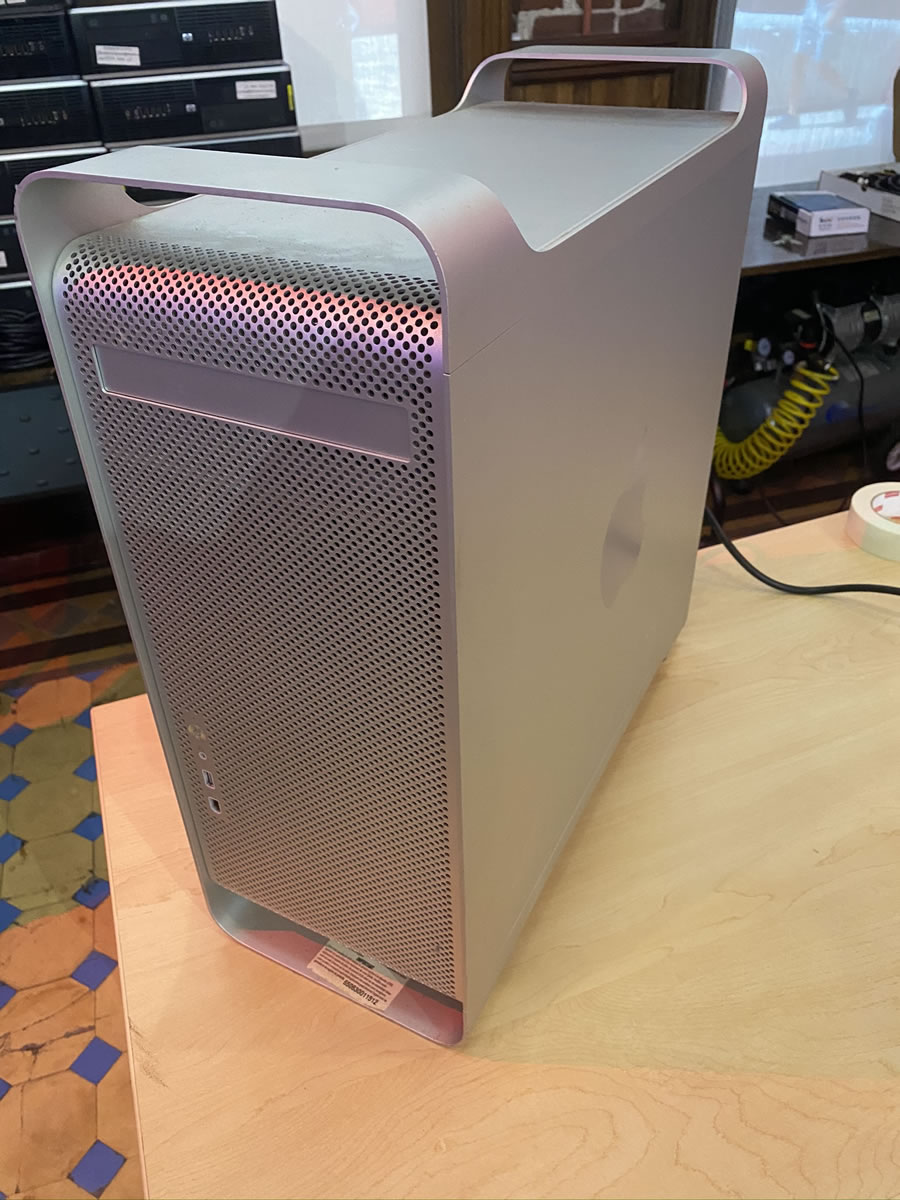
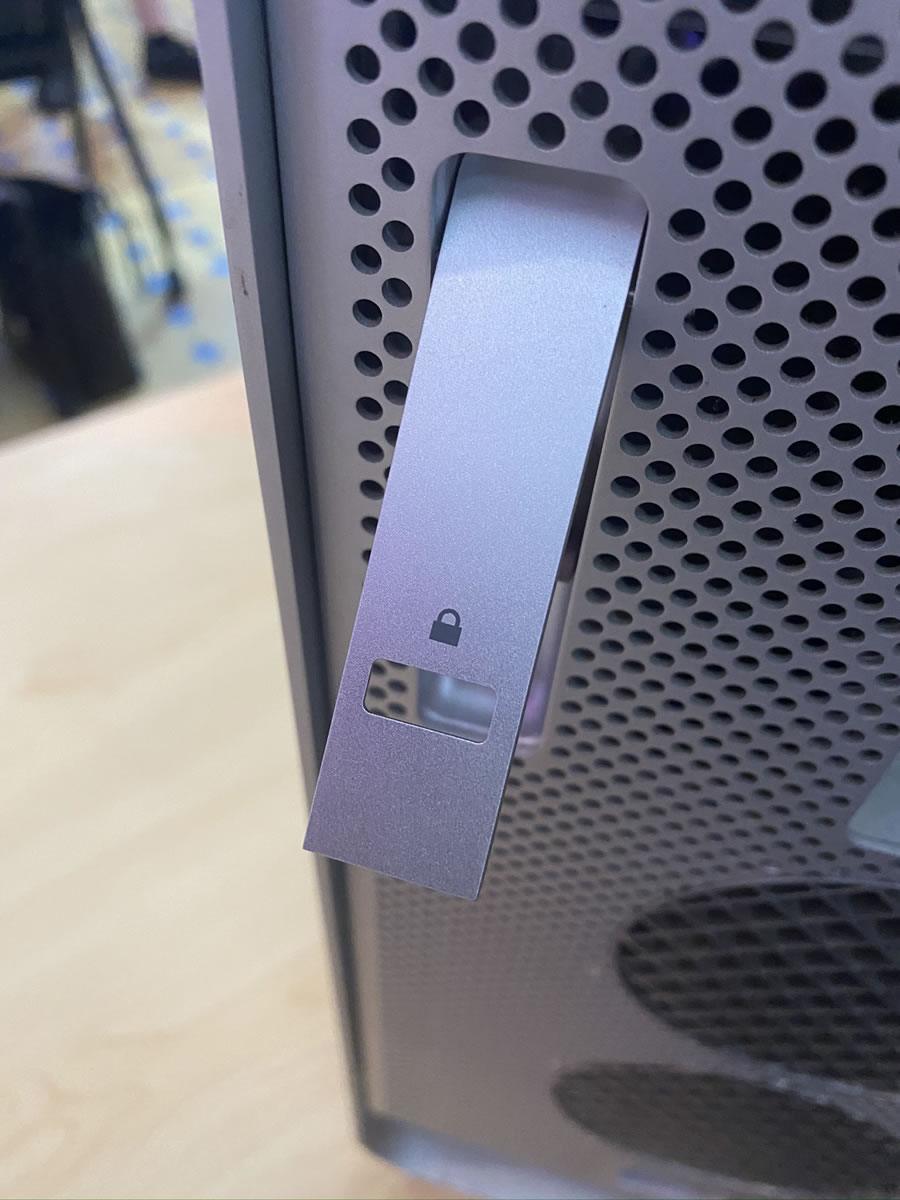
The Power Mac G5 was aimed at Apple’s “power use” customer — typically creatives who need serious computing horsepower. This particular machine was used by an advertising agency to do 3D rendering. As such, it’s one of the few Macs that’s easy to open, at least superficially. Take a look at this beautiful Jony Ive-designed latch:
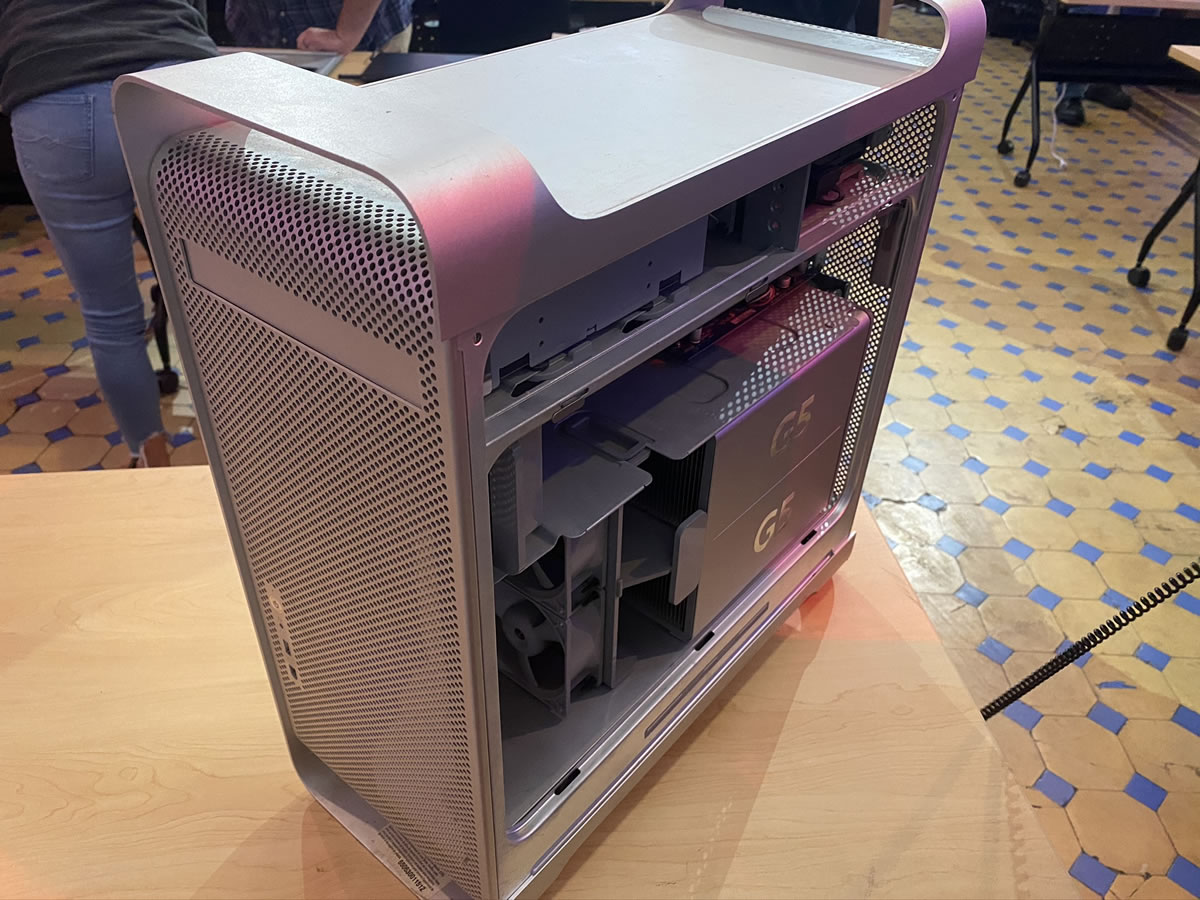
Opening the latch reveals the machine’s aesthetically-pleasing innards, which were covered by a plastic shield. I popped off the shield and got to work.
By the way, that yellow clip in the photo above is connected to my anti-static wrist harness (another goodie we got as part of the course fee). Nobody expected these machines to survive the teardown process, but it never hurts to consistently follow standard safe electronics practices!
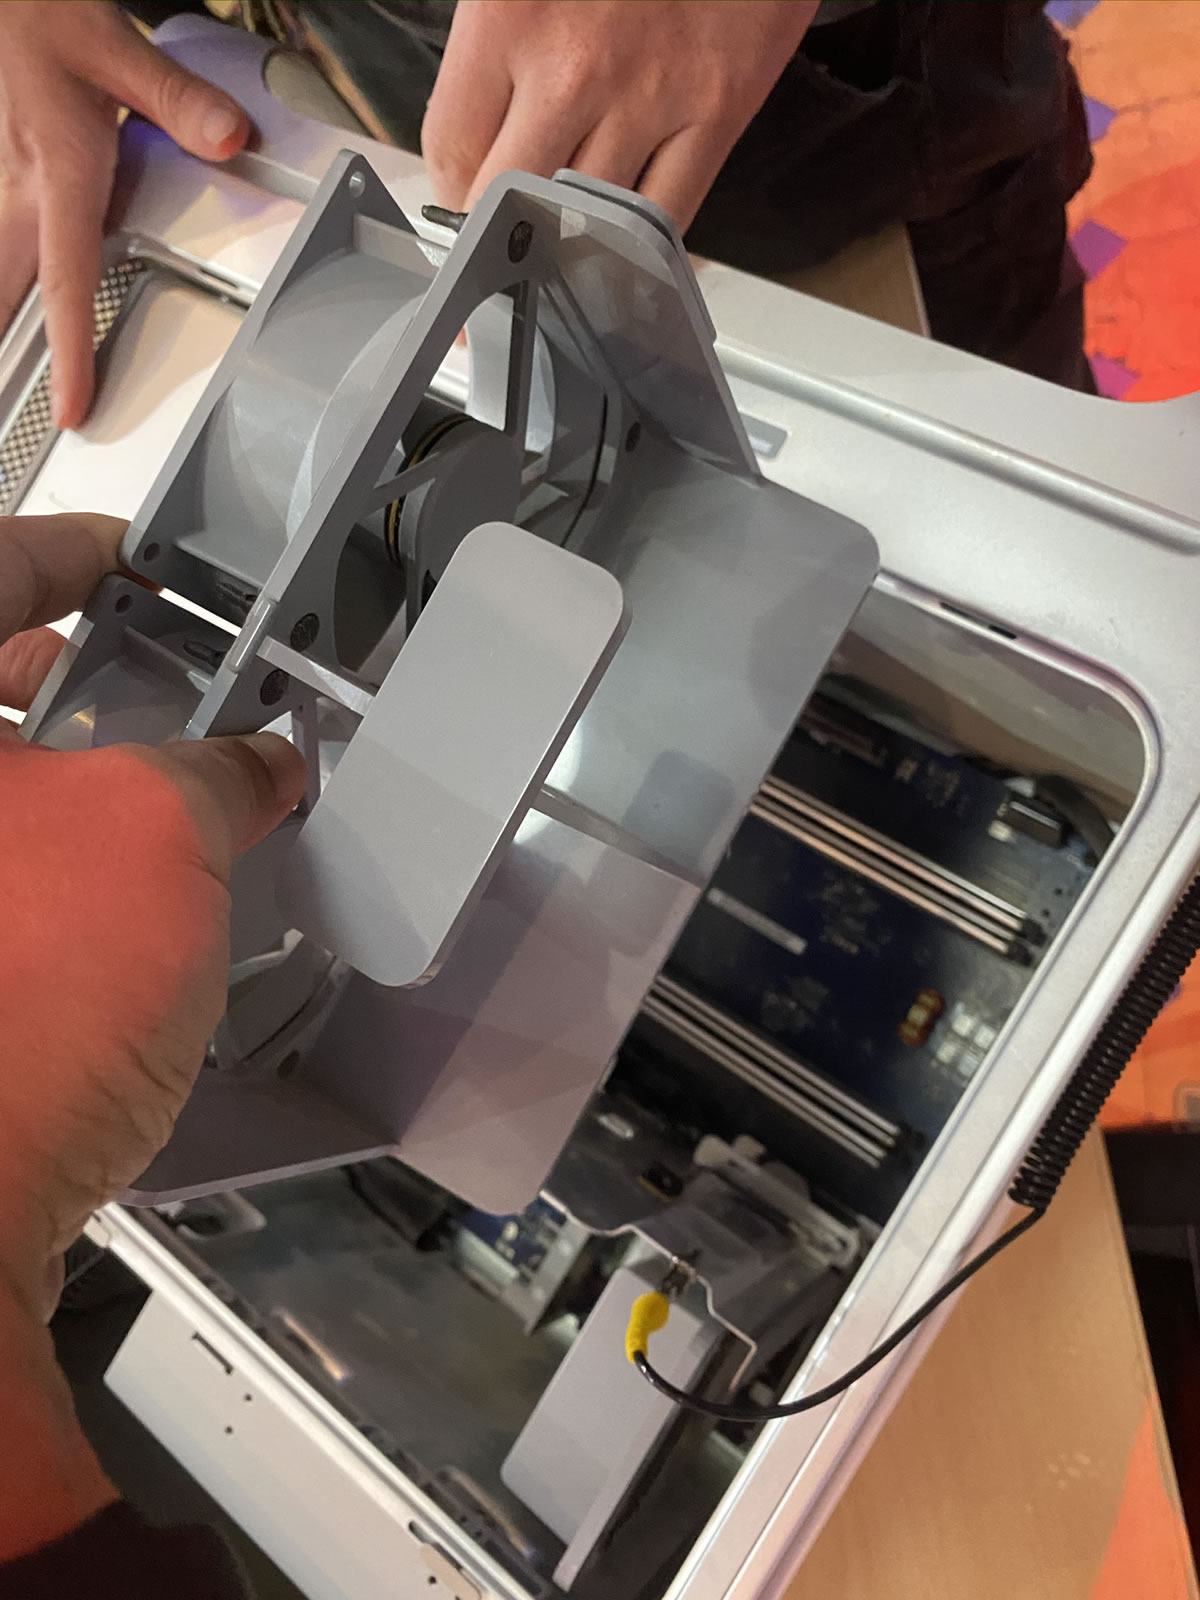
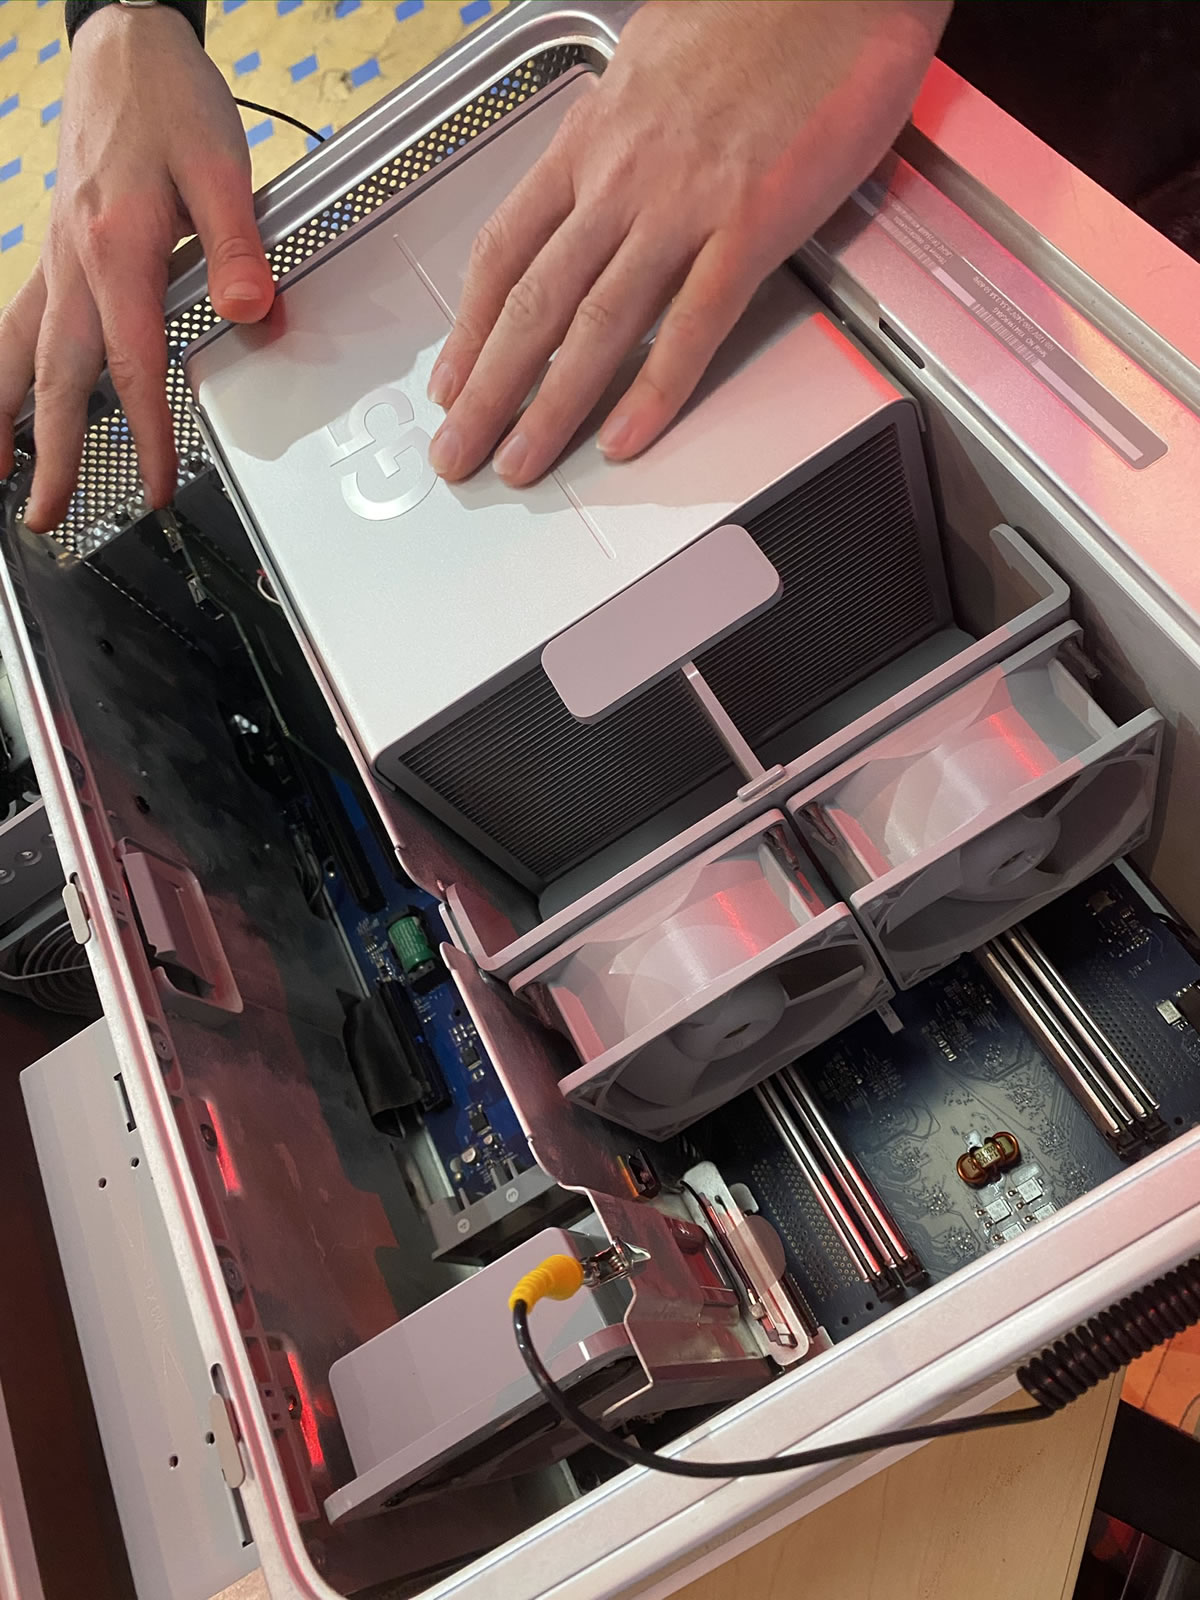
The fans slid out surprisingly easily. I was surprised that the machine had a reasonable number of fans, given Steve Jobs’ famous dislike of fan noise, but this computer’s twin G5 processors gave off ridiculous amounts of heat. There’s a reason that Apple switched to Intel processors.
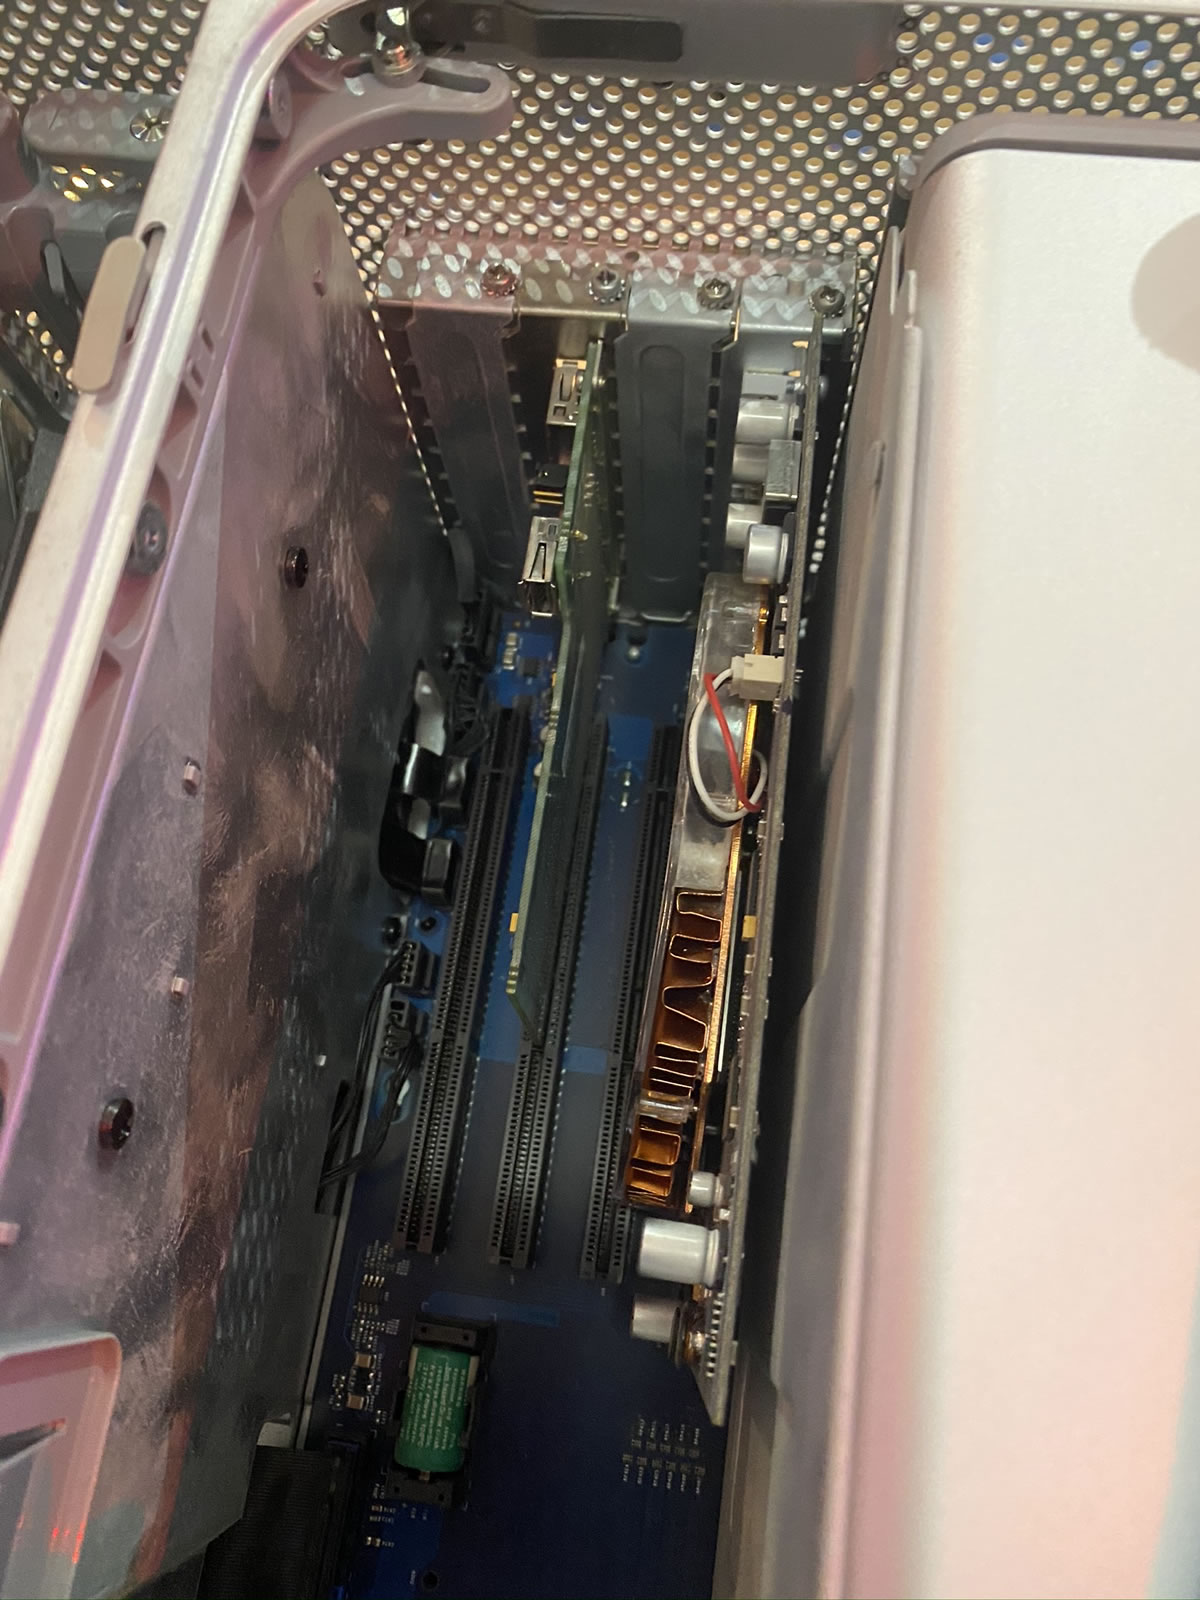
I then removed the cards from the two expansion slots. One was a high-speed network card; the other was pretty nice 2005-era graphics card:
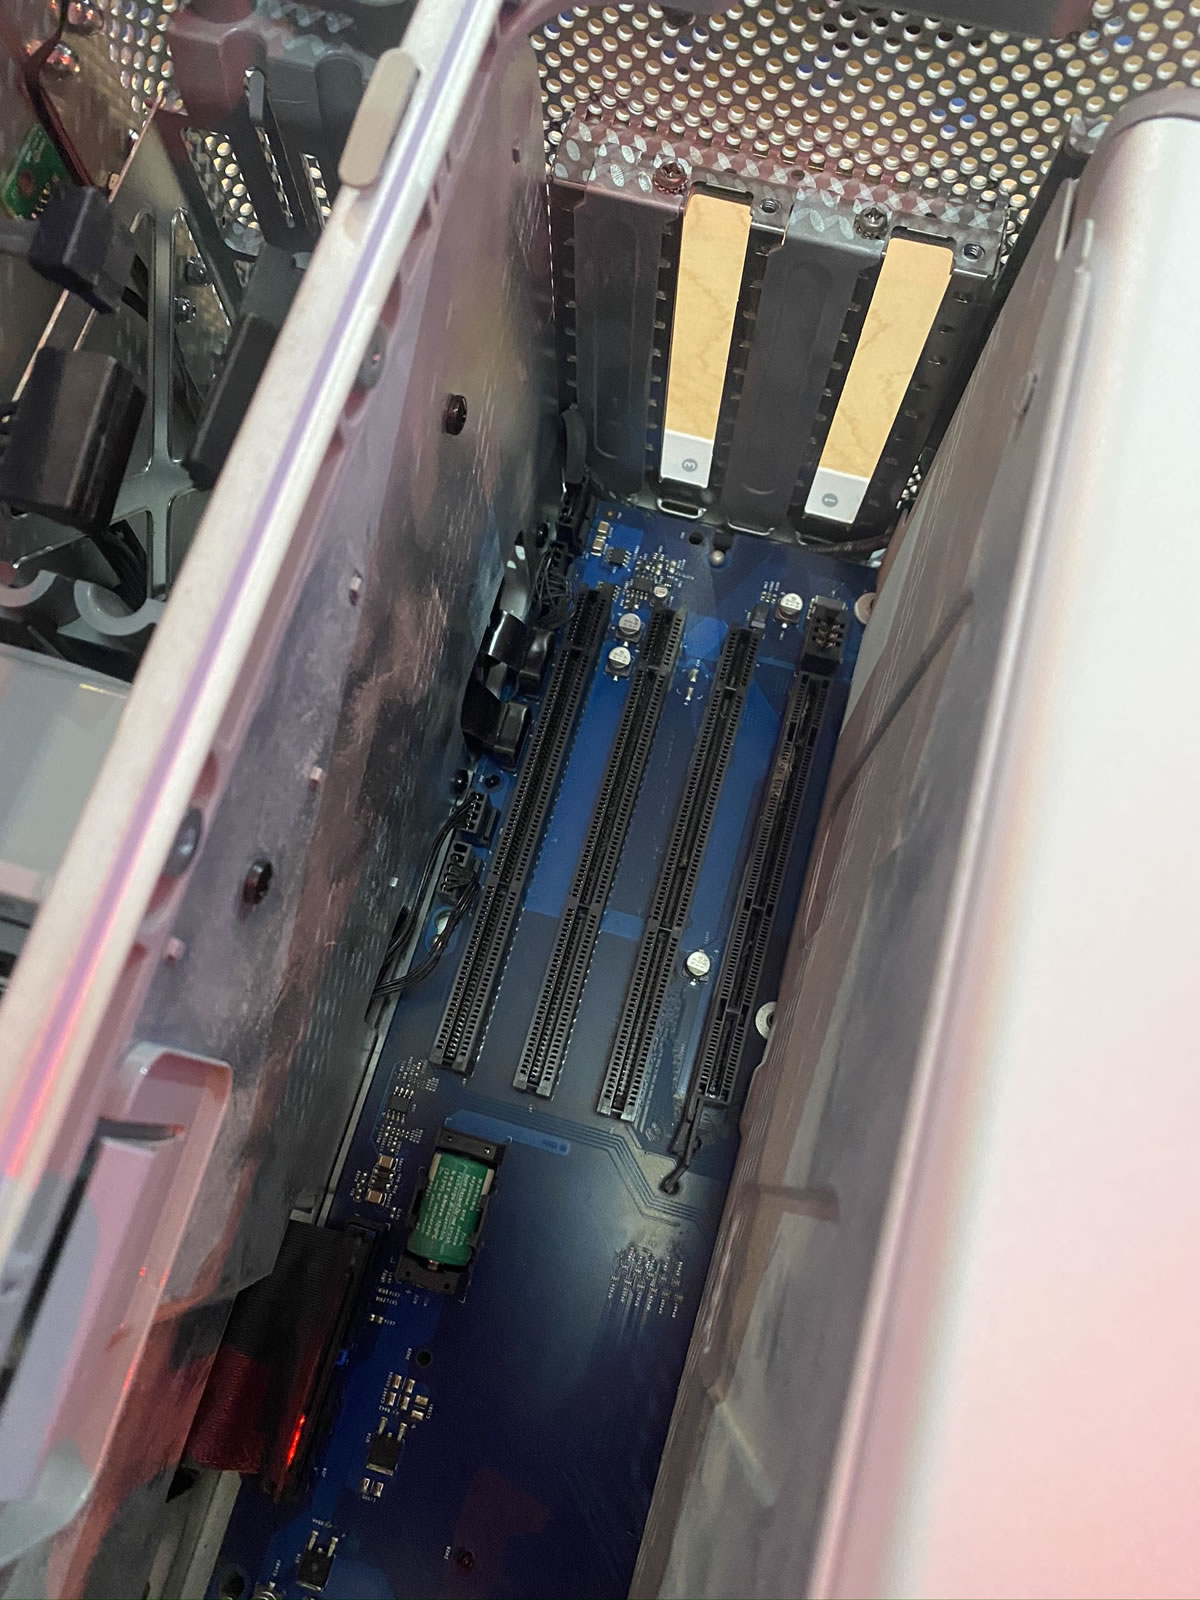
Next up: The RAM!
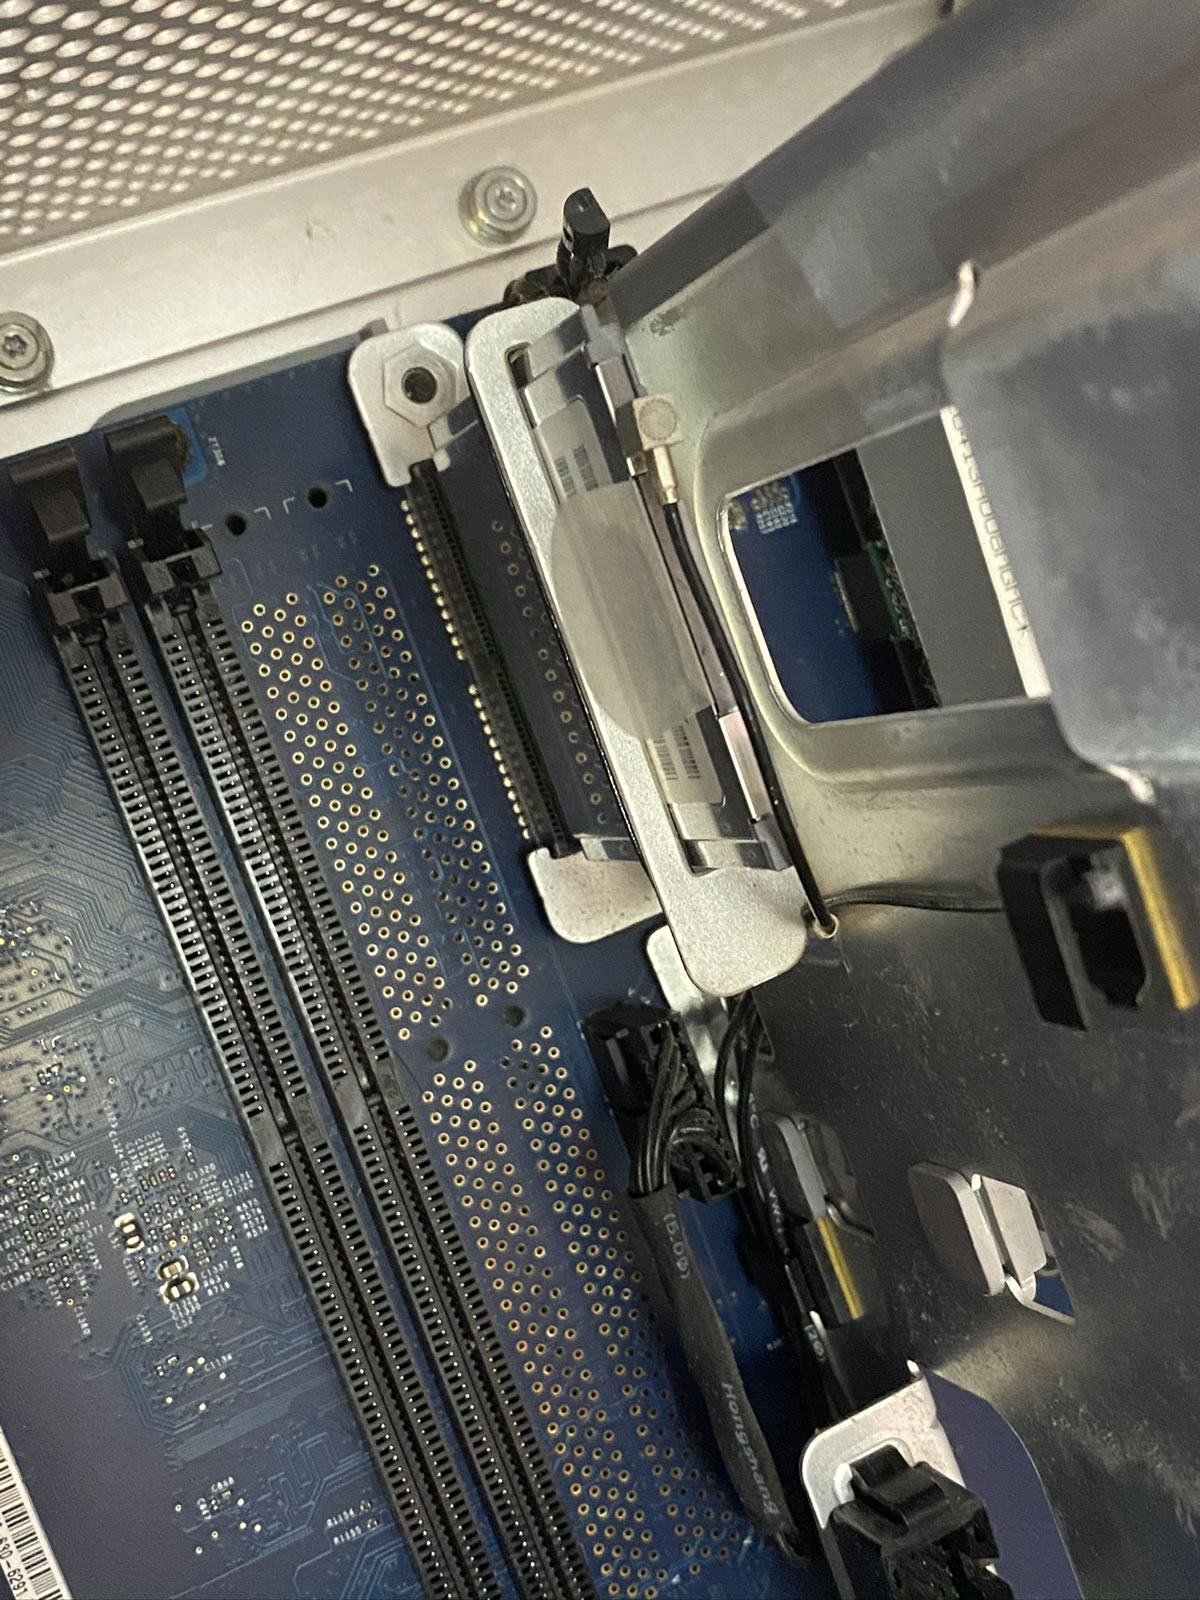
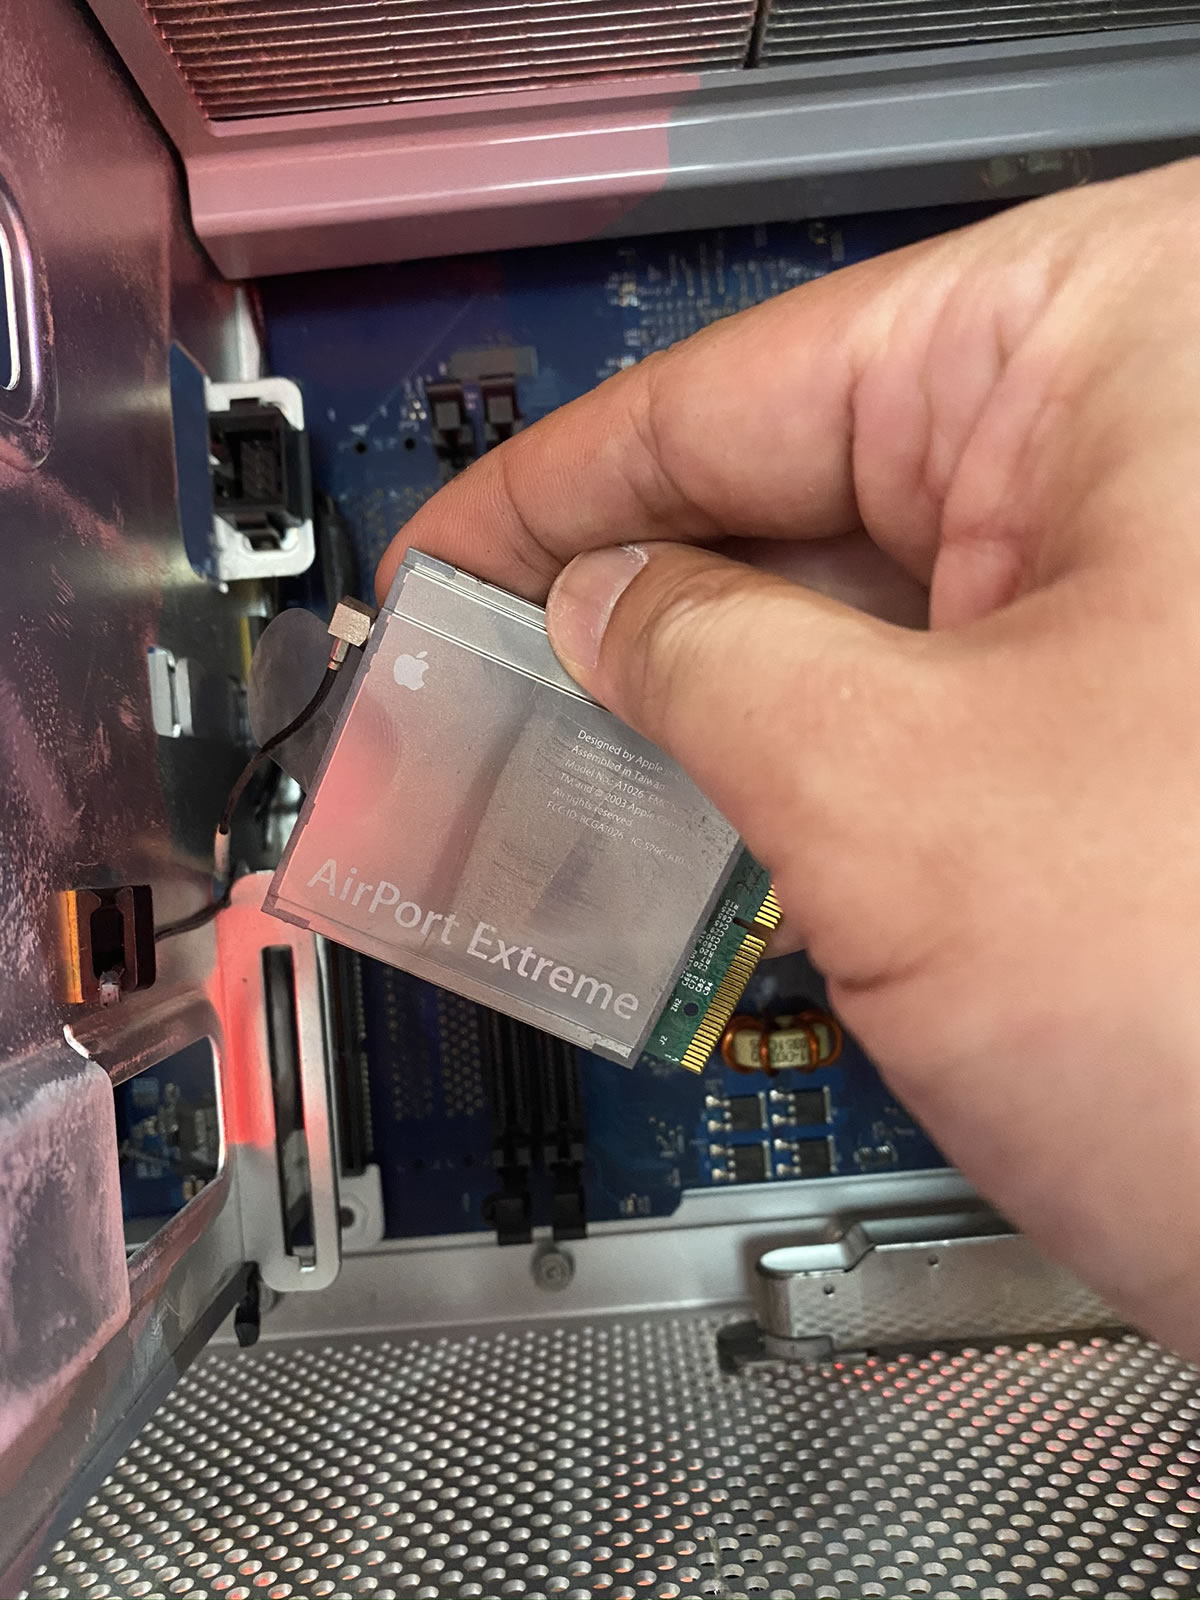
After that came the Airport Extreme wireless NIC, freeing it from both the PCIe slot and its antenna wire:
That took care of the easy part. Time for a photo op:
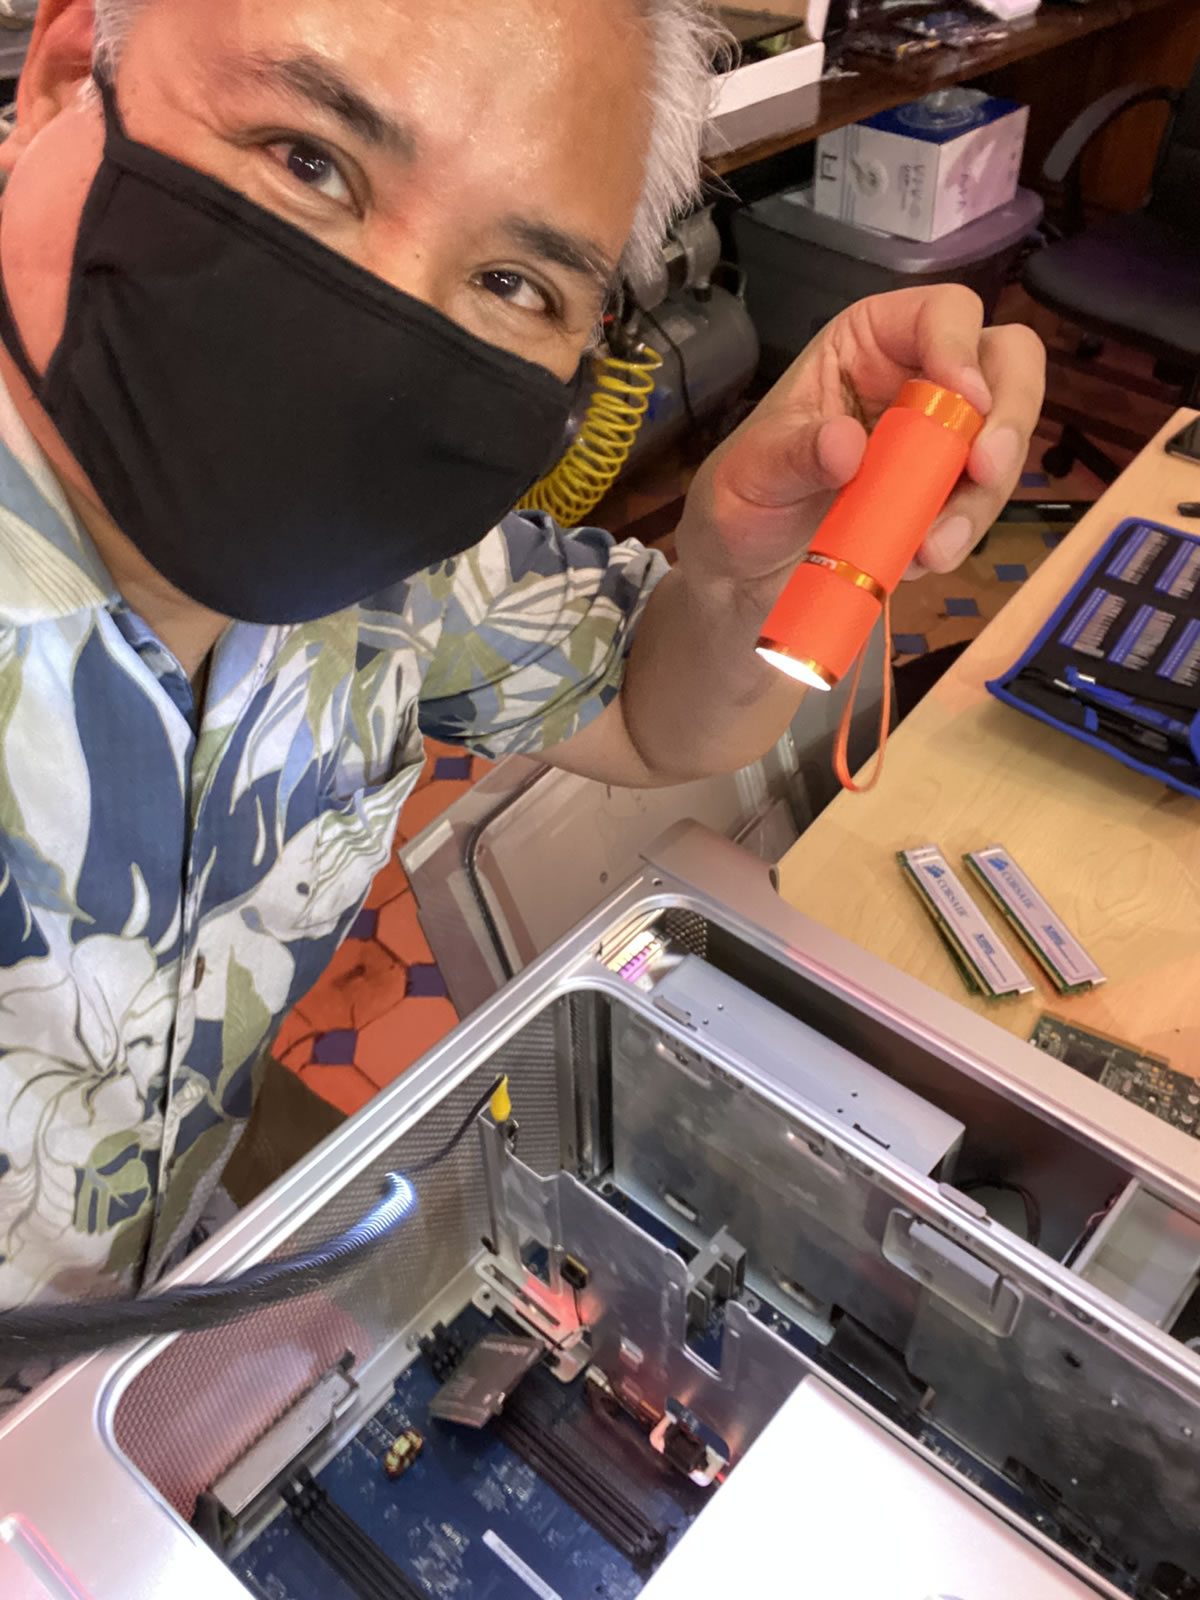
Here’s what I yanked out so far. Note my screw management technique!
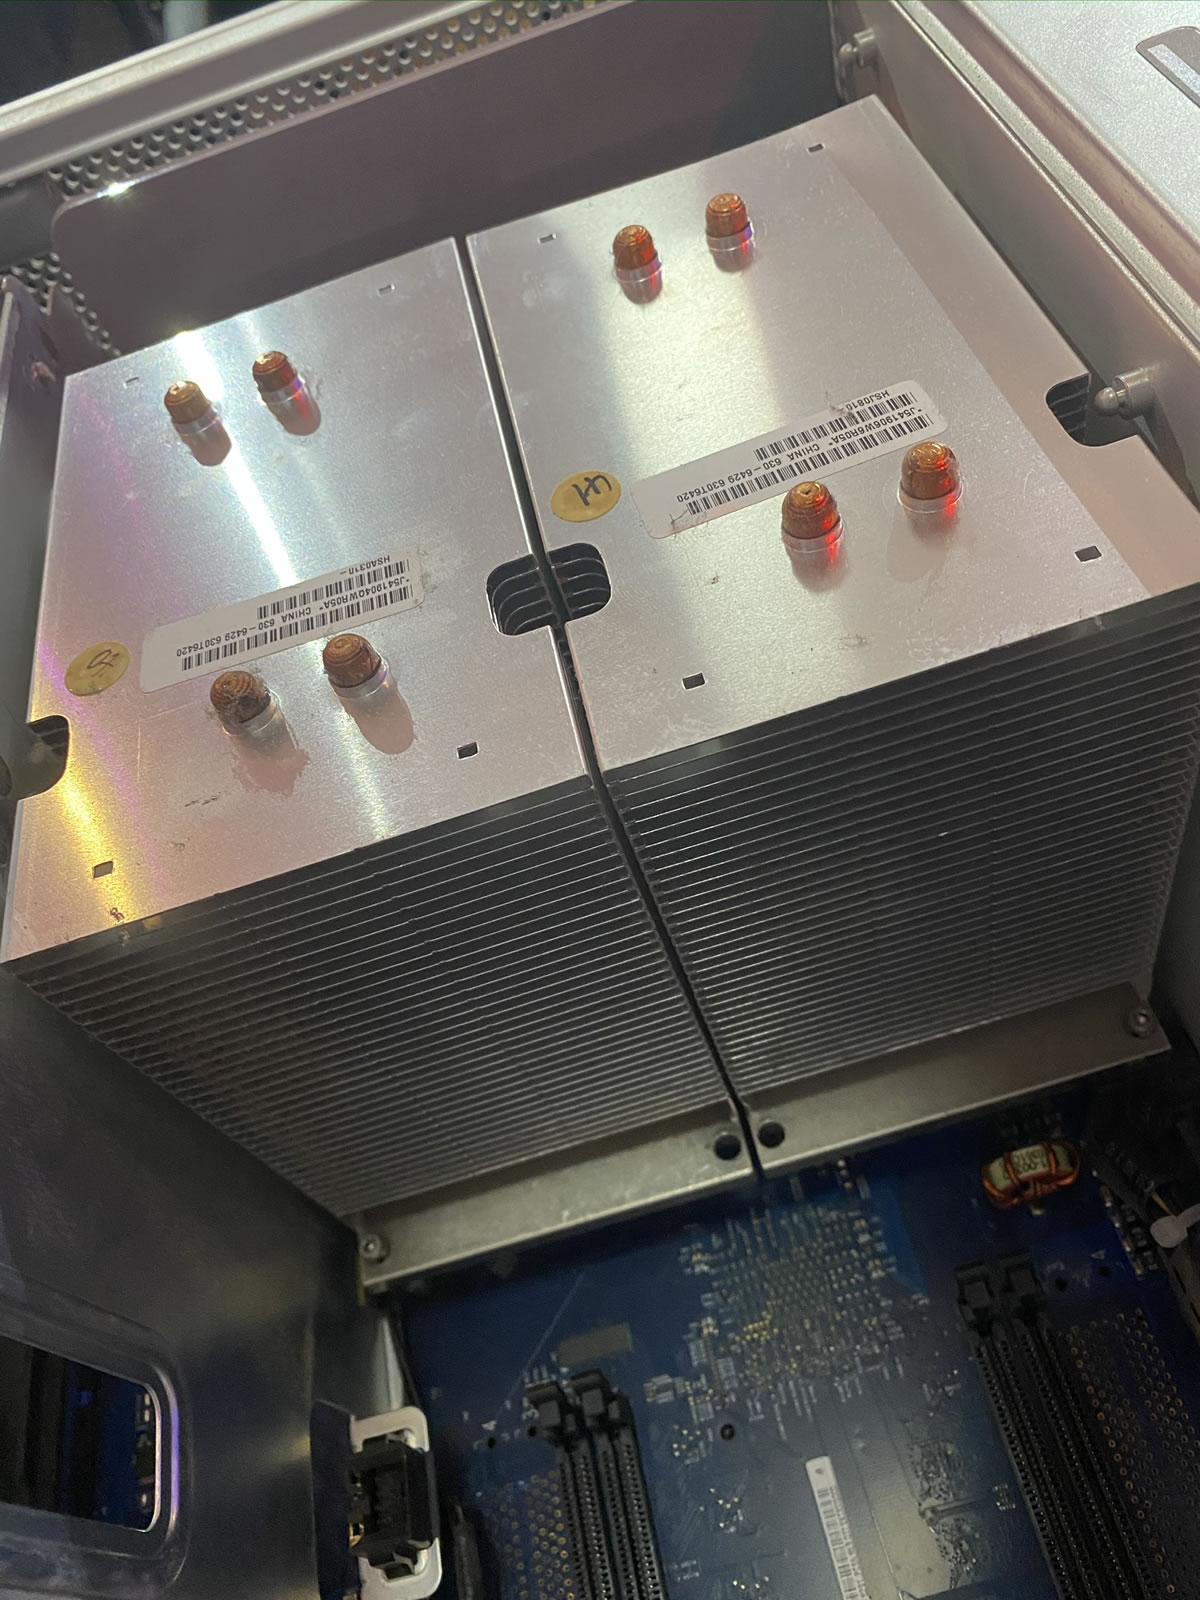
And now the hard part: getting to the processors. They’re encased in a pretty anodized aluminum box, and it turned out that the only way into it was to break the “warranty pin” — a plastic pin that acts as proof that a non-Apple-authorized person took a peek inside:
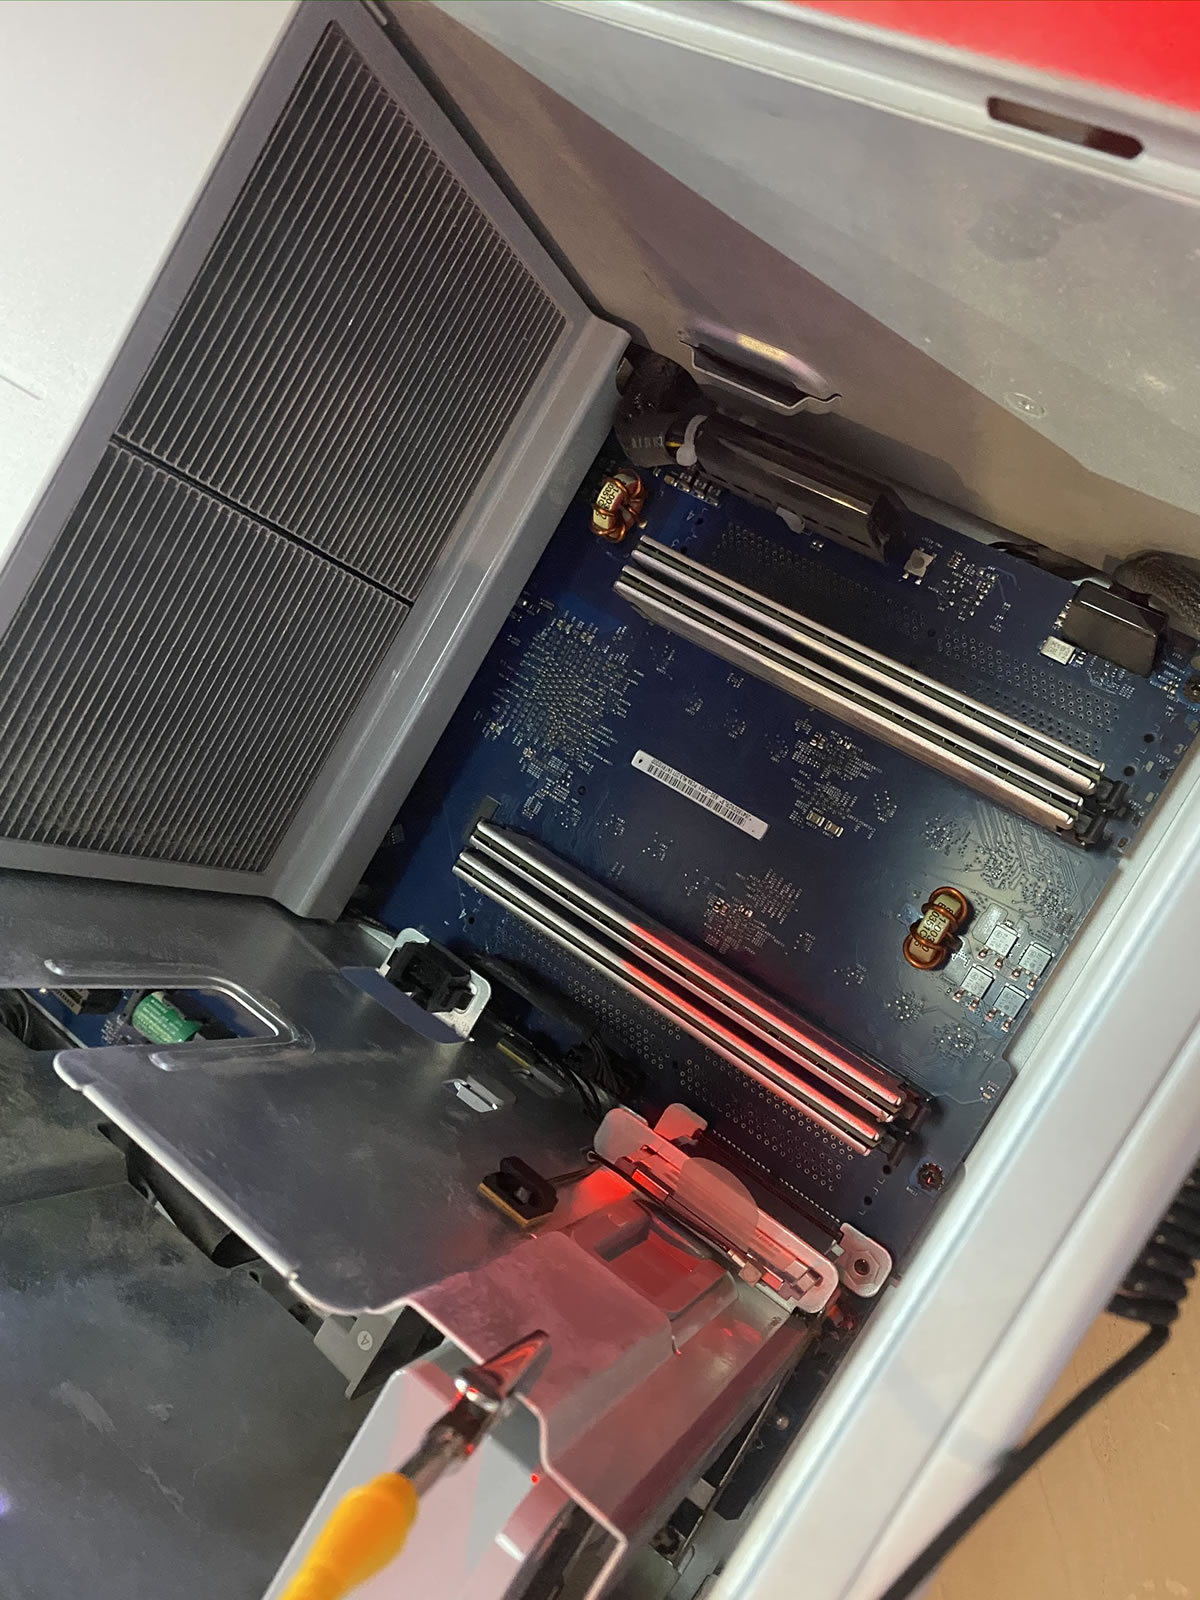
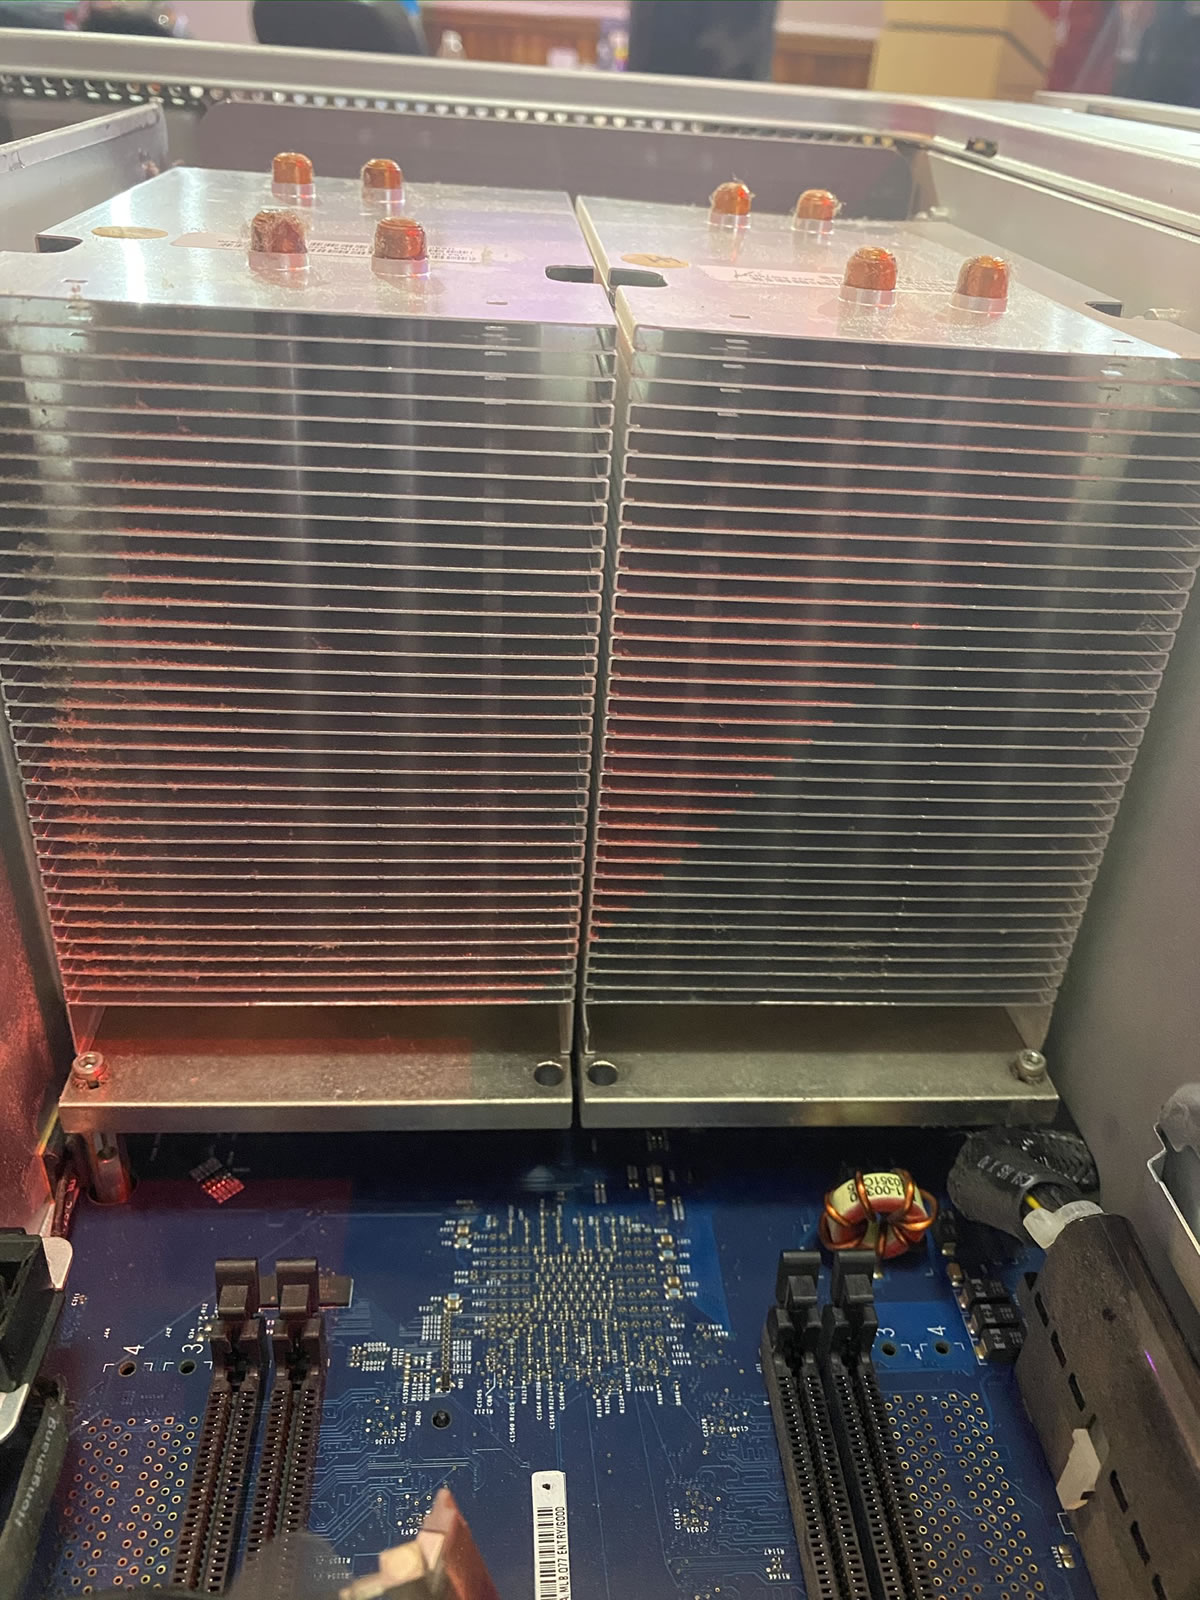
Behind the G5 door were the twin processors and their twin heat sinks:
I finished the teardown by identifying the components I’d extracted.
It was then time to move onto the next patient, a “TPS Reports”-writing desktop computer that we would have to disassemble and reassemble:
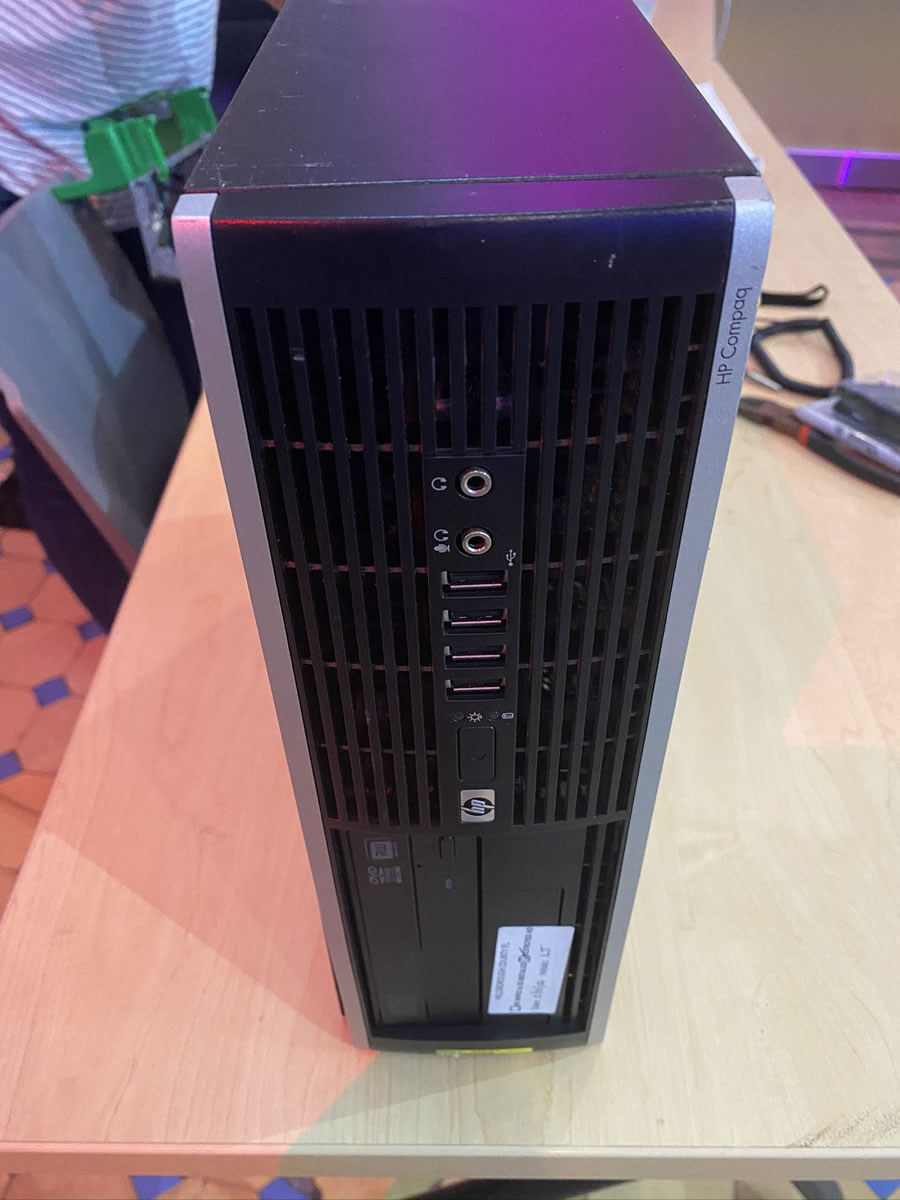
These are machines whose innards would need to be accessed by a mid-size office IT department, so it opens easily:
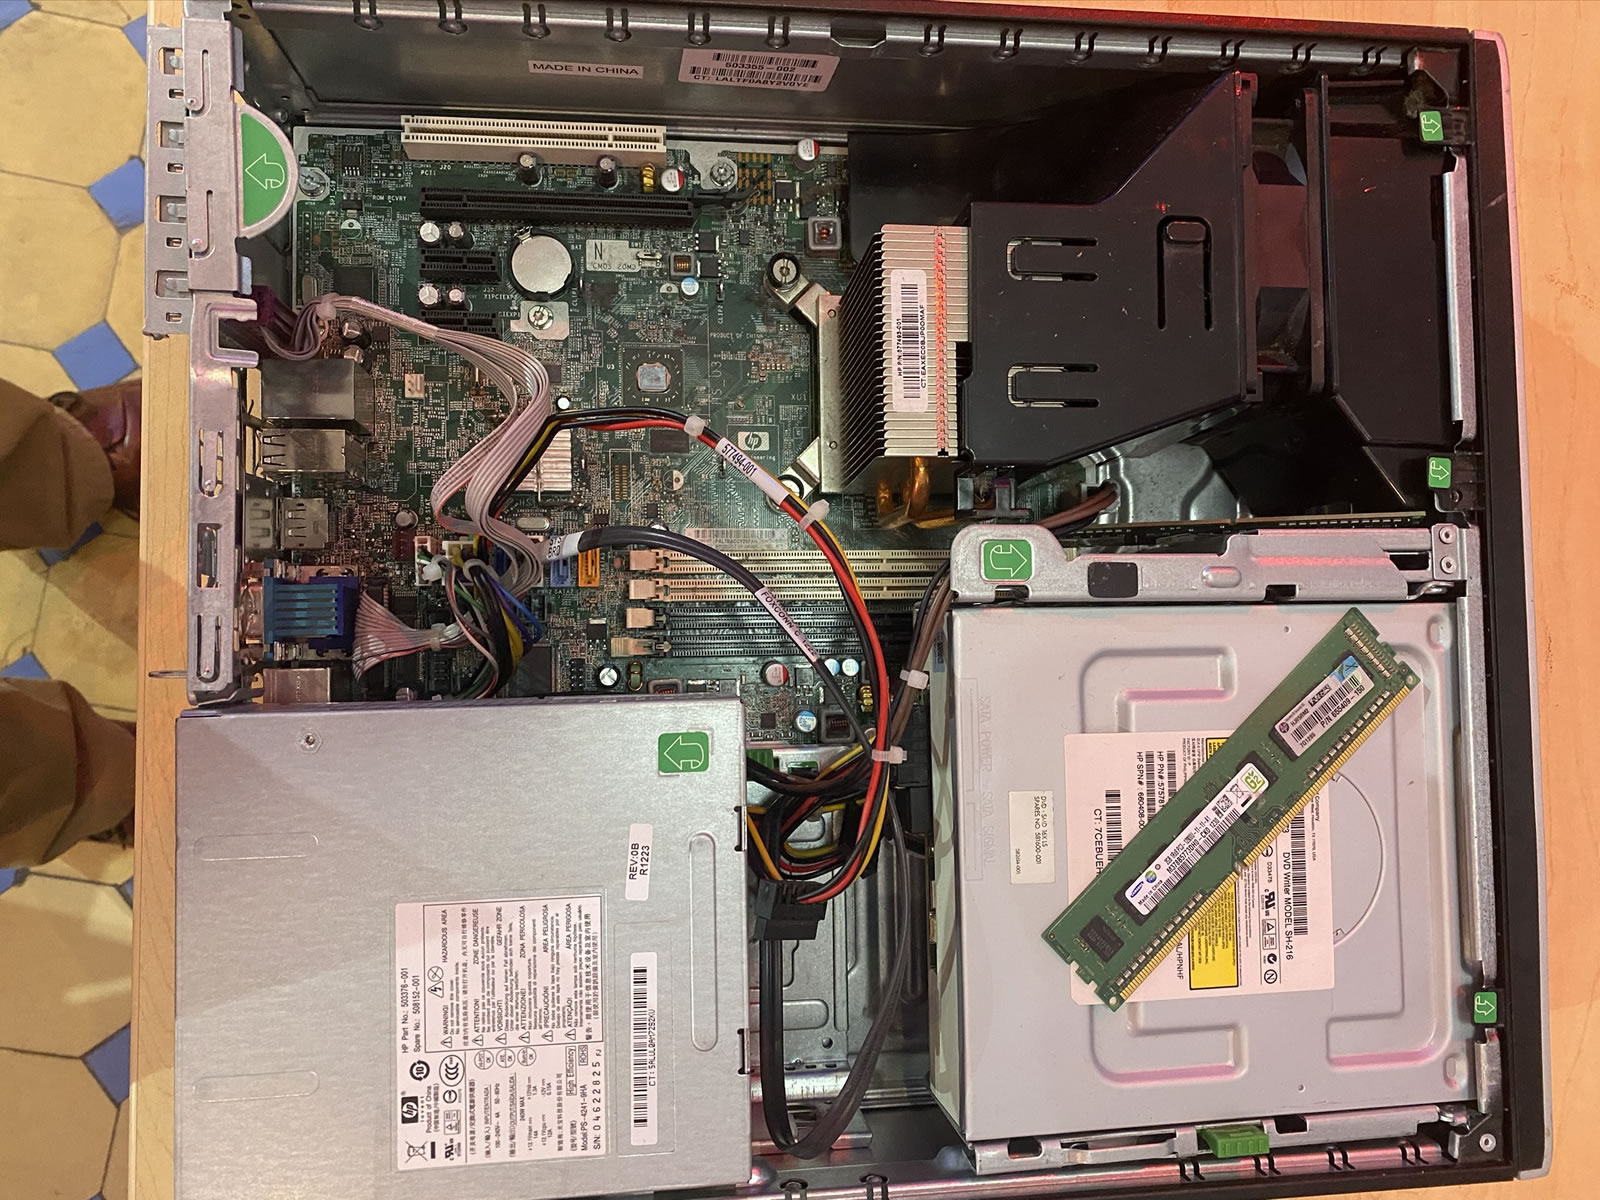
Modern computers largely fit together like Lego pieces. Even so, I kept notes on which cables went where.
Here, I’ve relieved the machine of its power supply and optical drive. It was missing a hard drive, so I retrieved one of the spare from the back of the room:
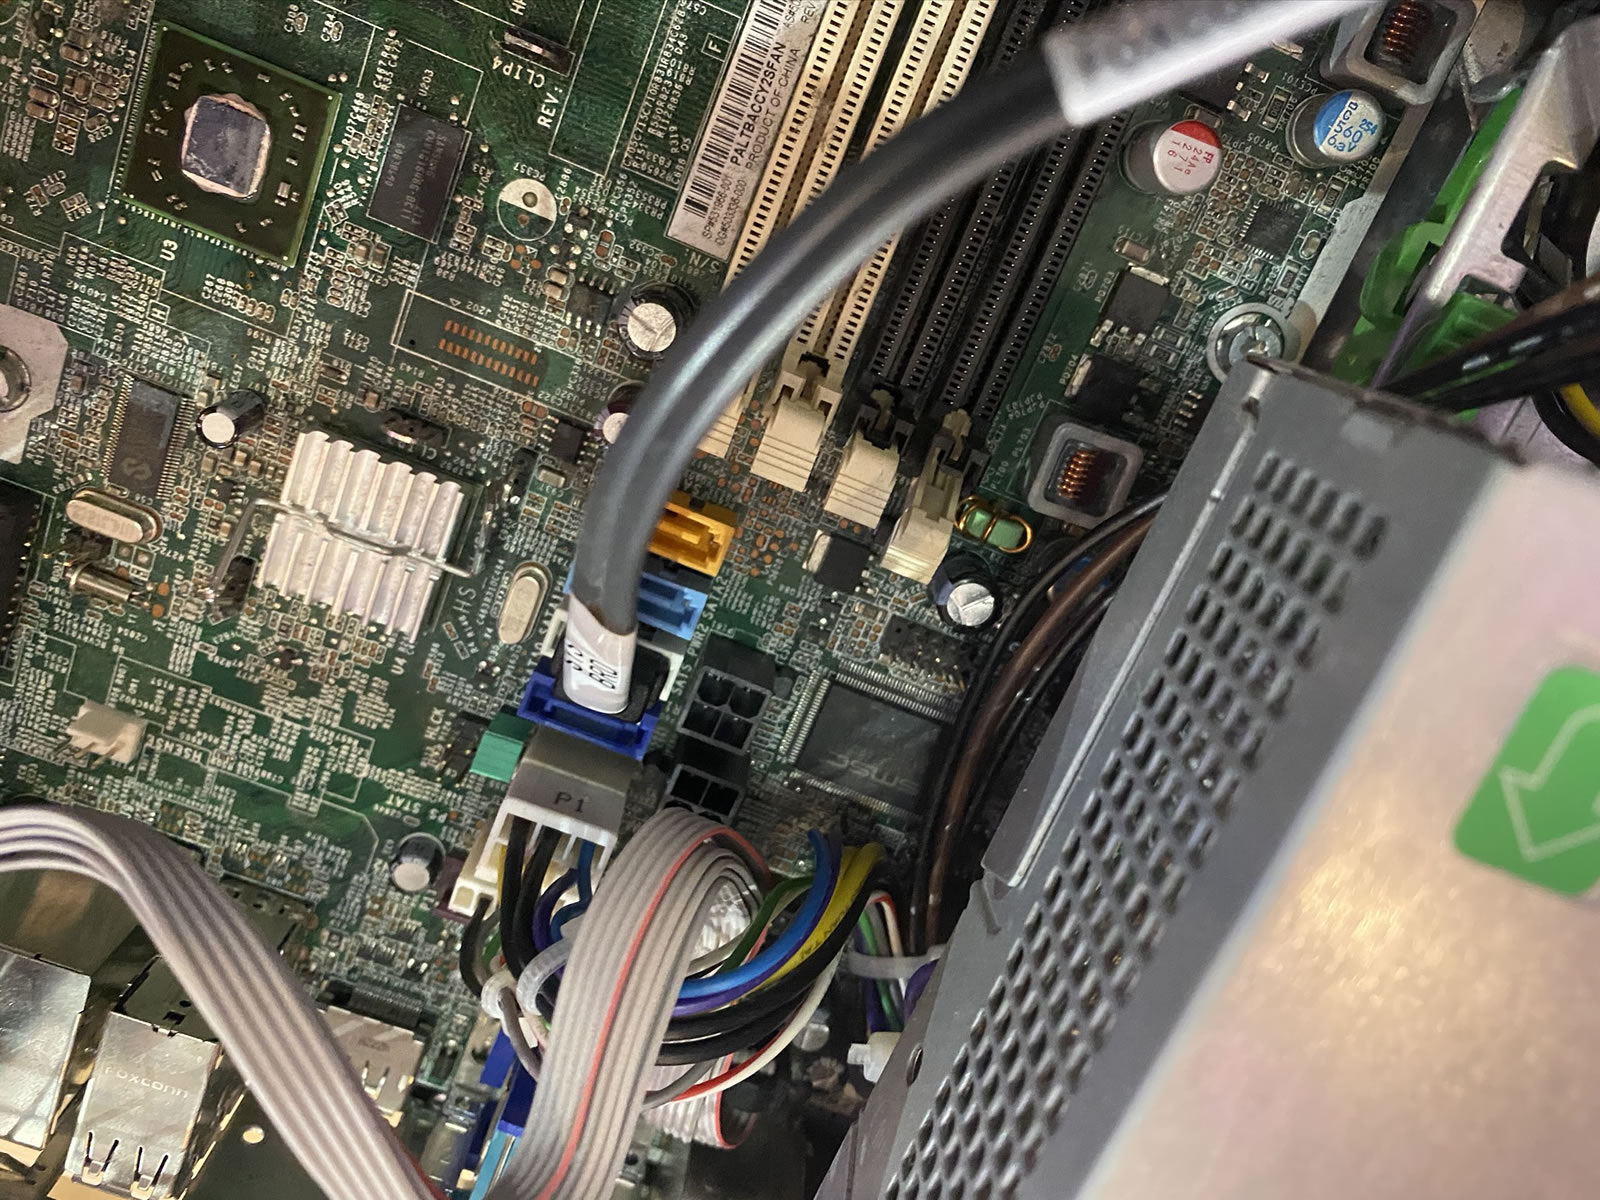
The final part of the assignment: Identify and retrieve the processor. It’s fairly obvious:
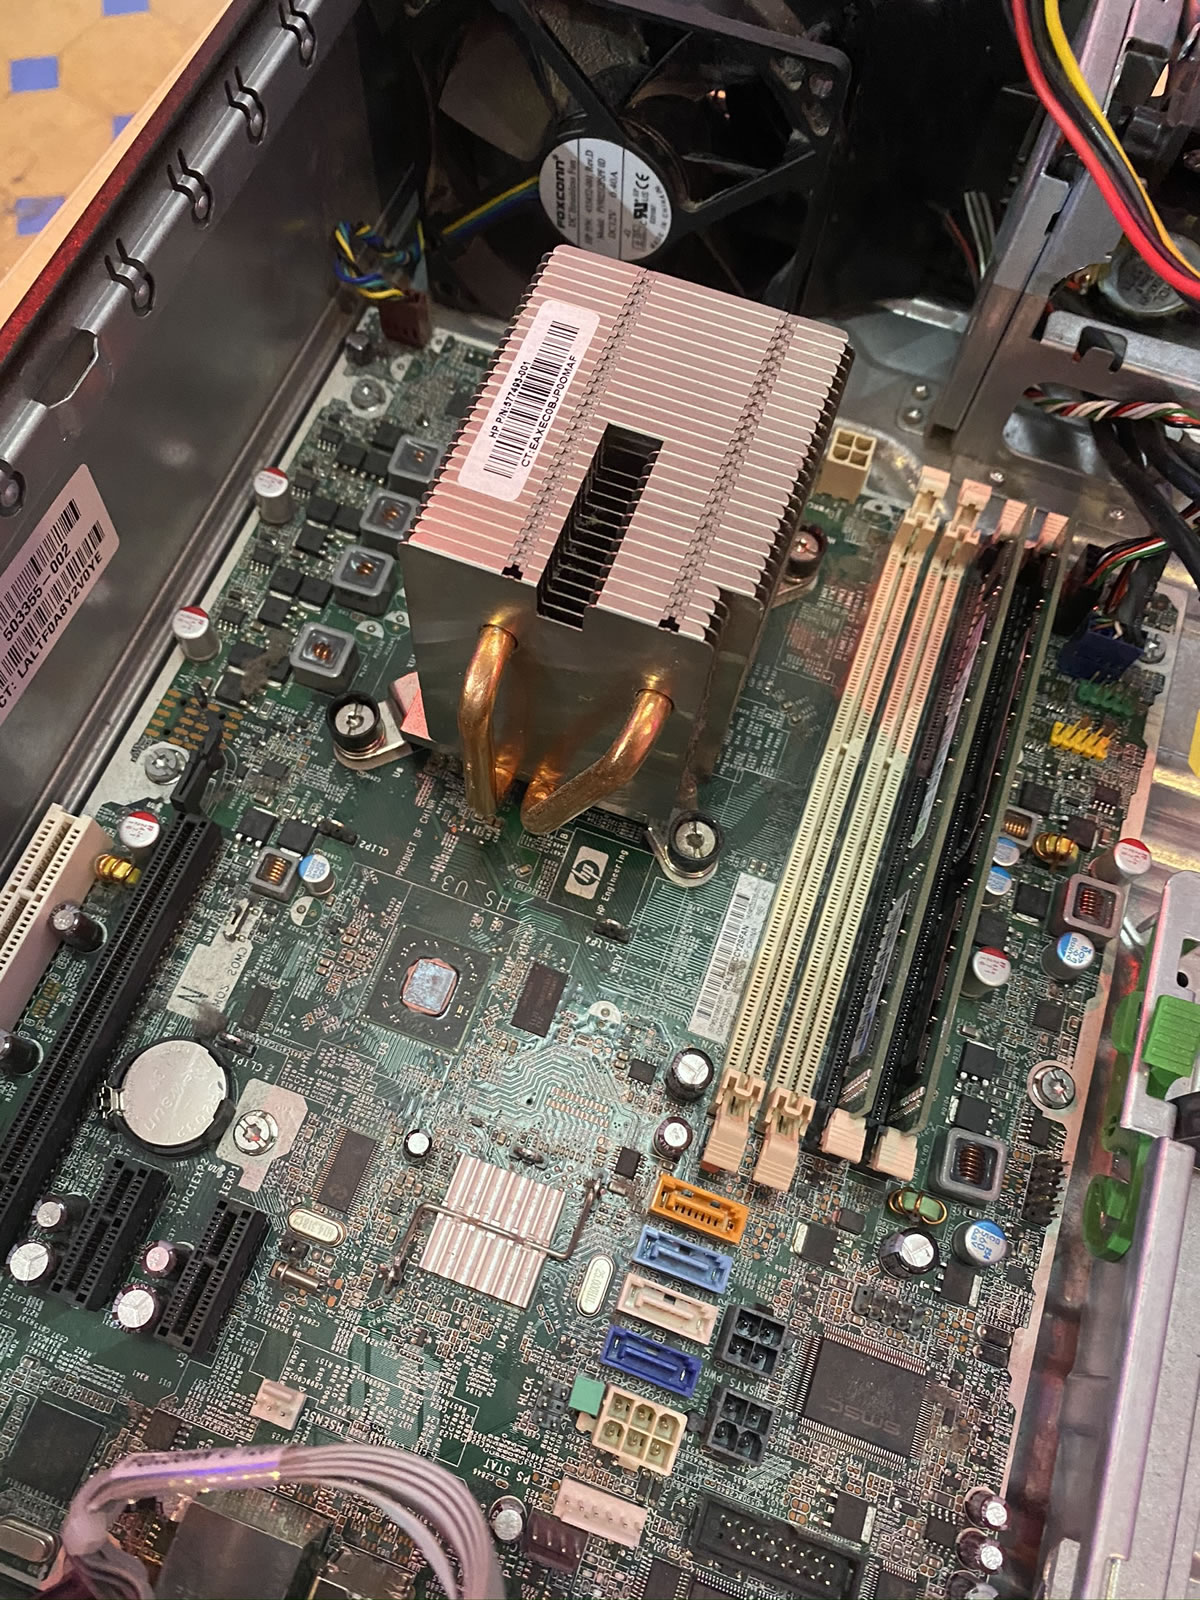
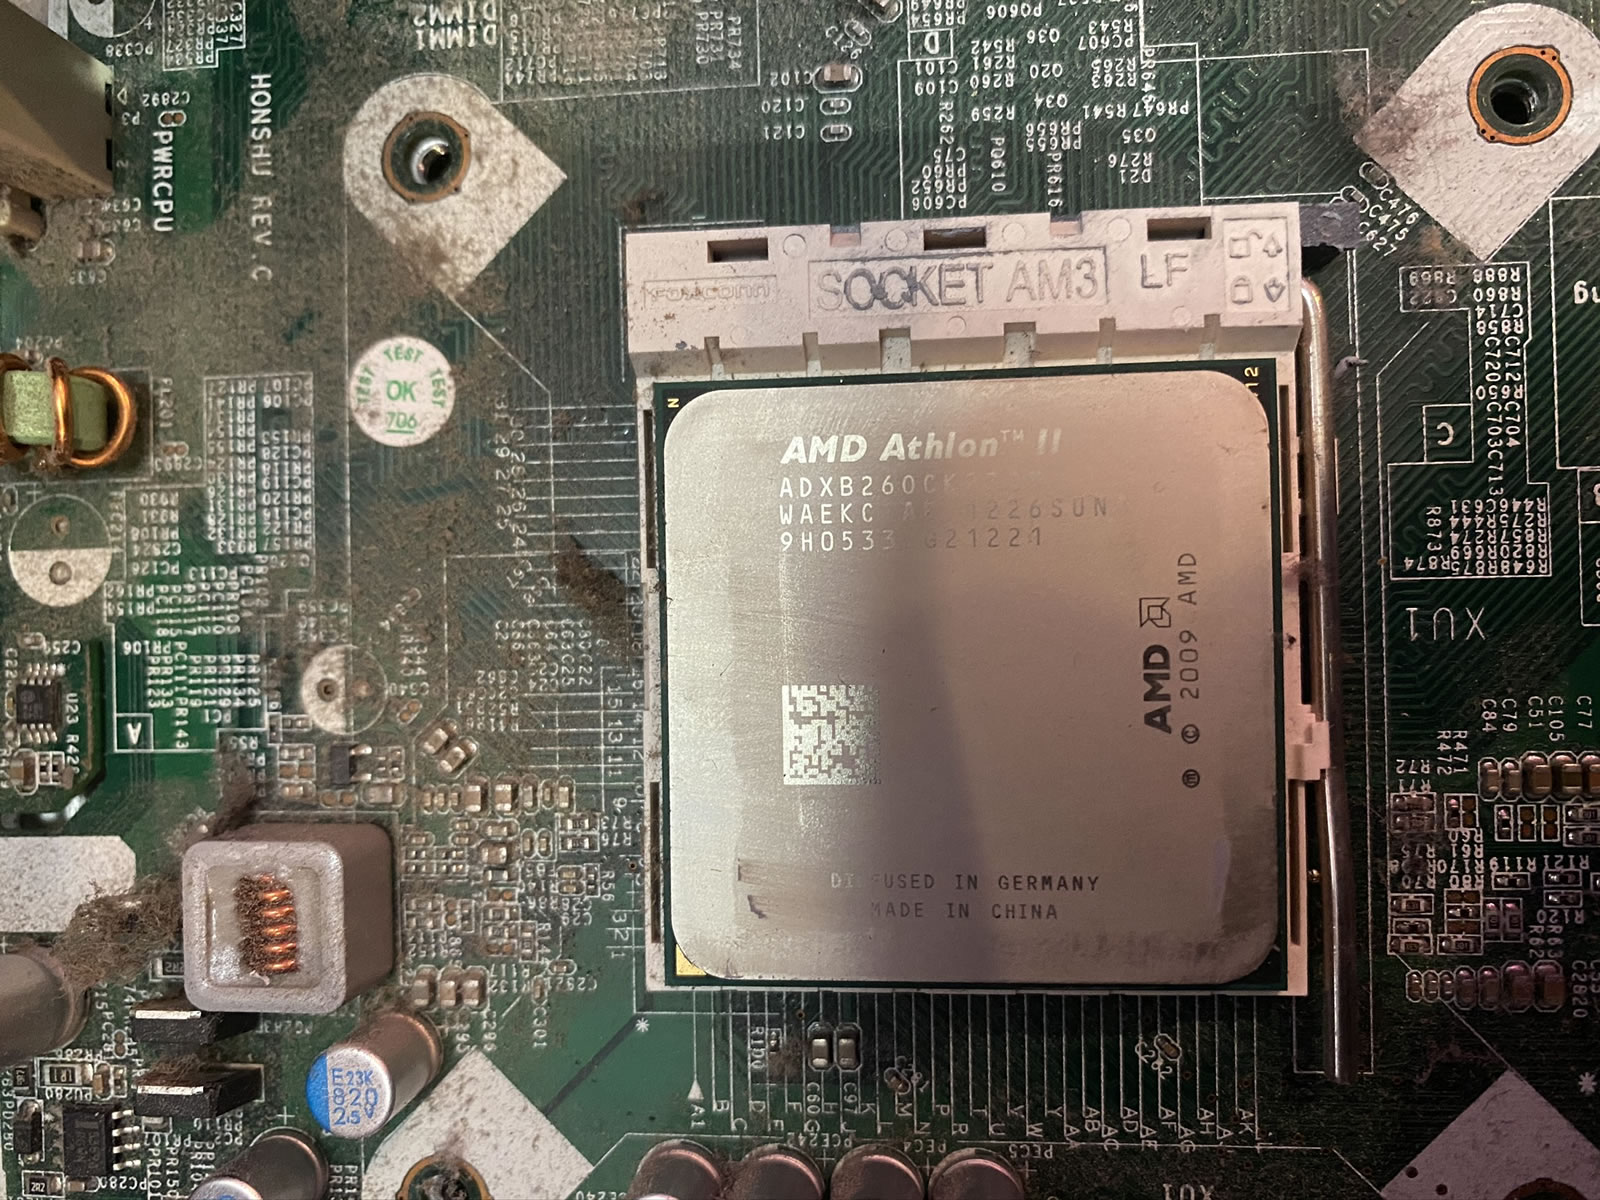
Here’s the processor, without the heat sink obscuring it. It’s an AMD Athlon II, which dates from around 2009 / 2010, when Windows 7 was a new thing:
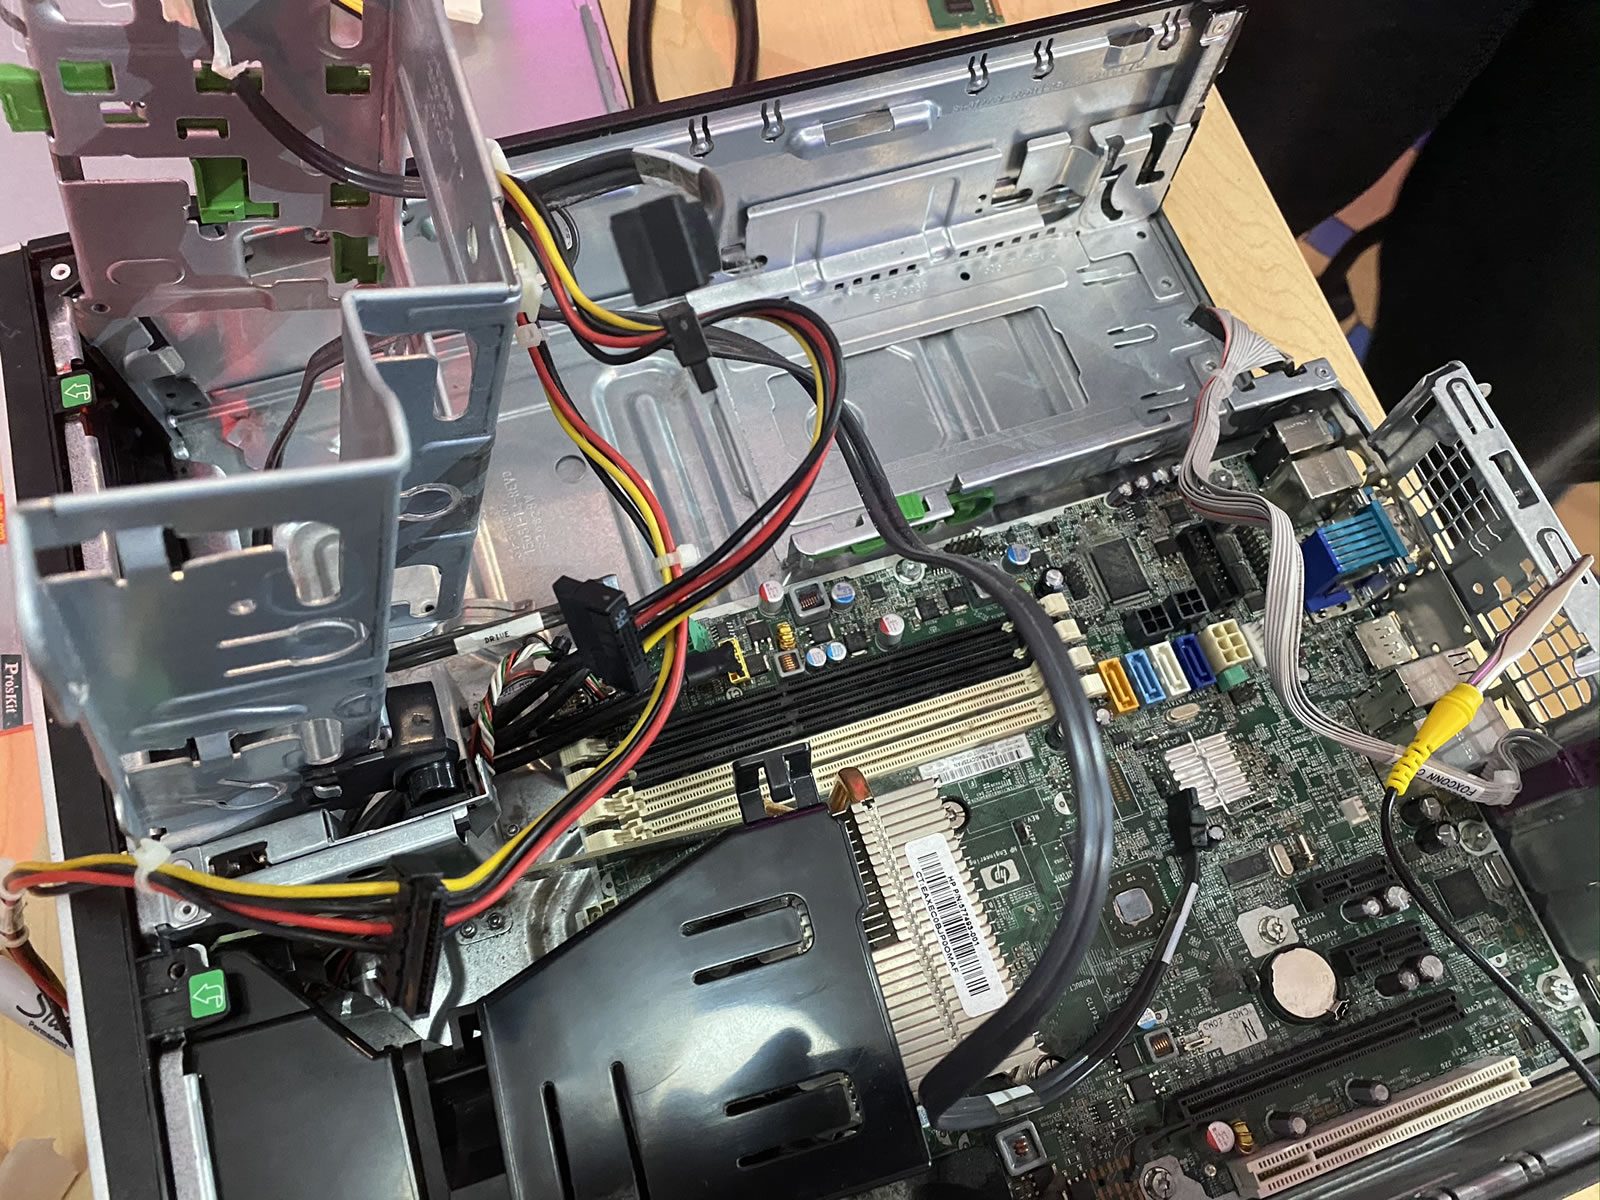
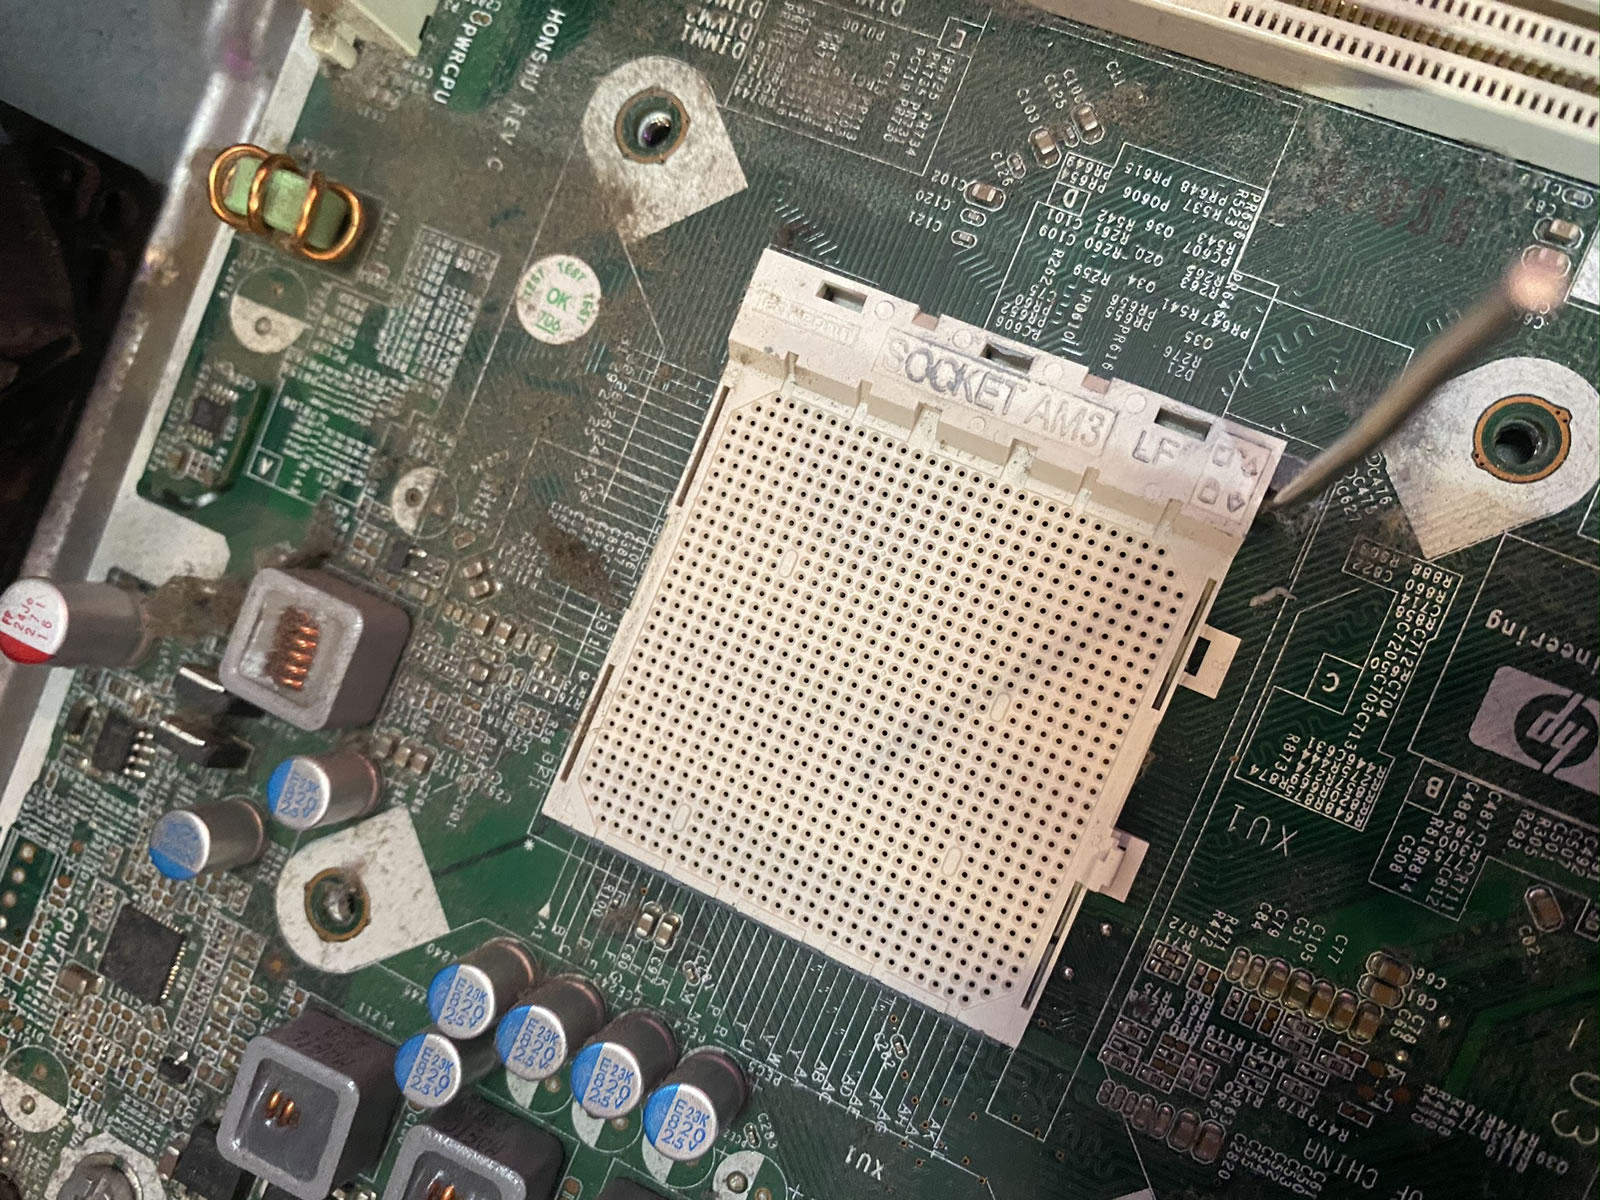
The processor sat in a ZIF (zero insertion force) socket, which makes it easy to remove and then re-seat:
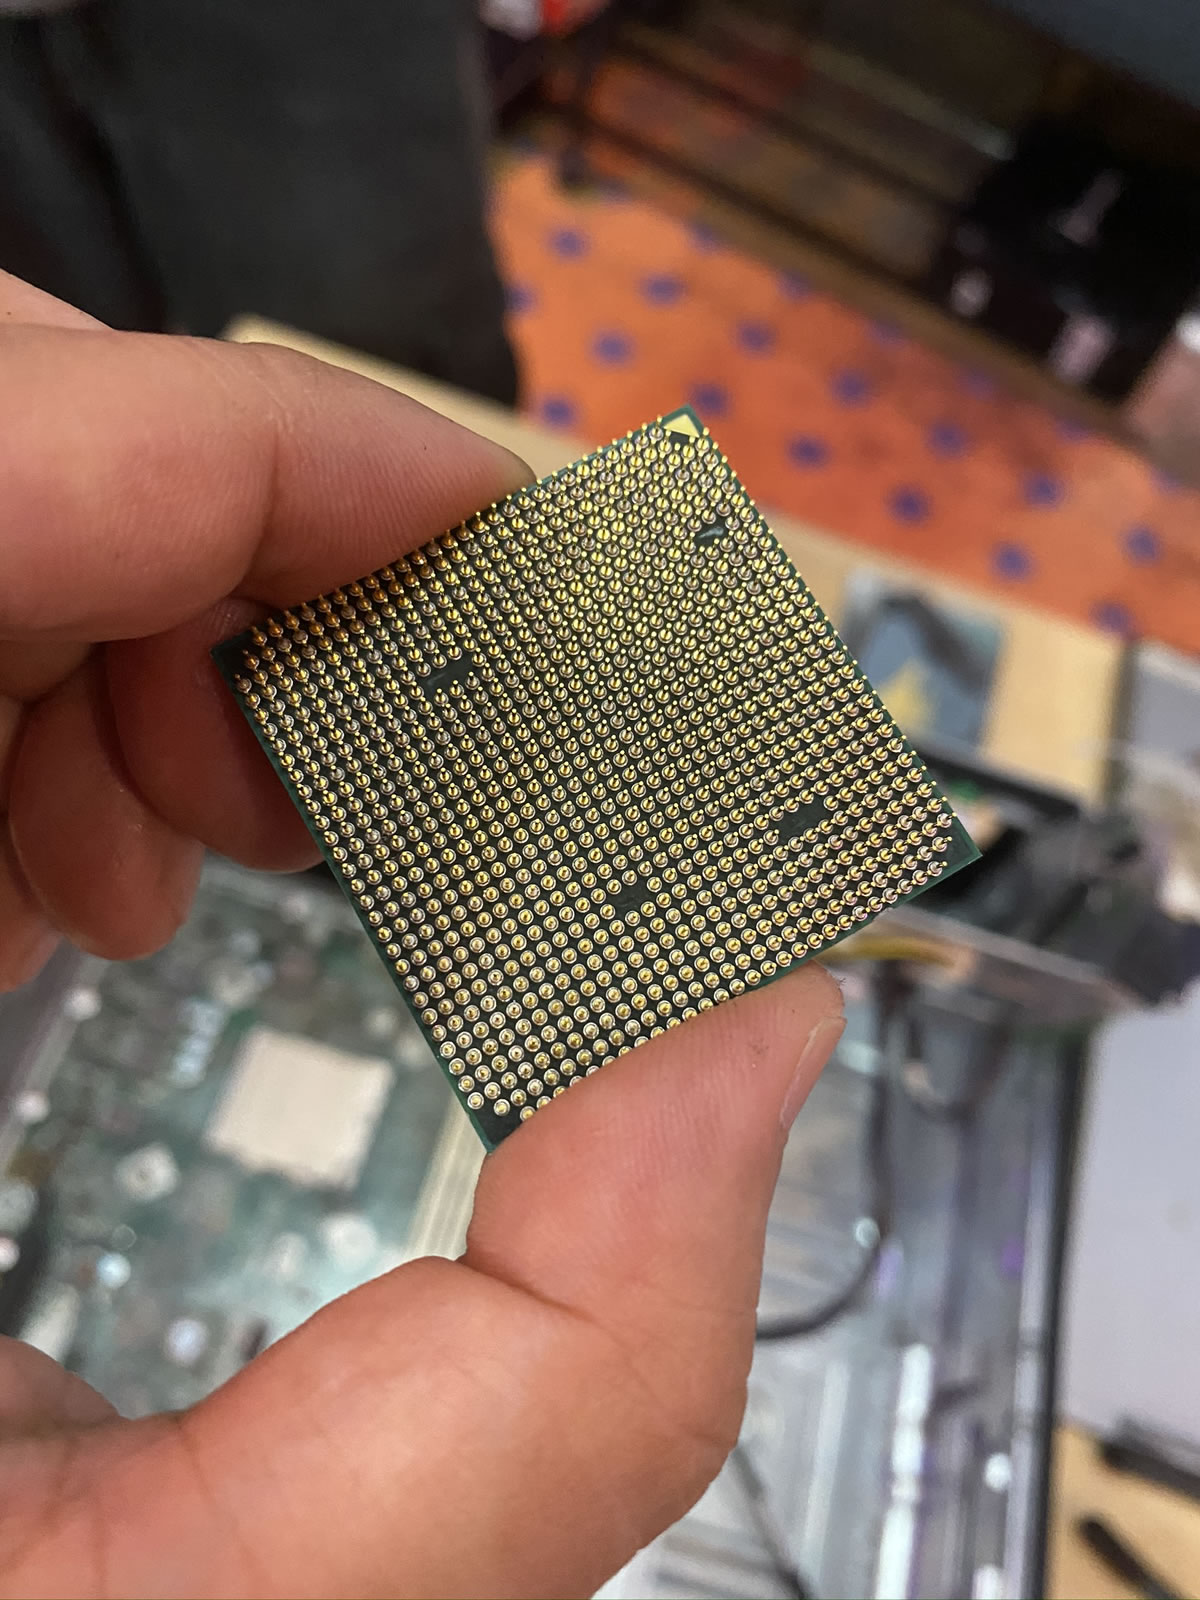
Look at all those pins. We’re a long way from my first processor, the 6502, which had only 40 pins.
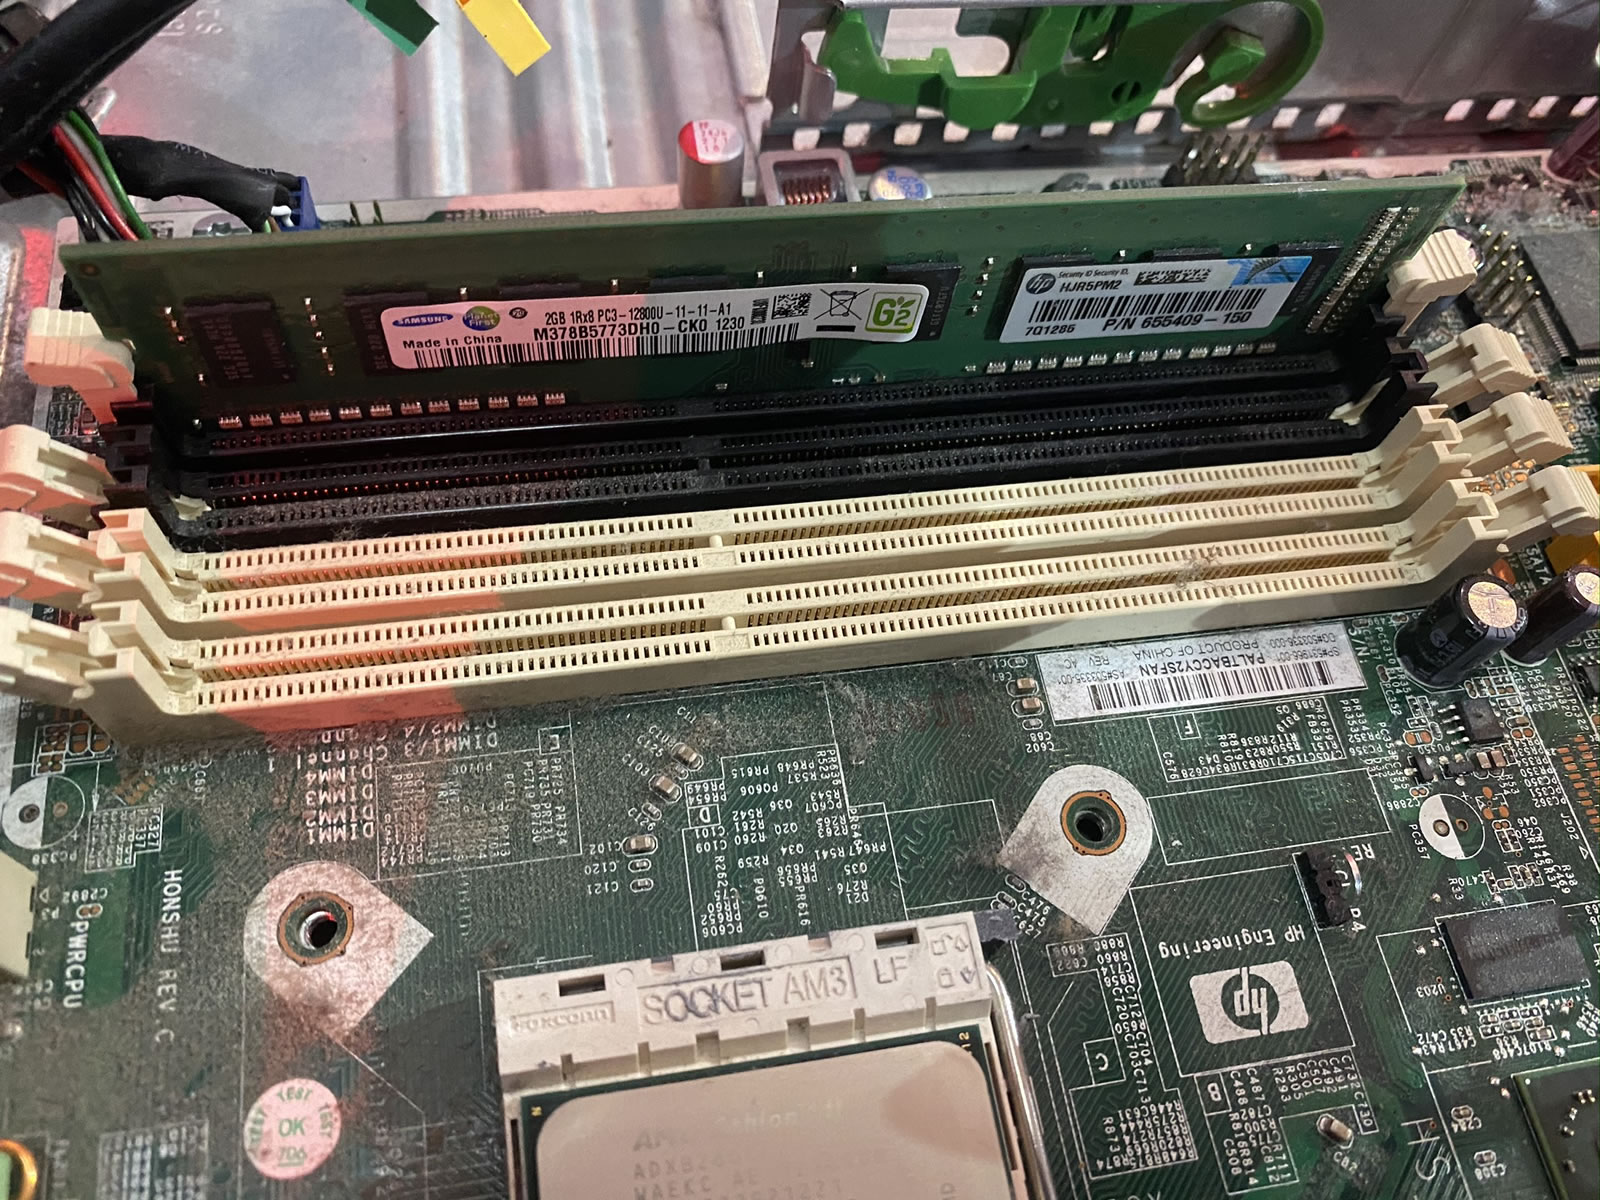
Rebuild time! The machine had no RAM, so I grabbed two sticks from the back of the room and inserted into the primary slots, then put the rest of the machine back together again:
The final test — does it power up?
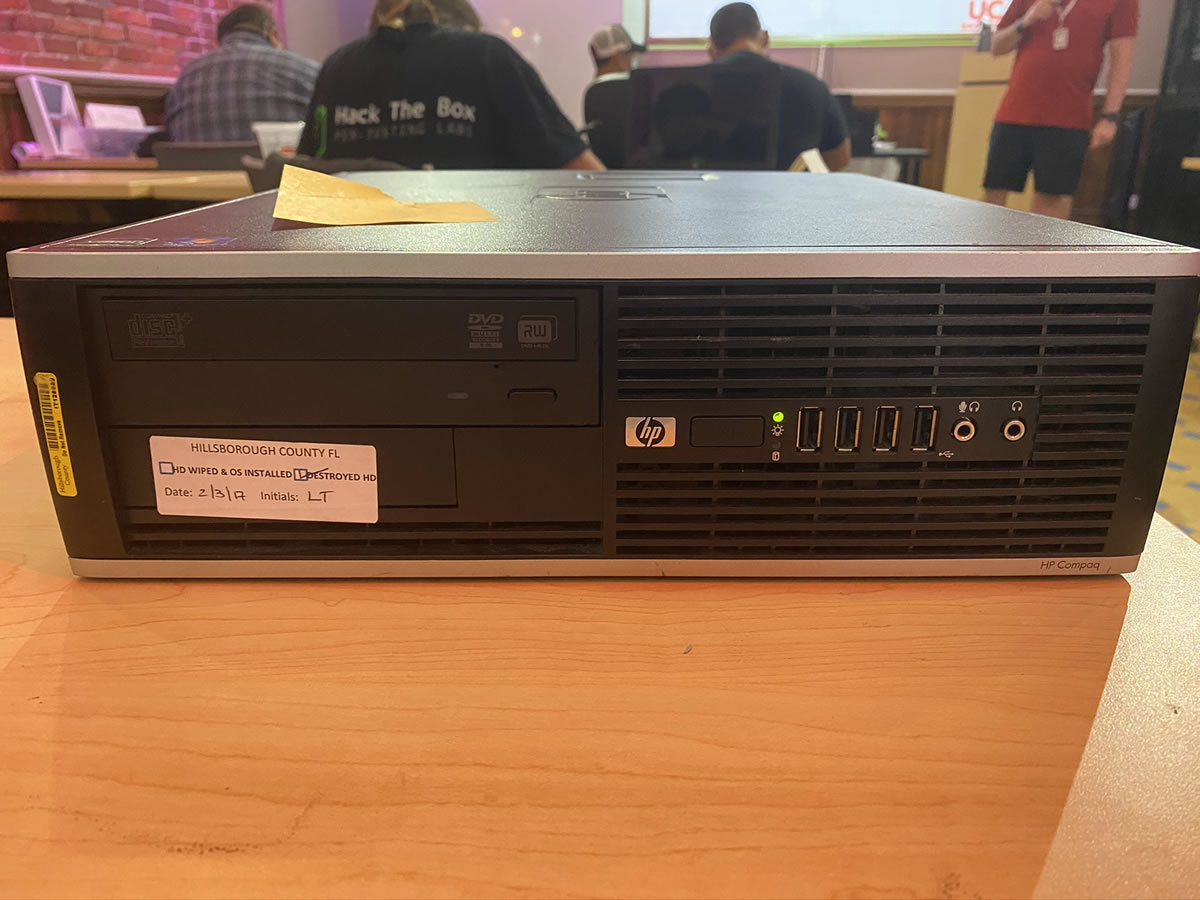
Success! A quick attachment to a monitor and keyboard showed an old Windows screen. Not bad for my first teardown/reassembly.