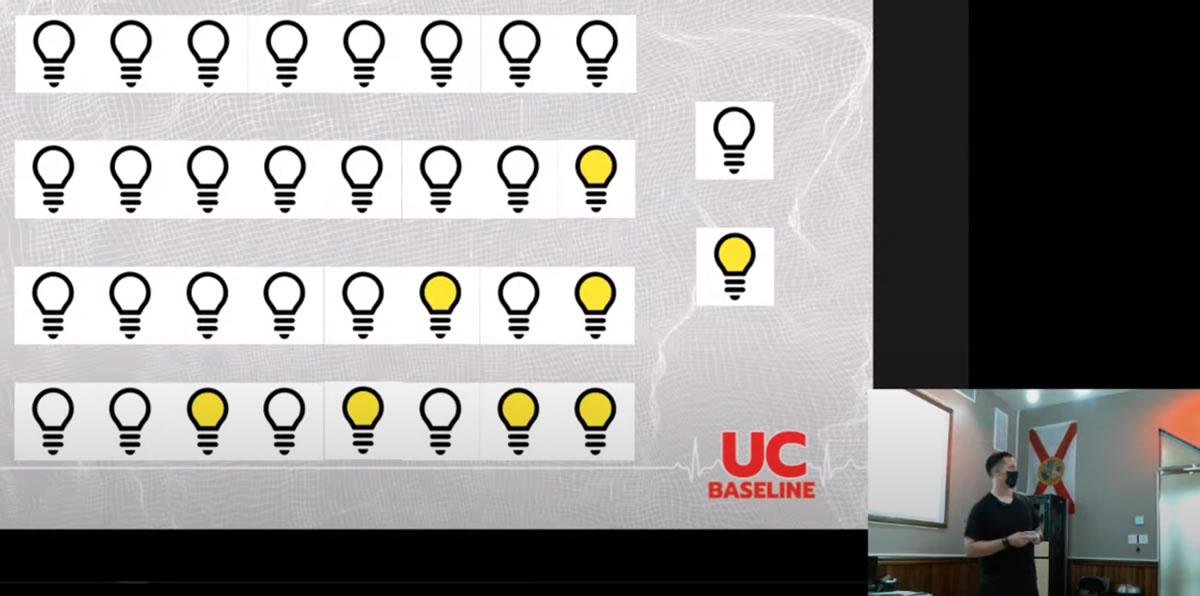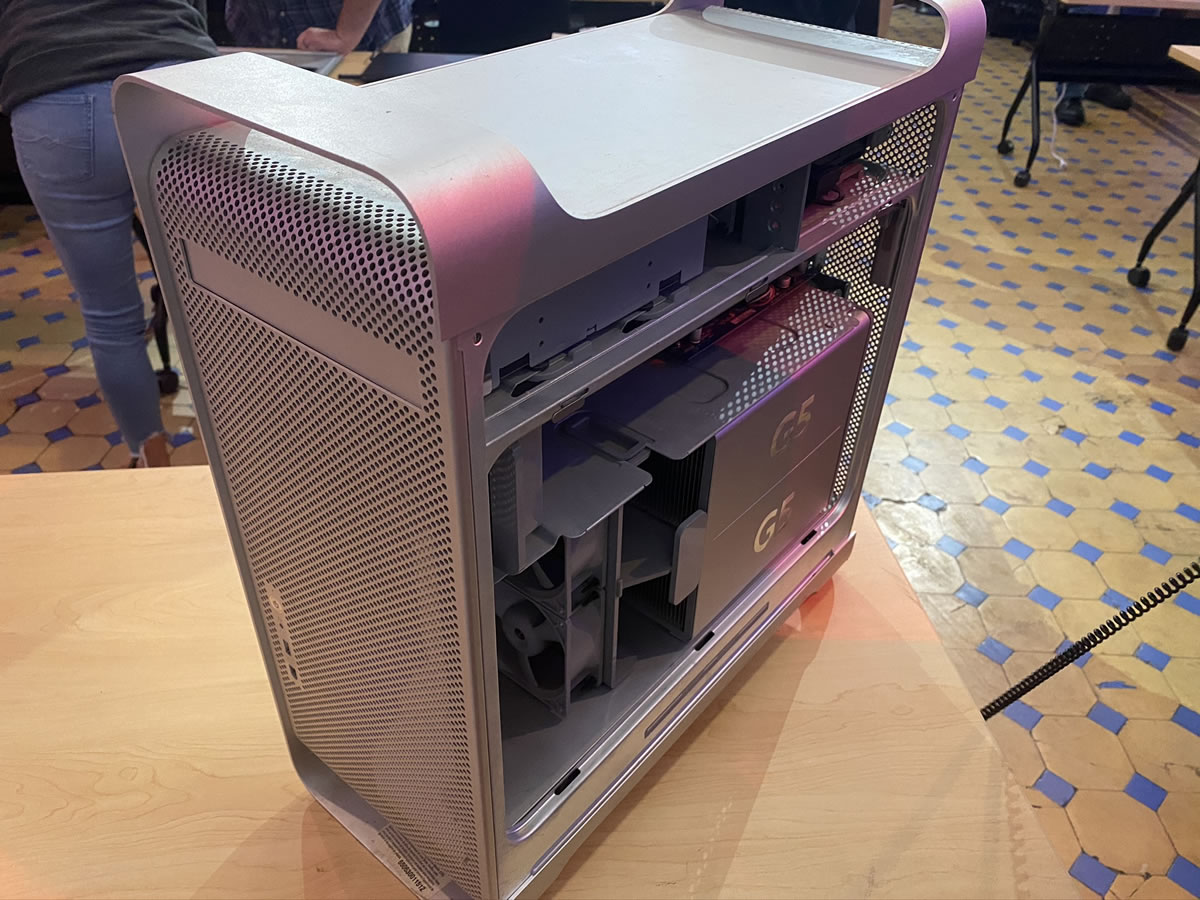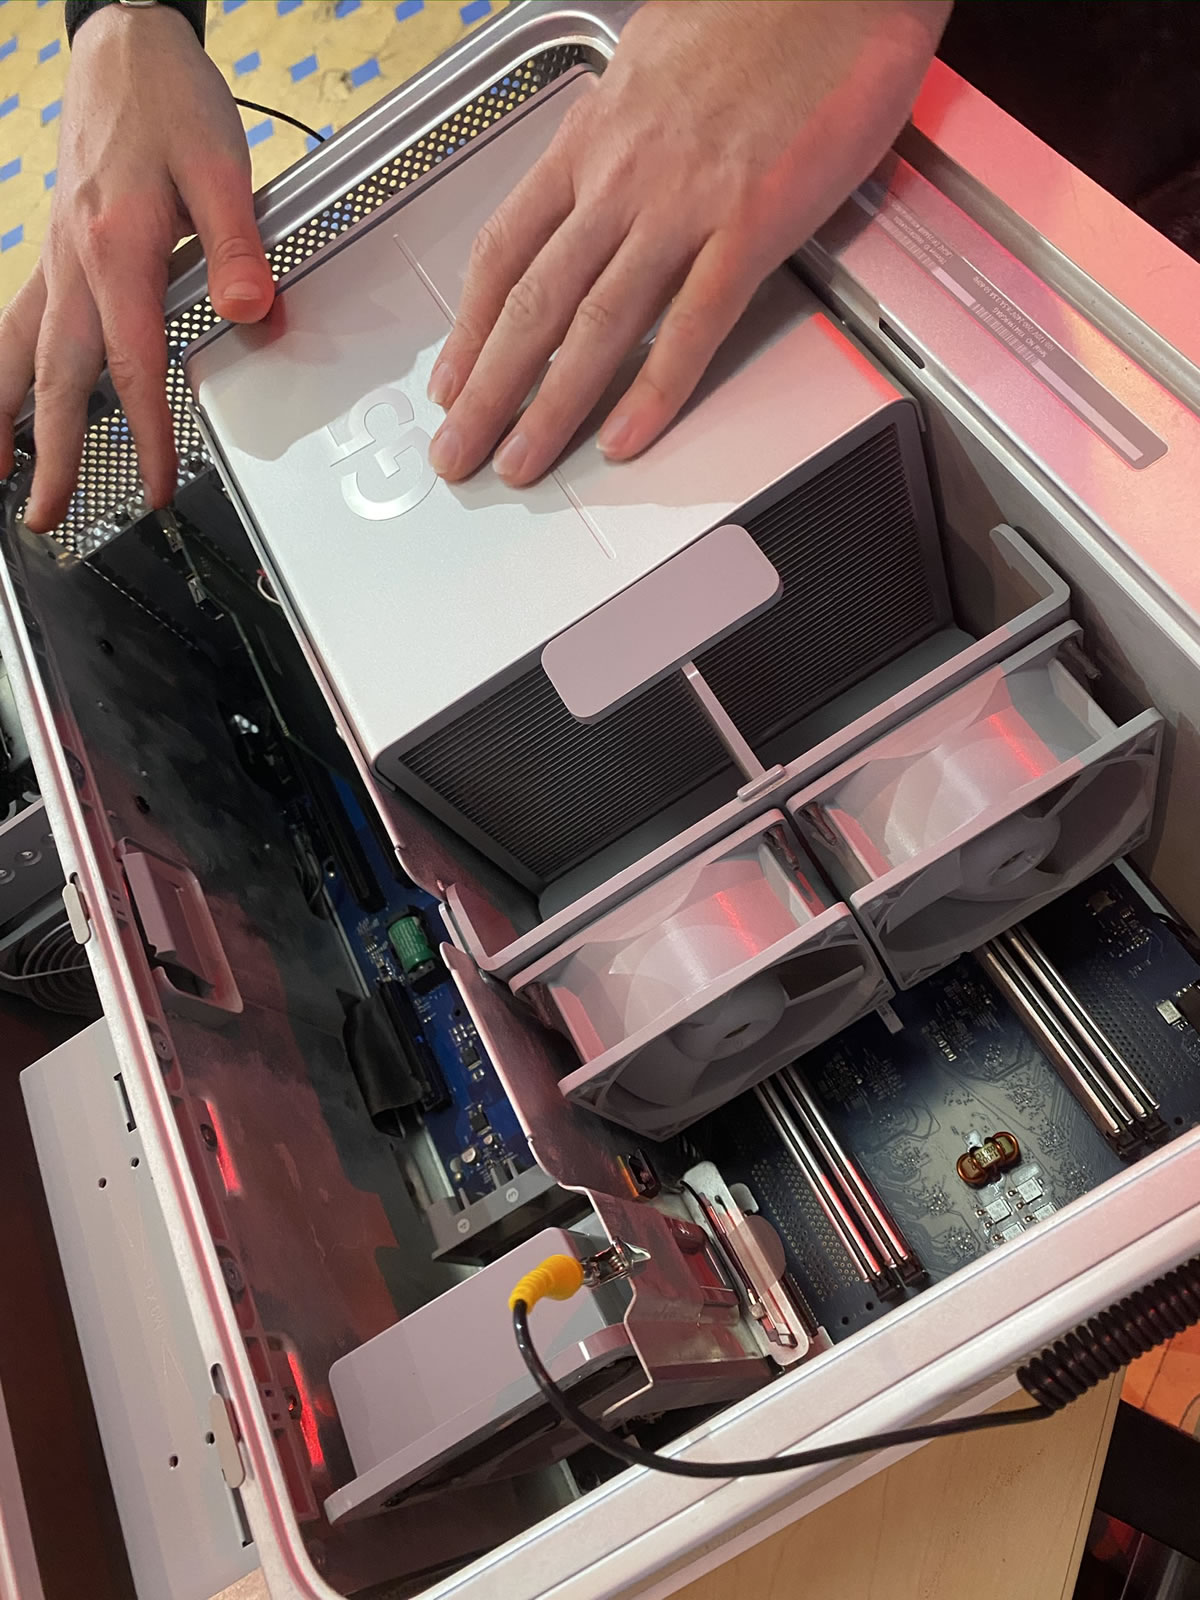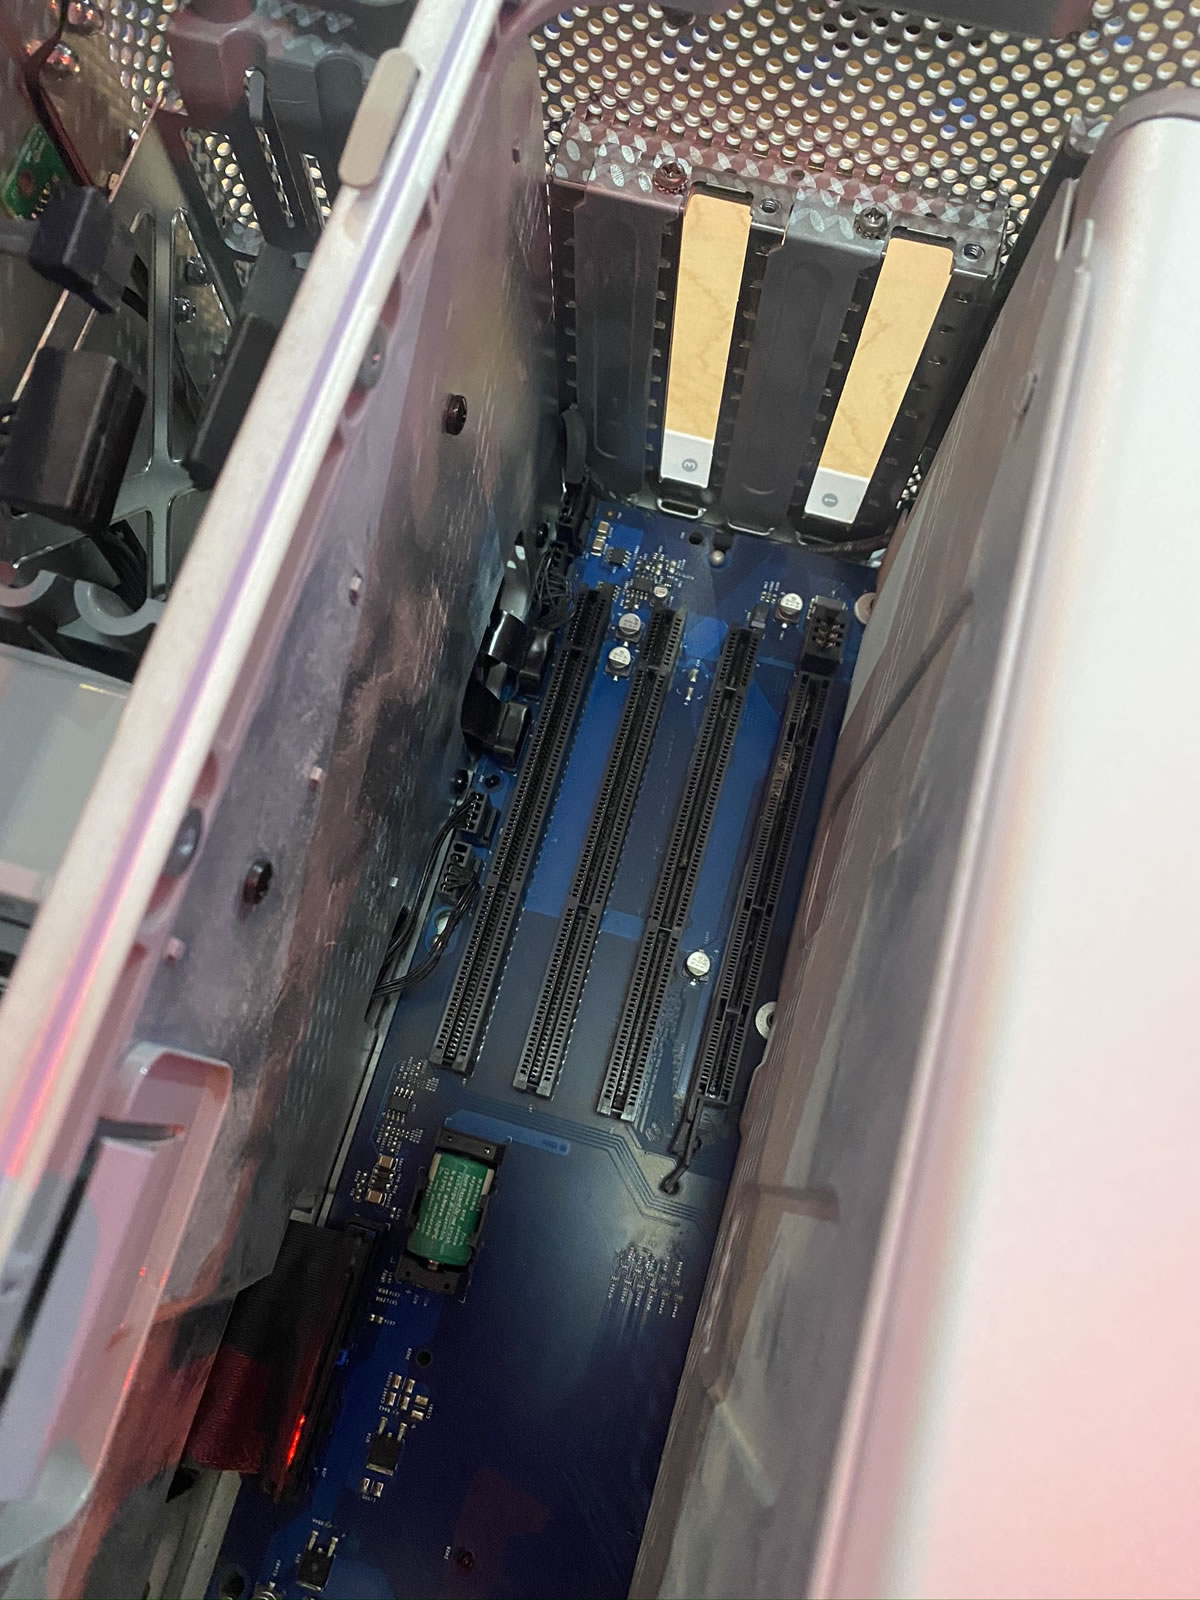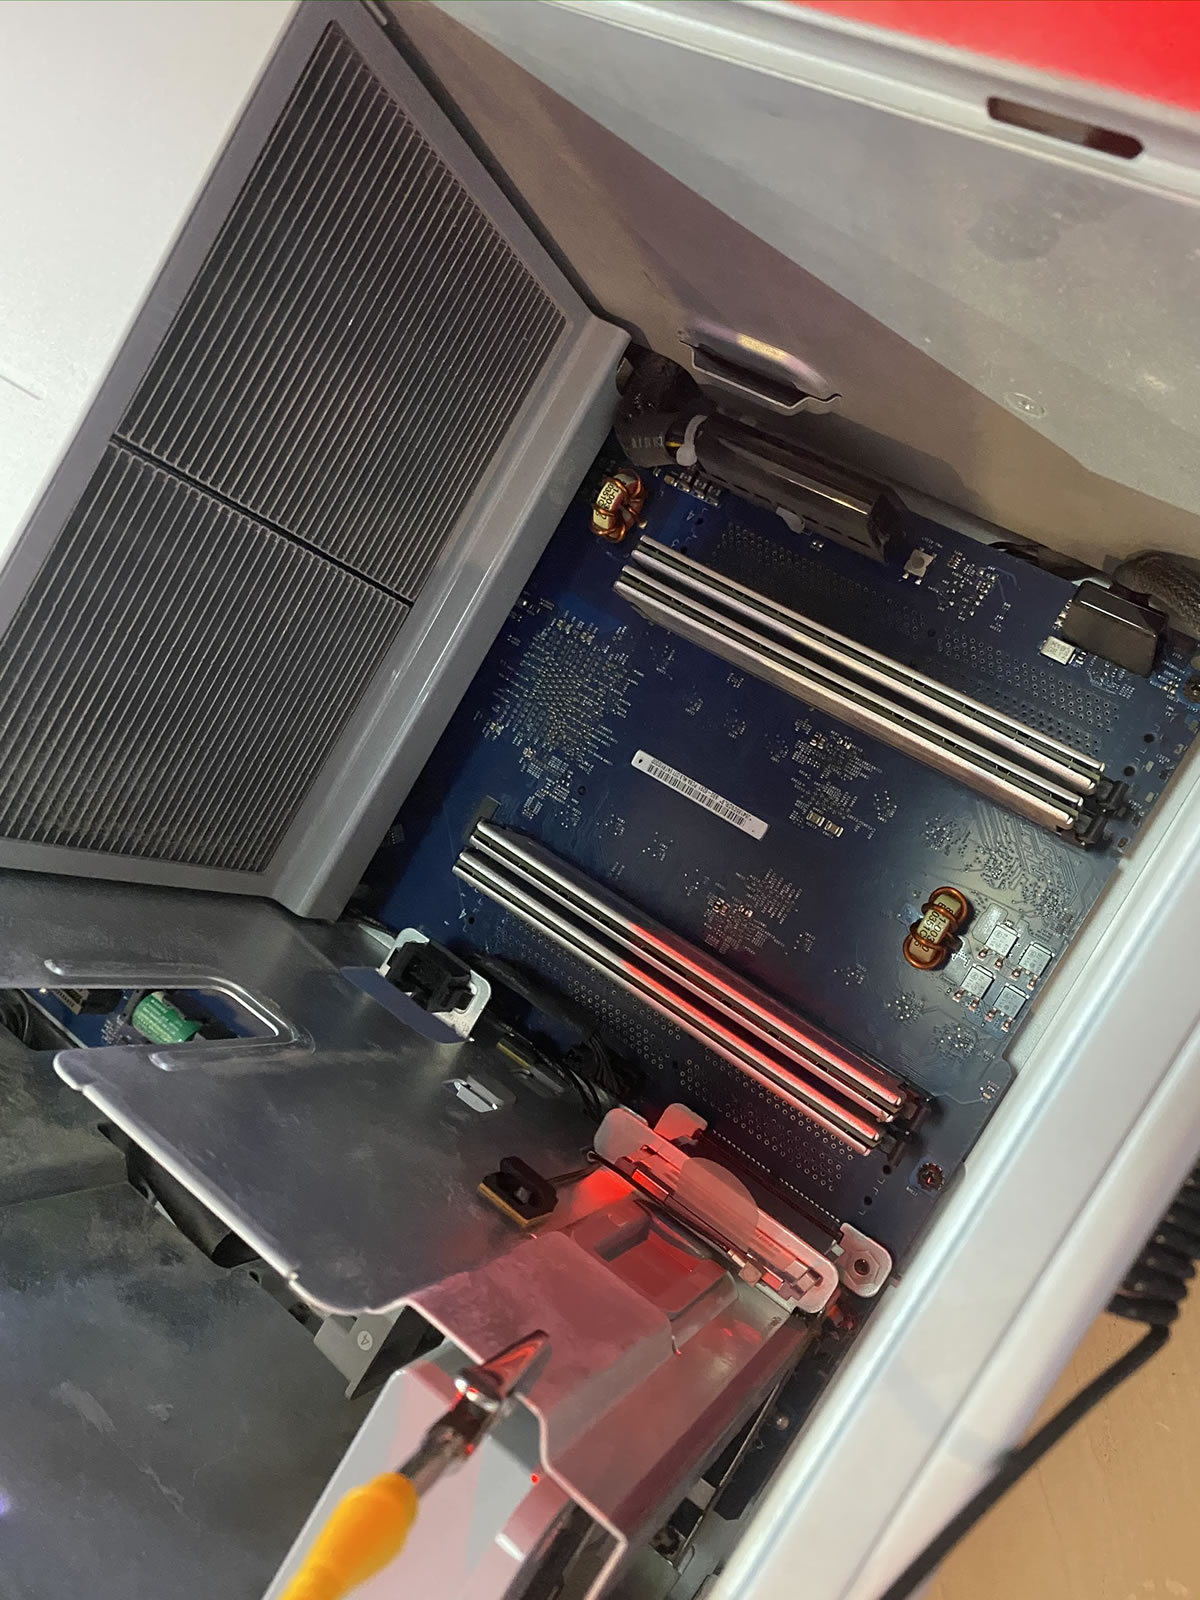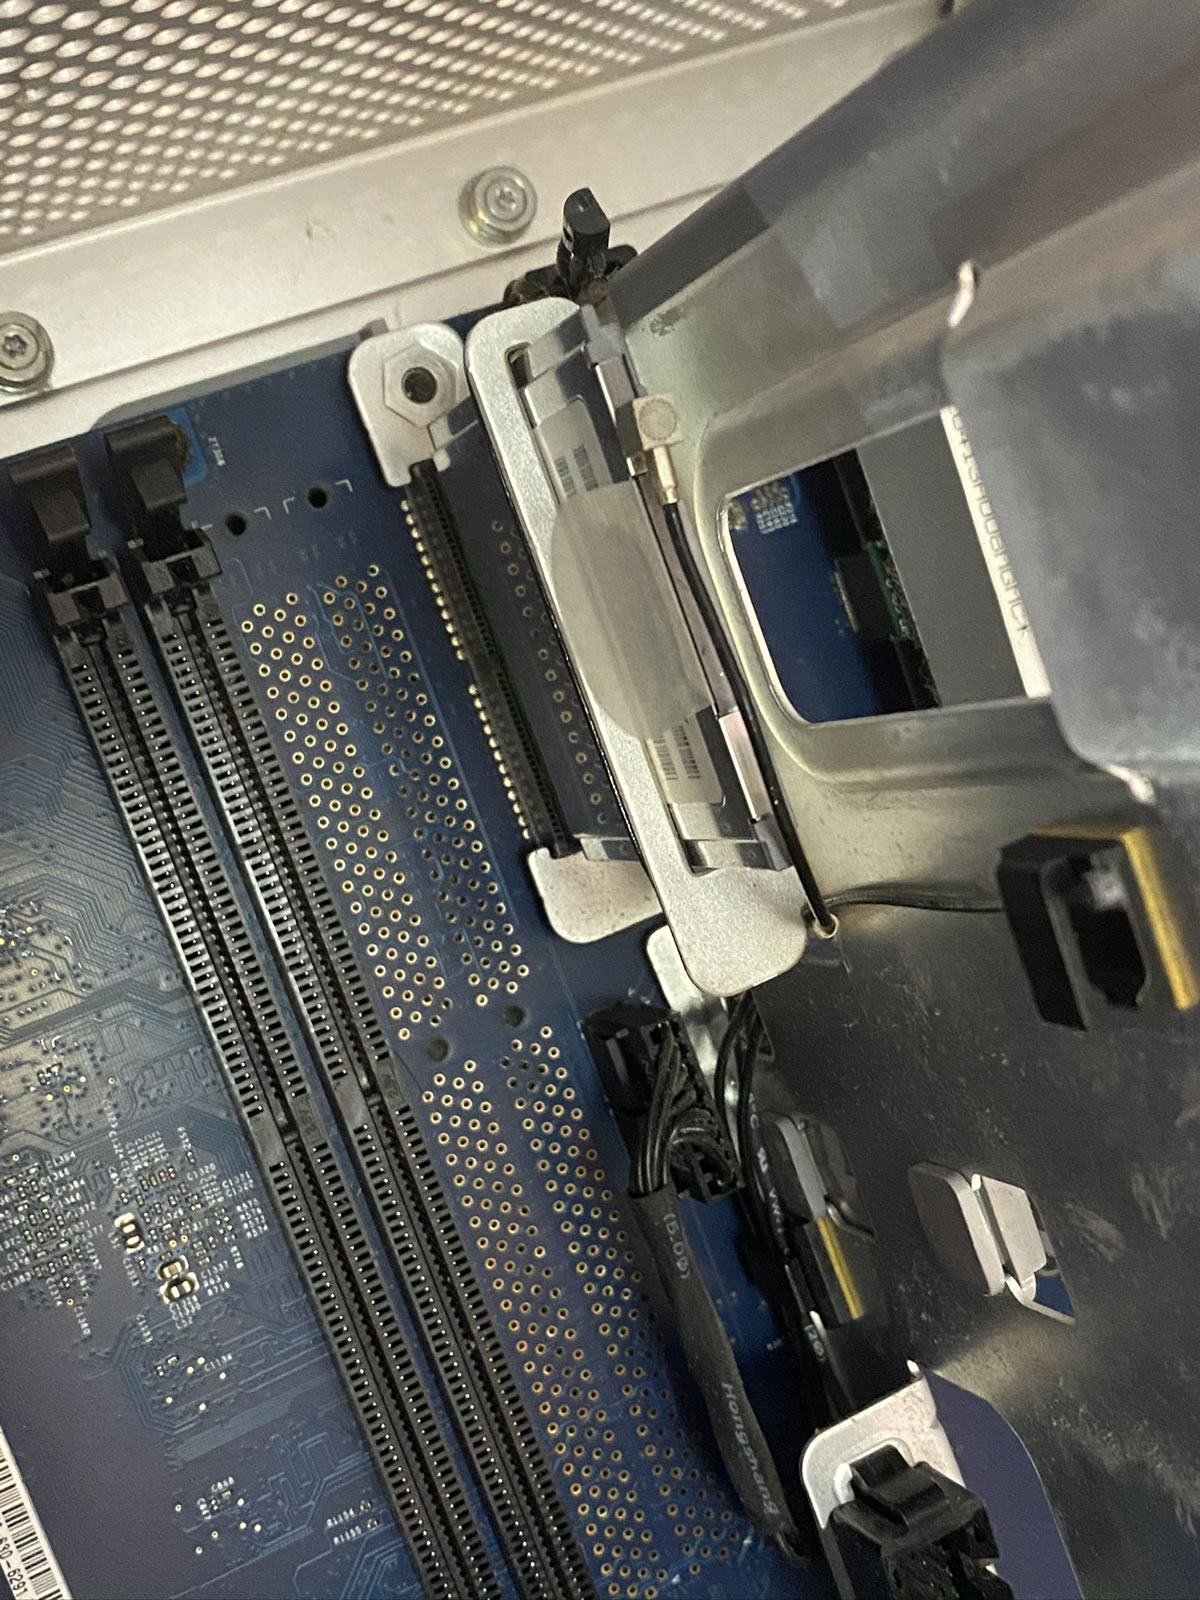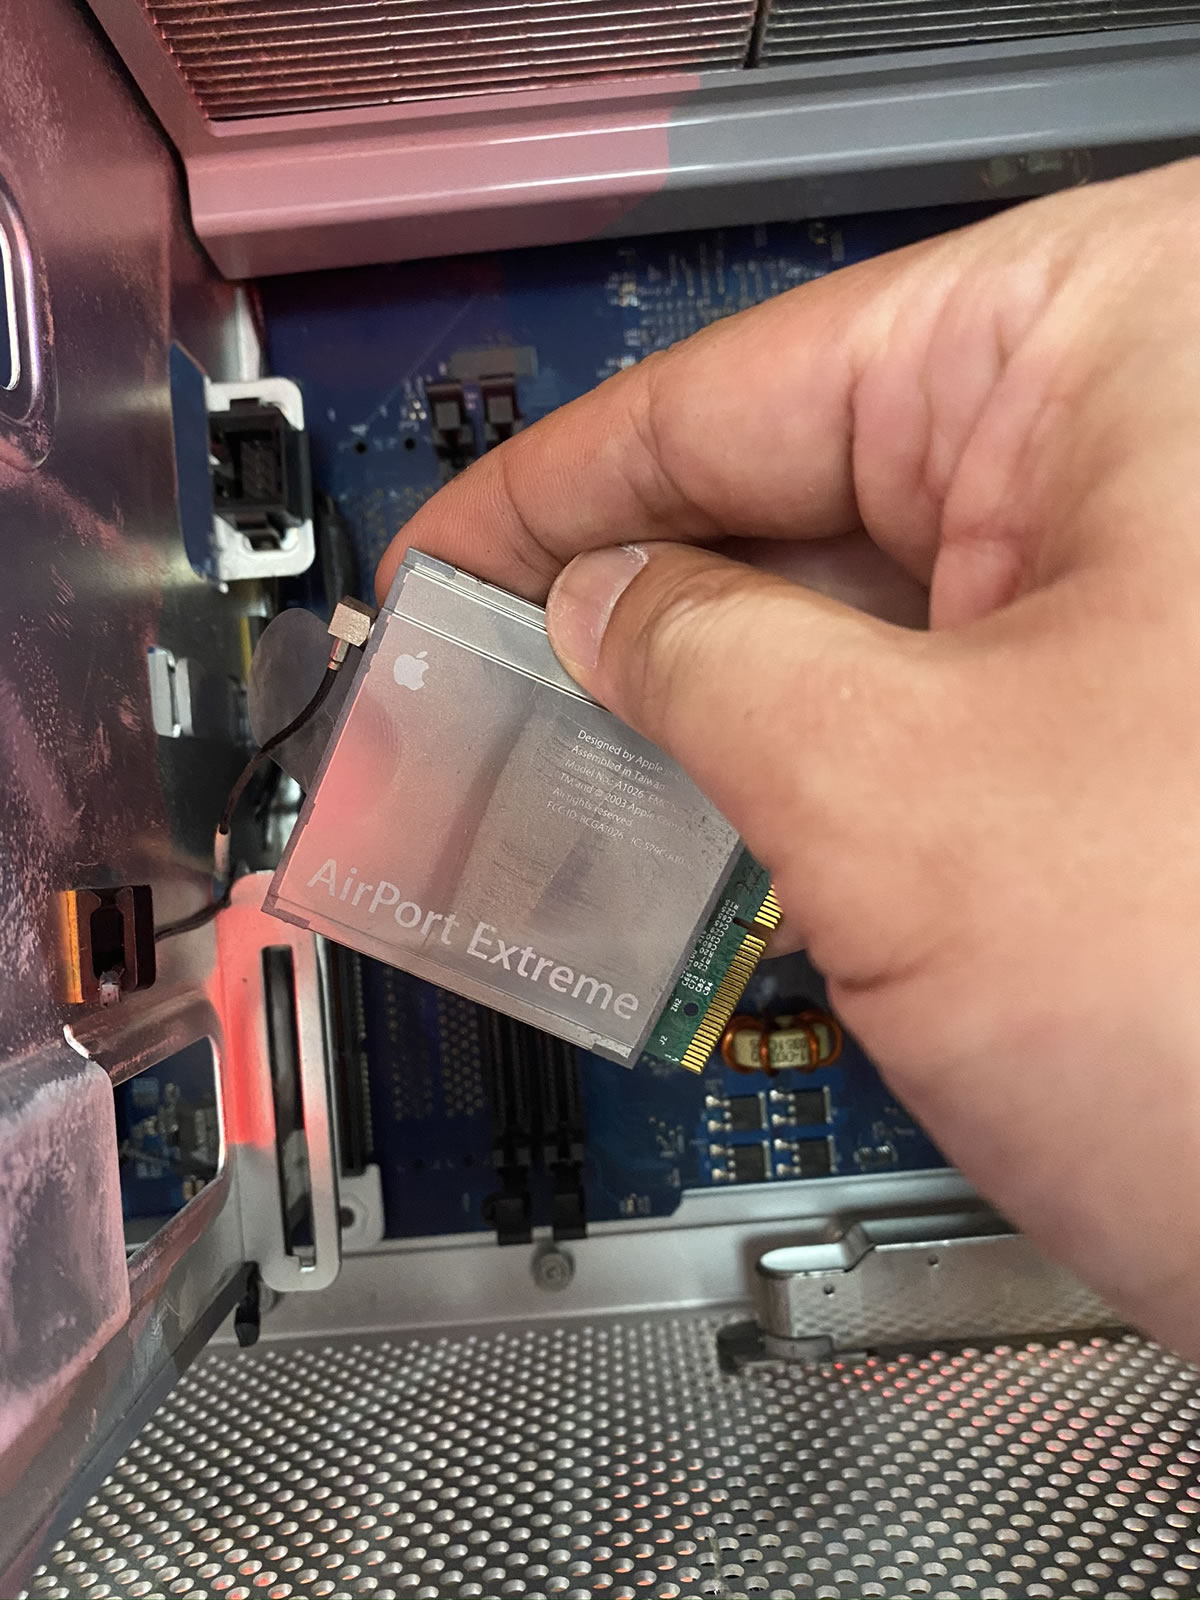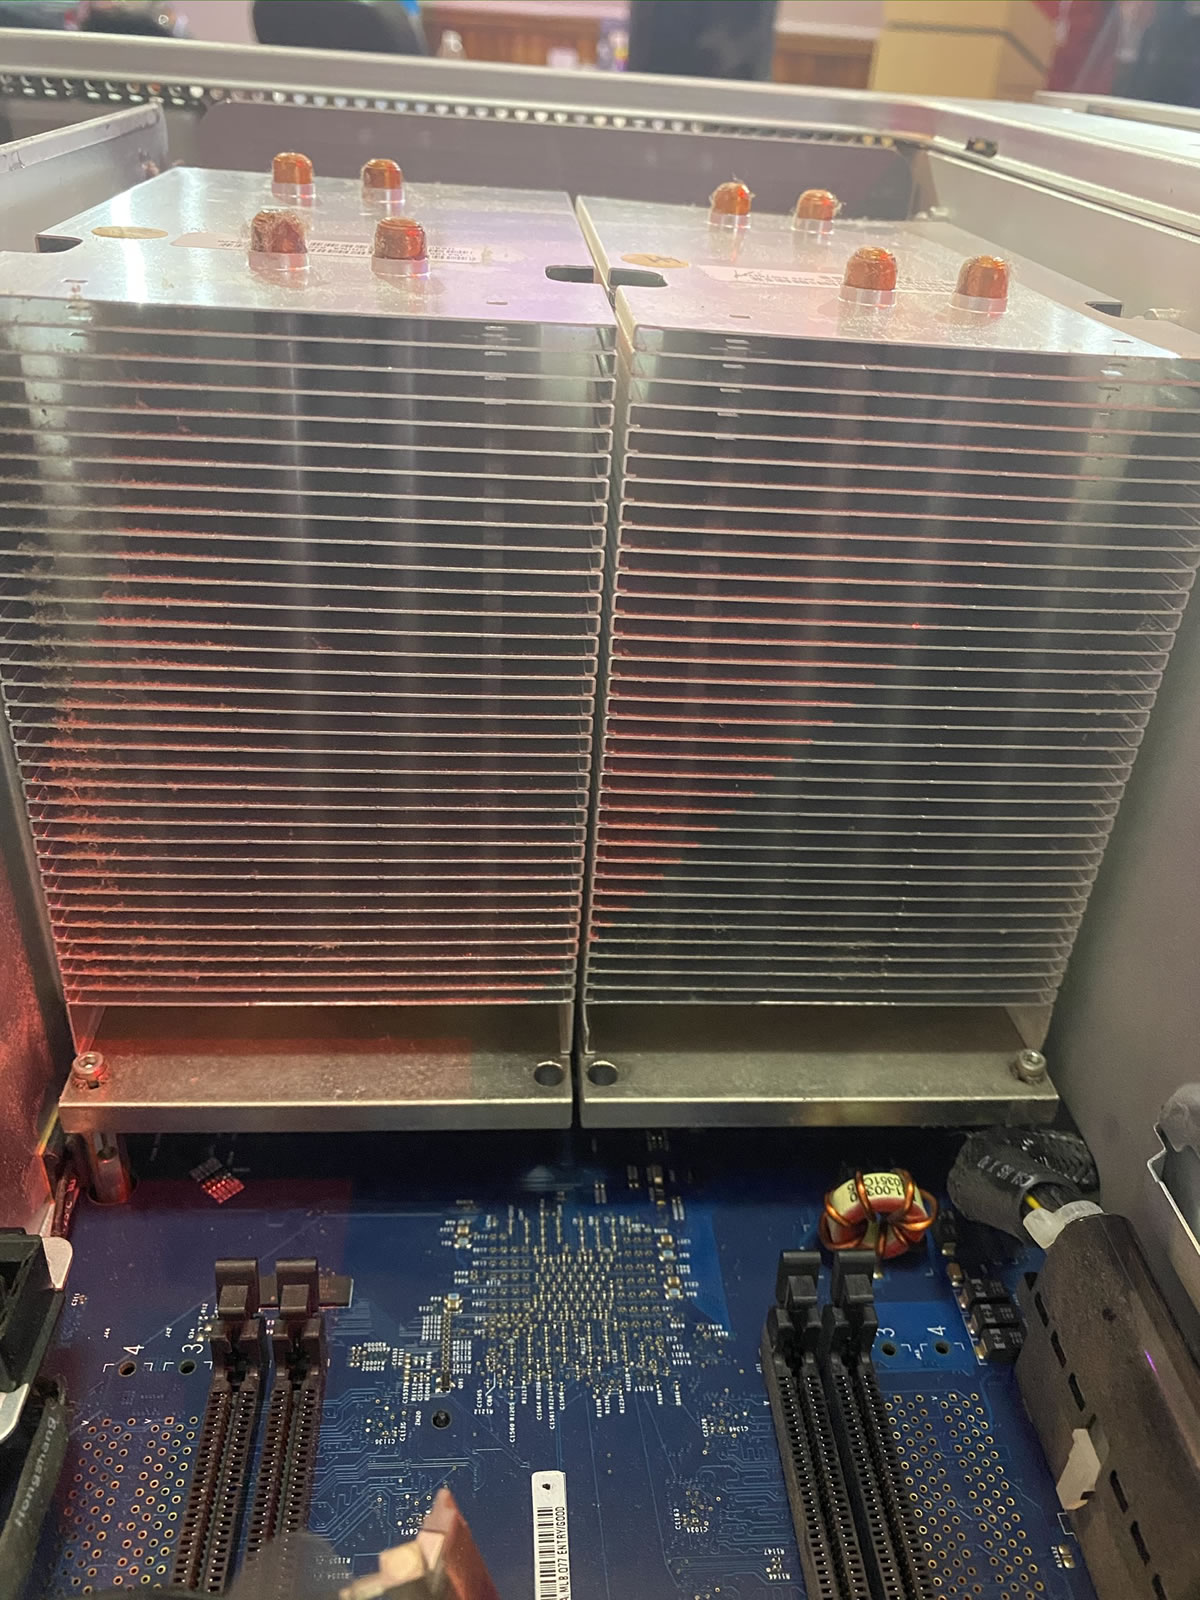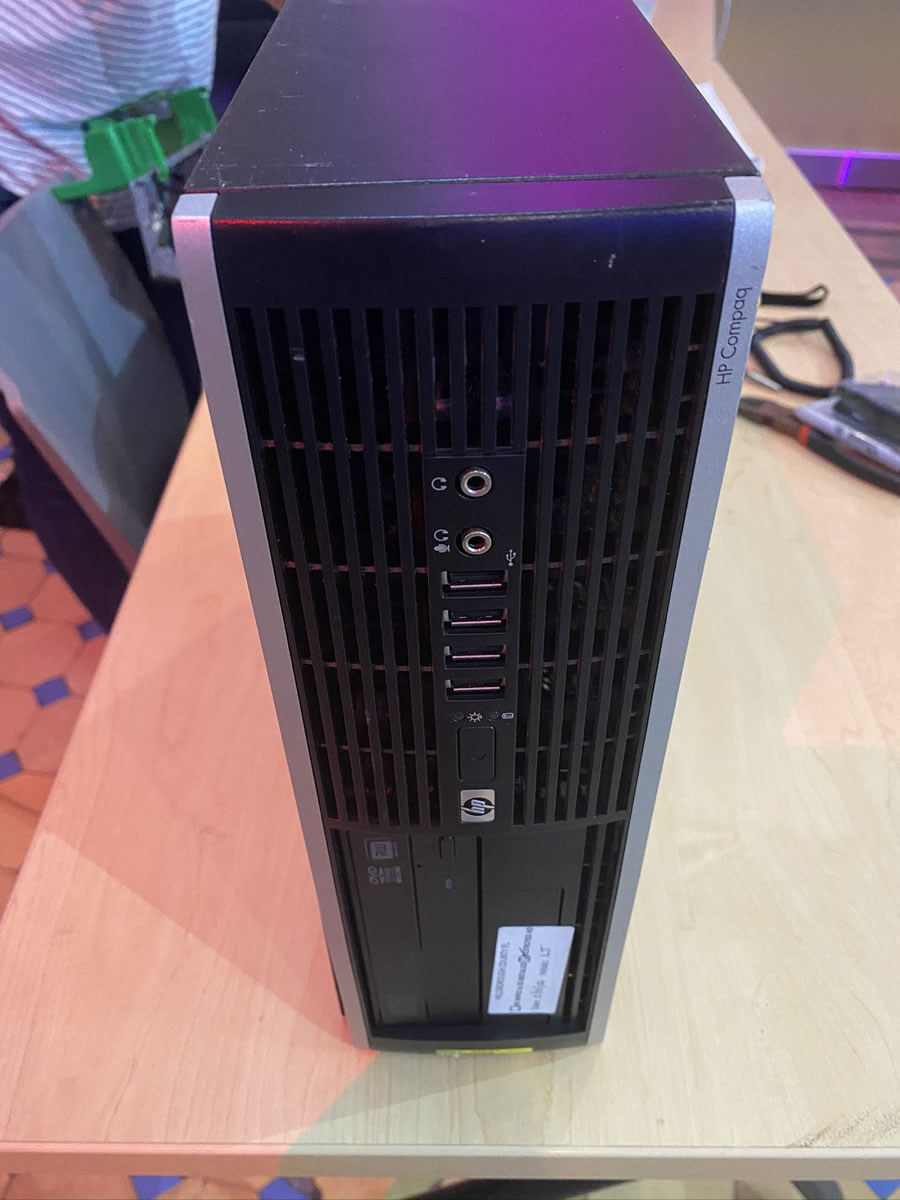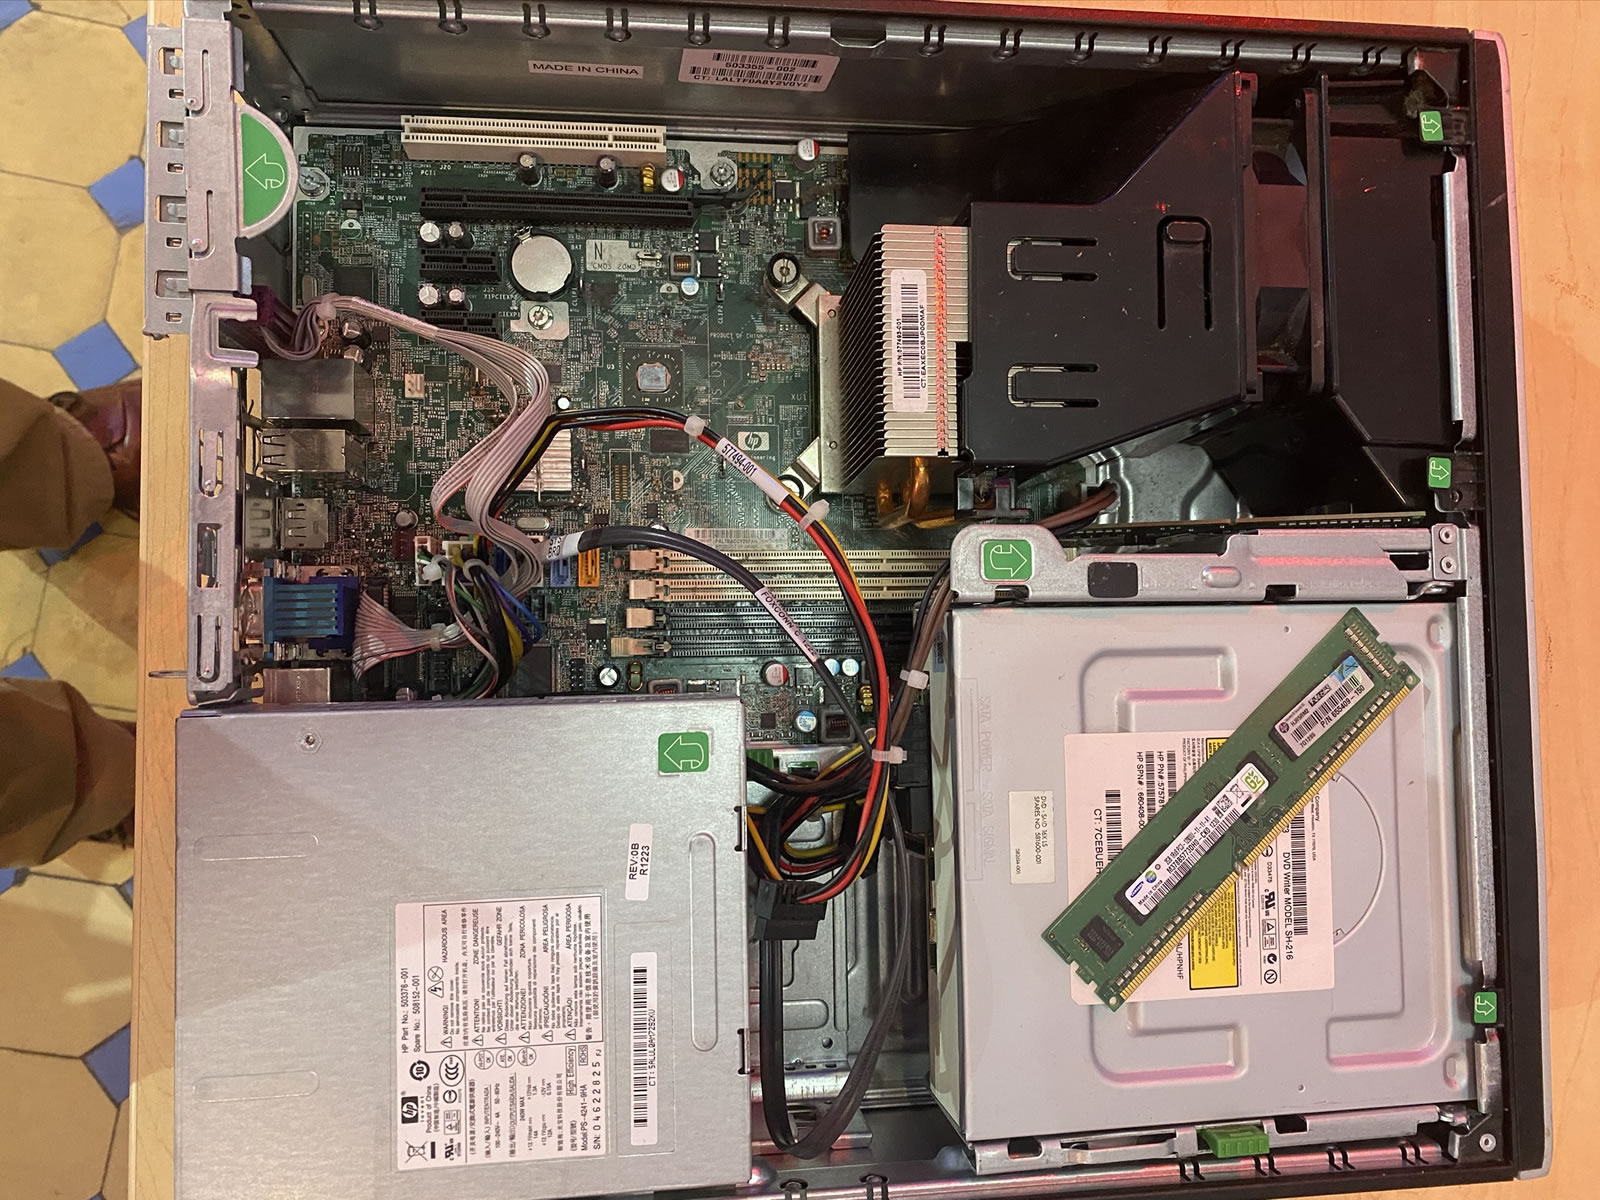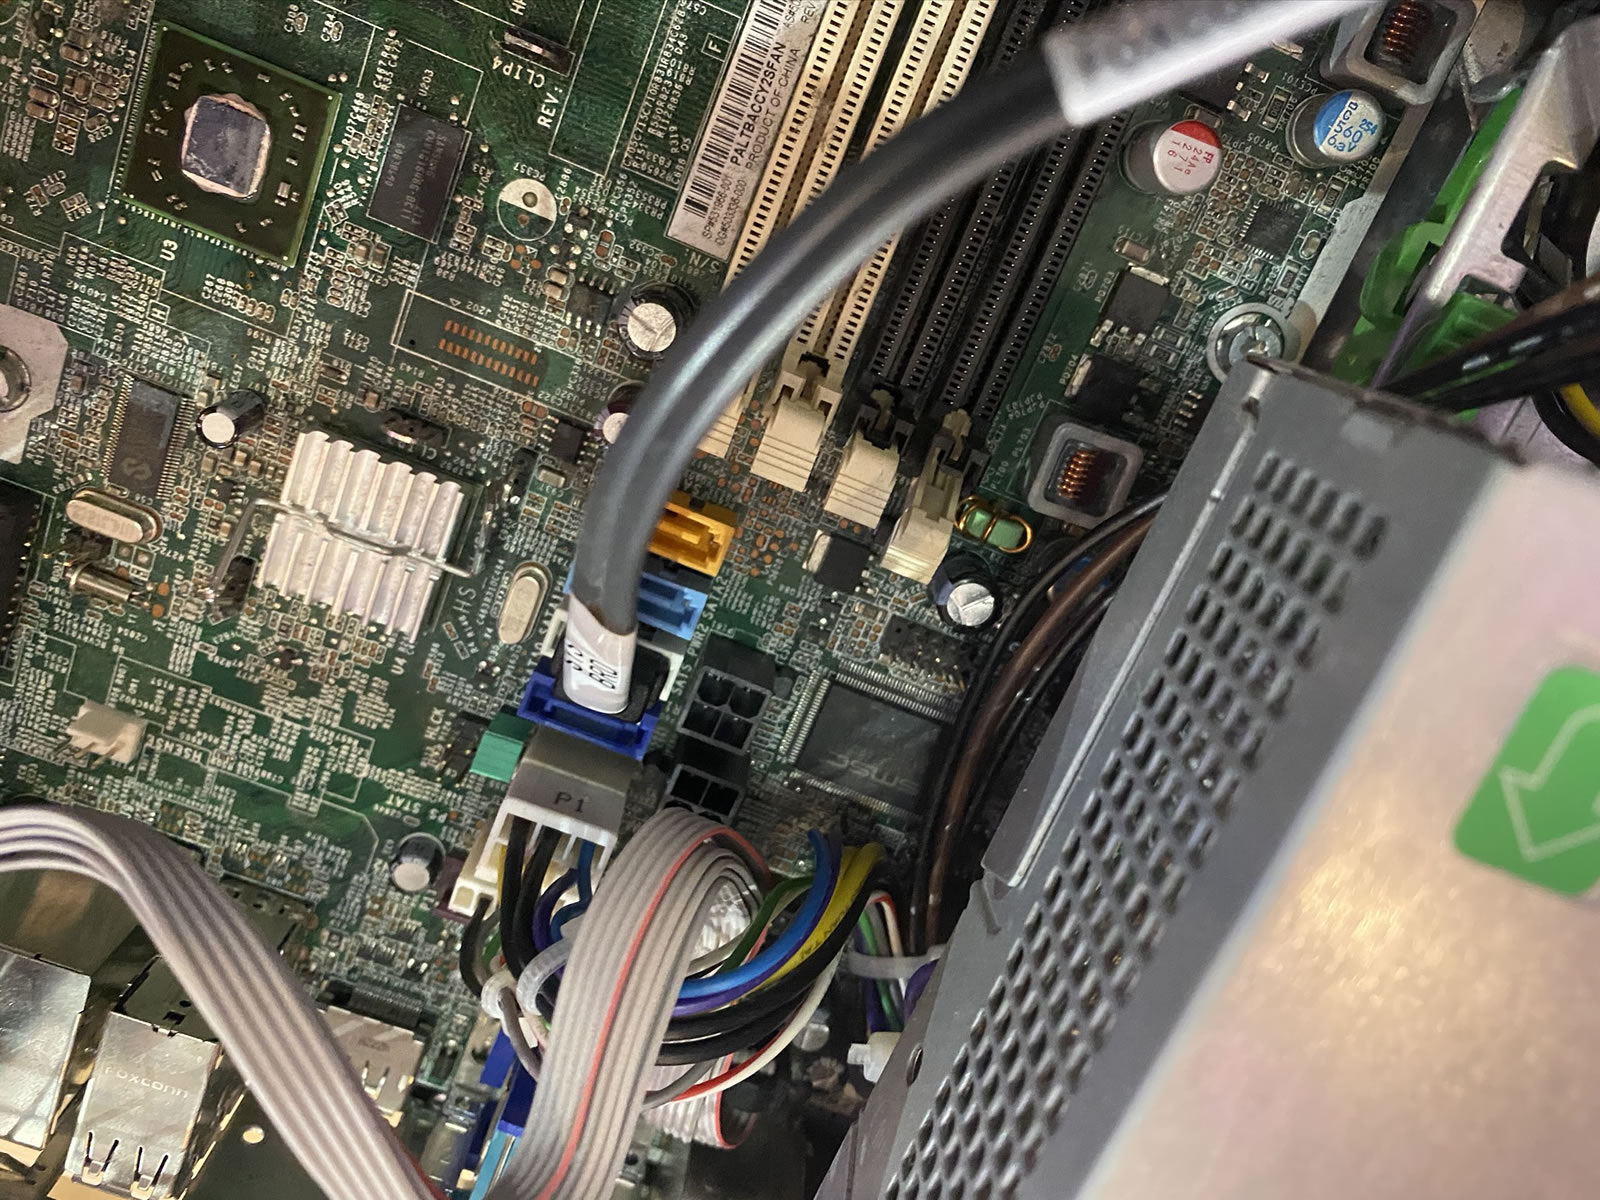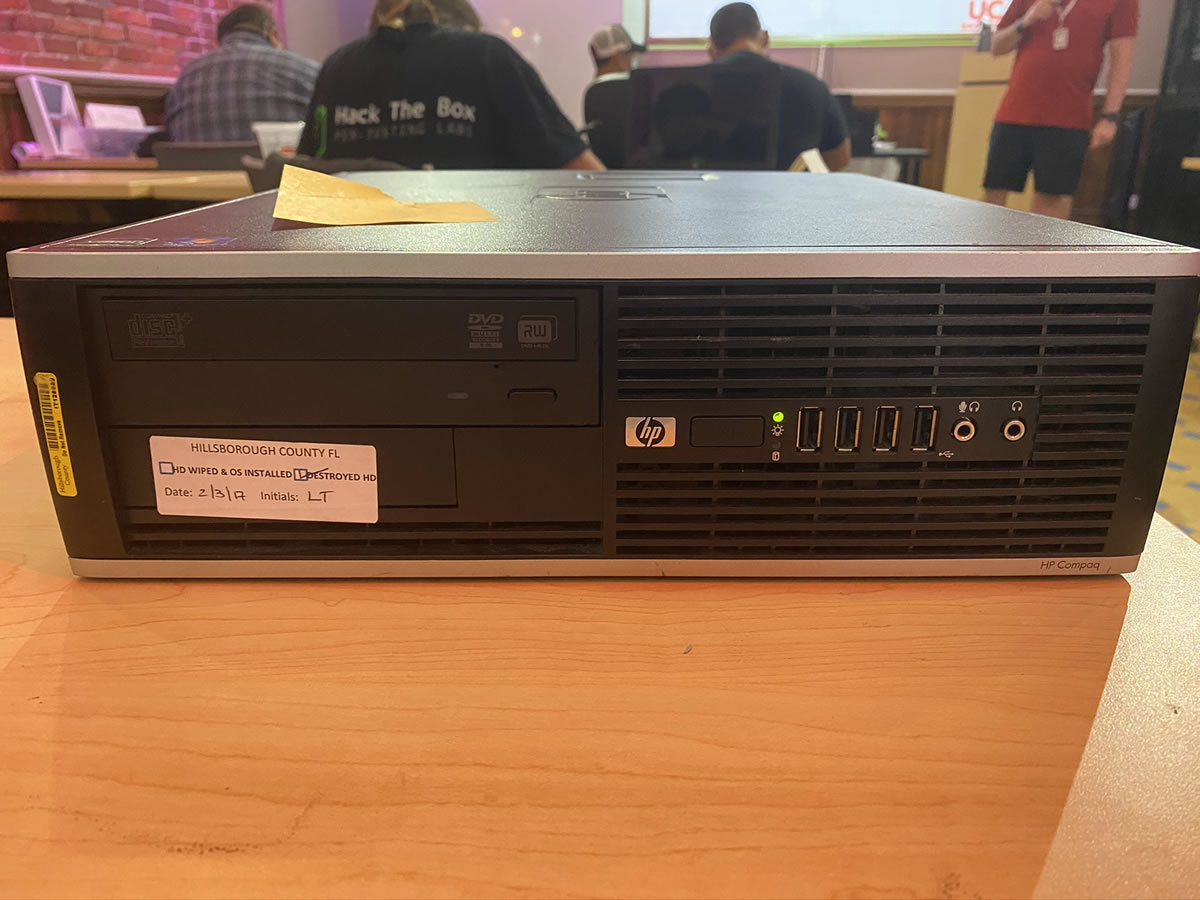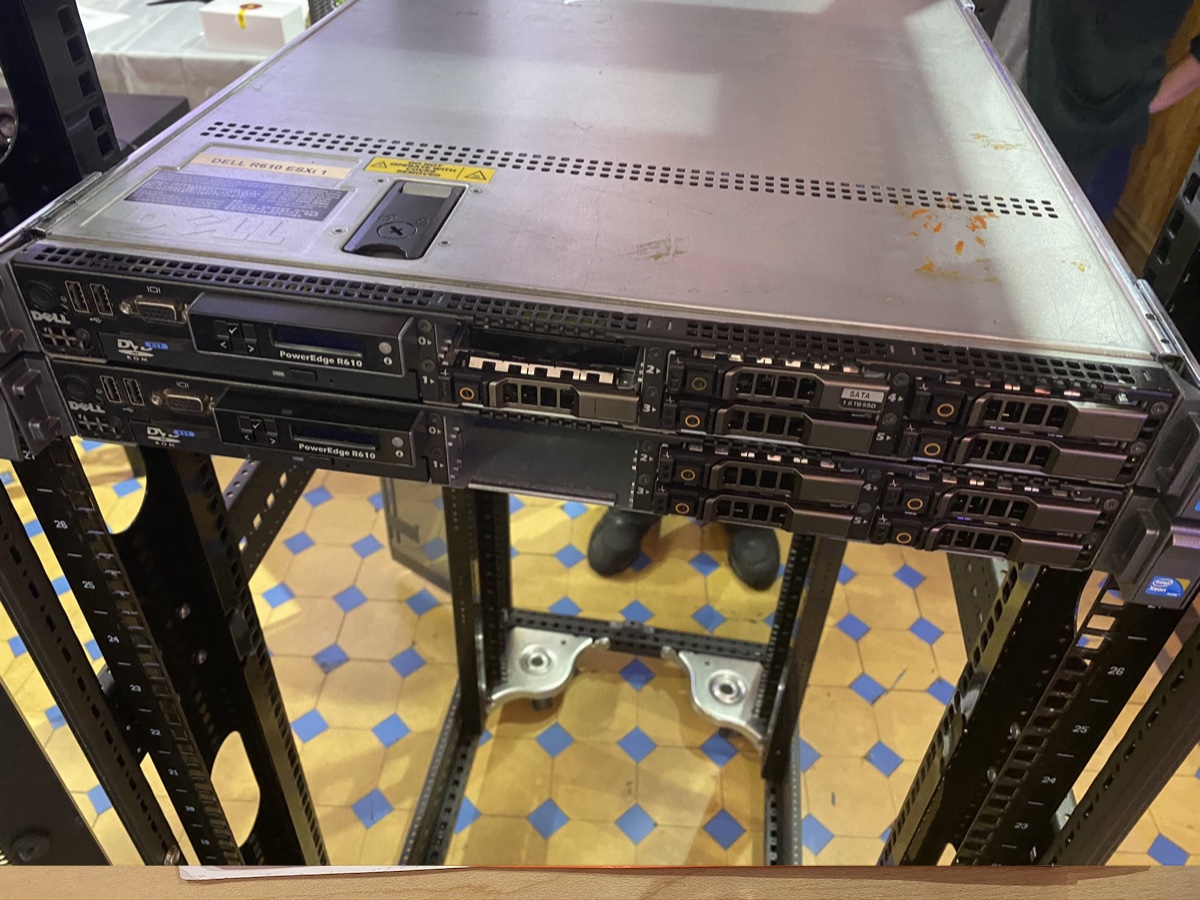
Day 4 of the Hardware 101 component of the UC Baseline cybersecurity program was all about security for the enterprise, which naturally included topics such as servers. Not everyone in the class has had the opportunity to tour a server room or data center, and this was their chance to see these machines up close.
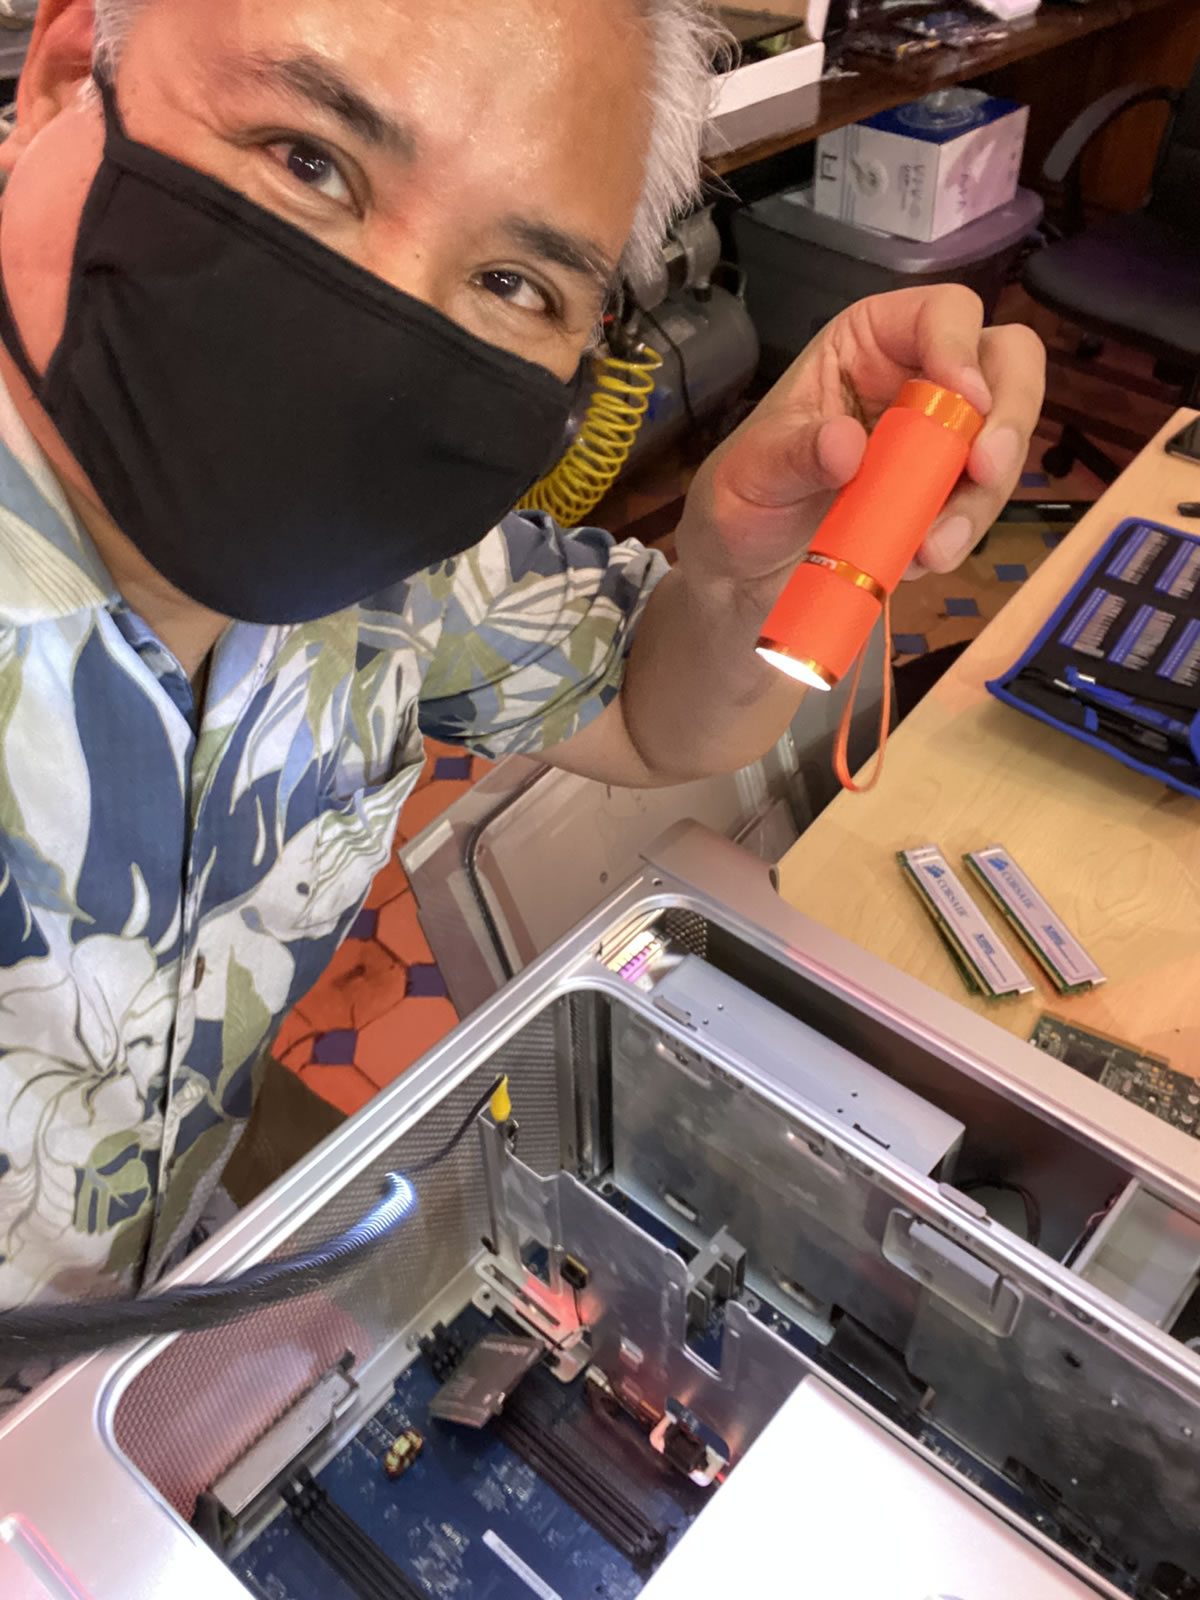
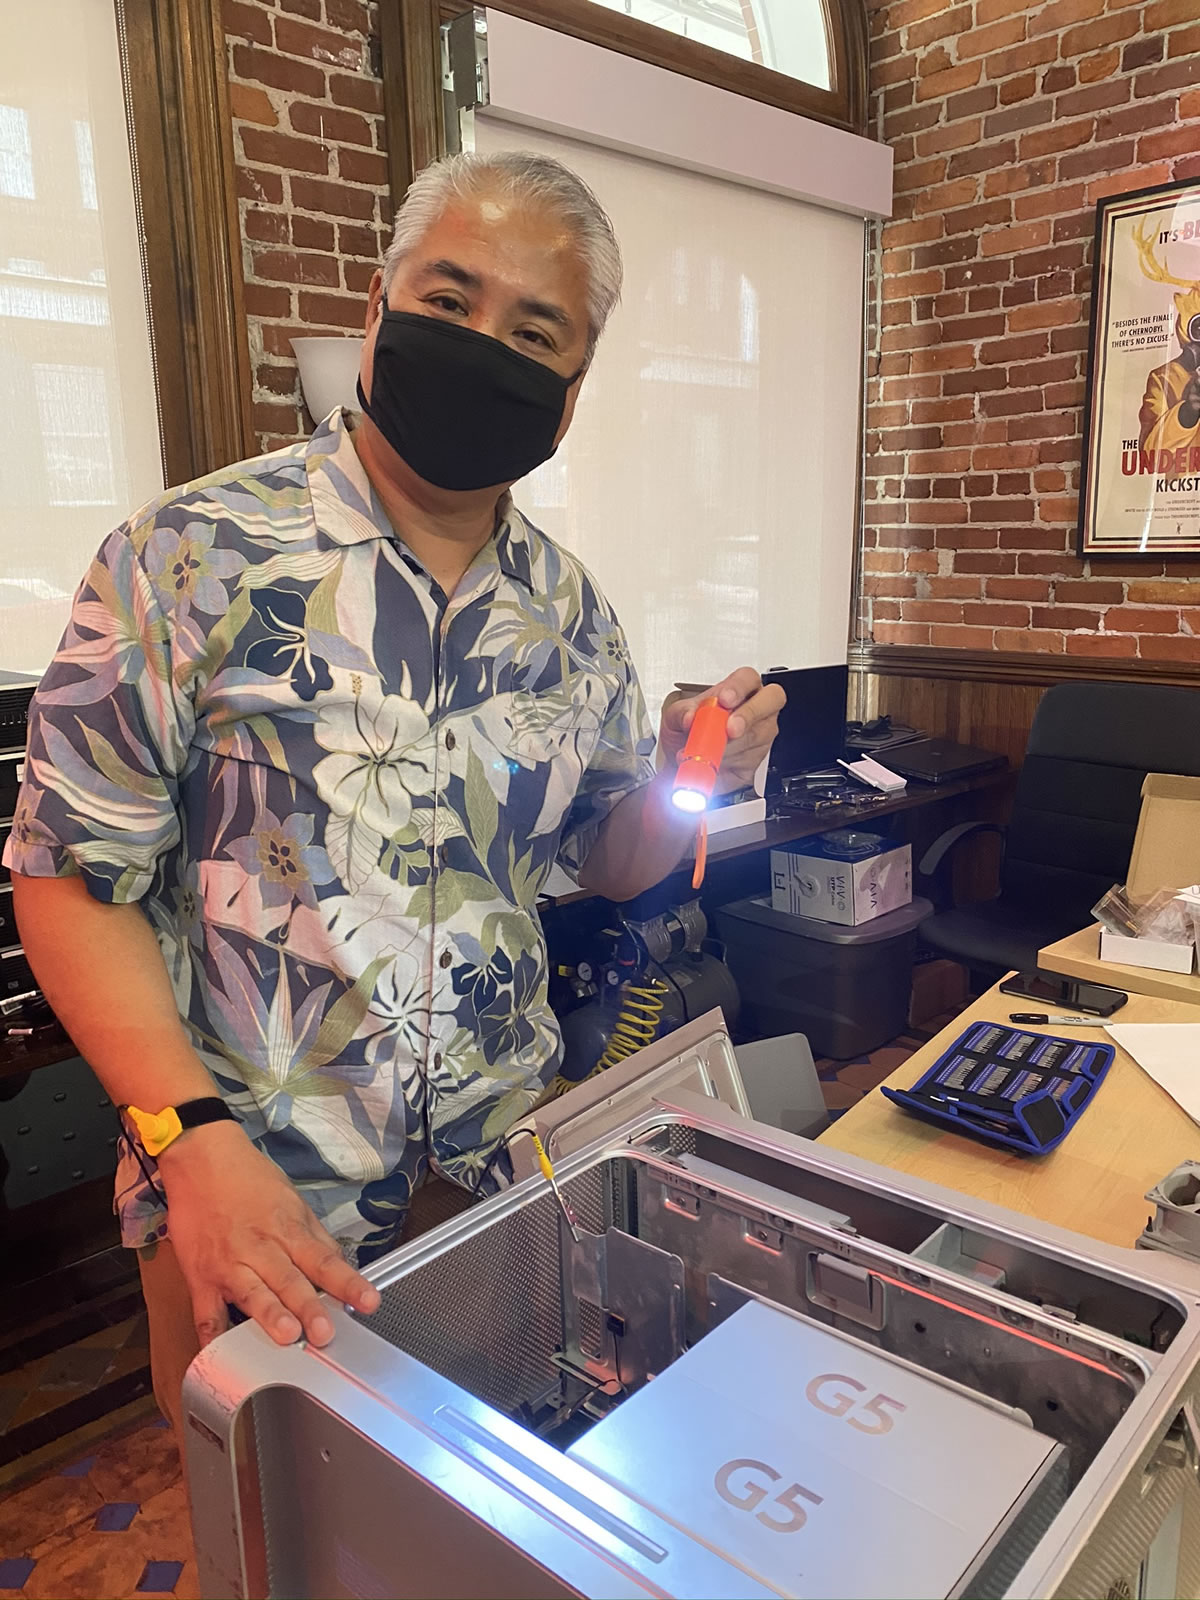
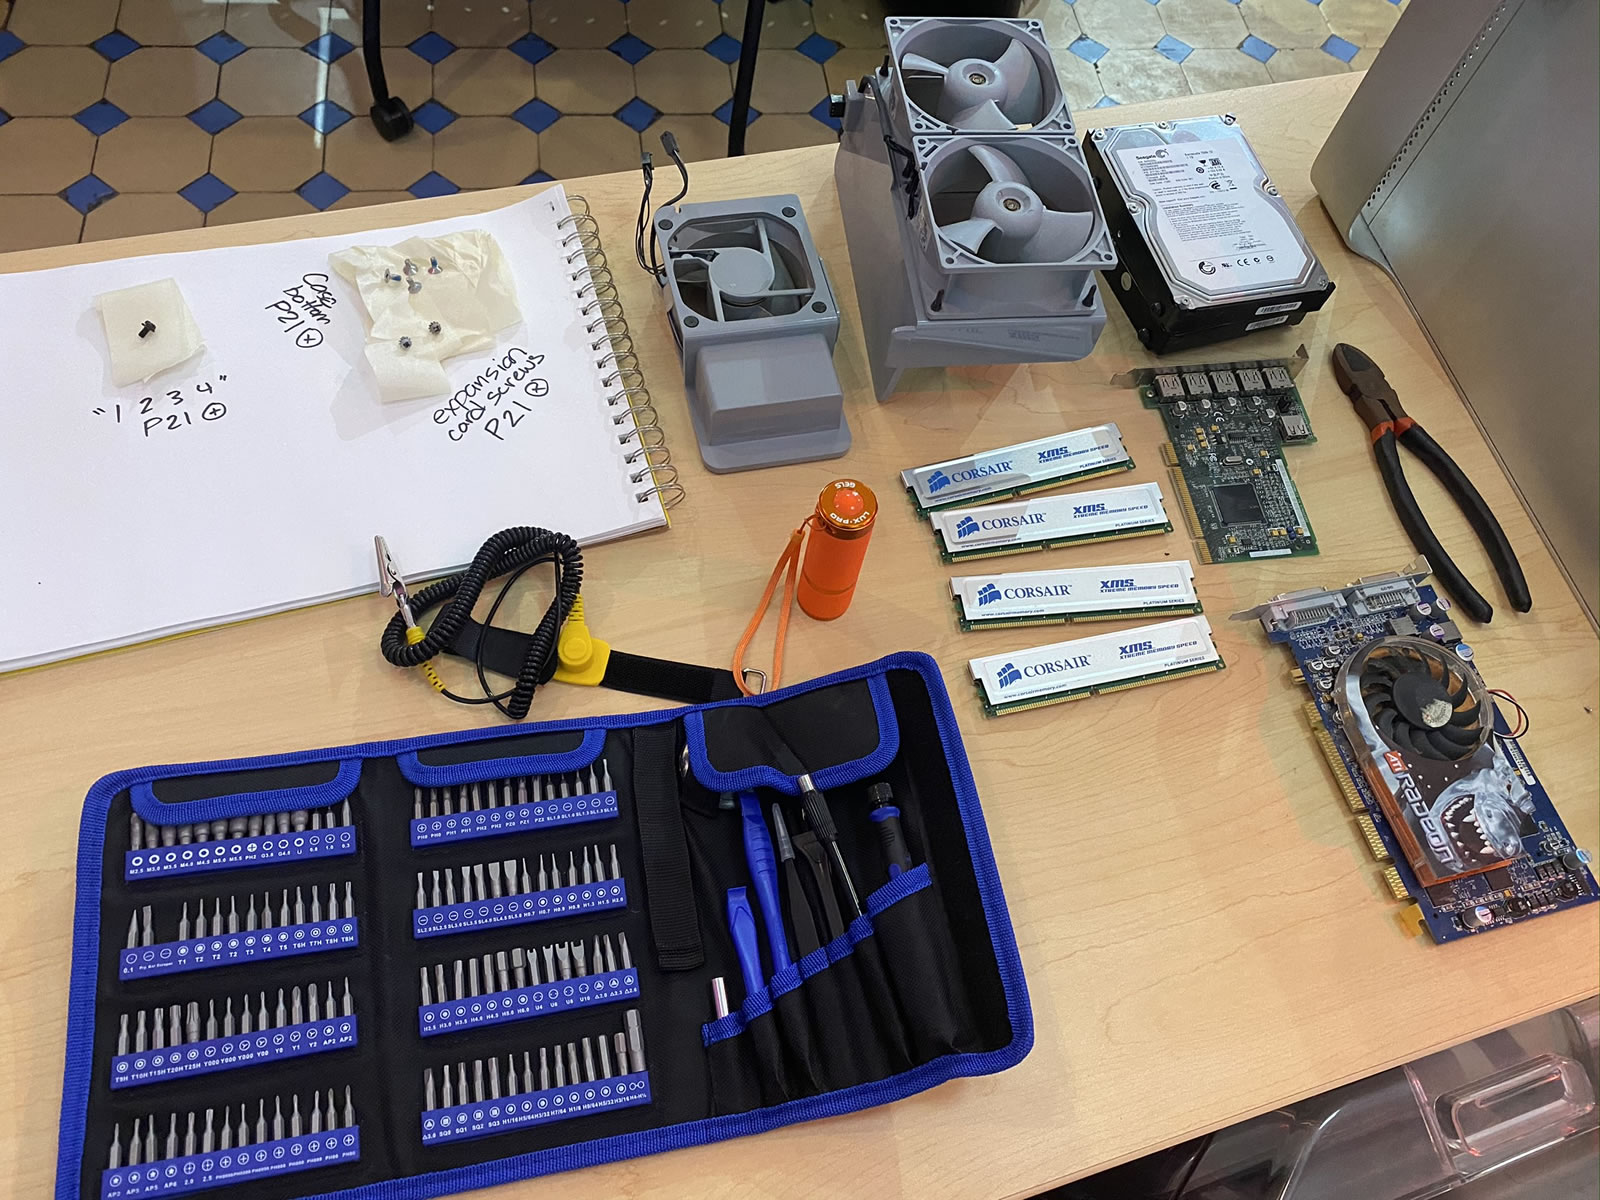
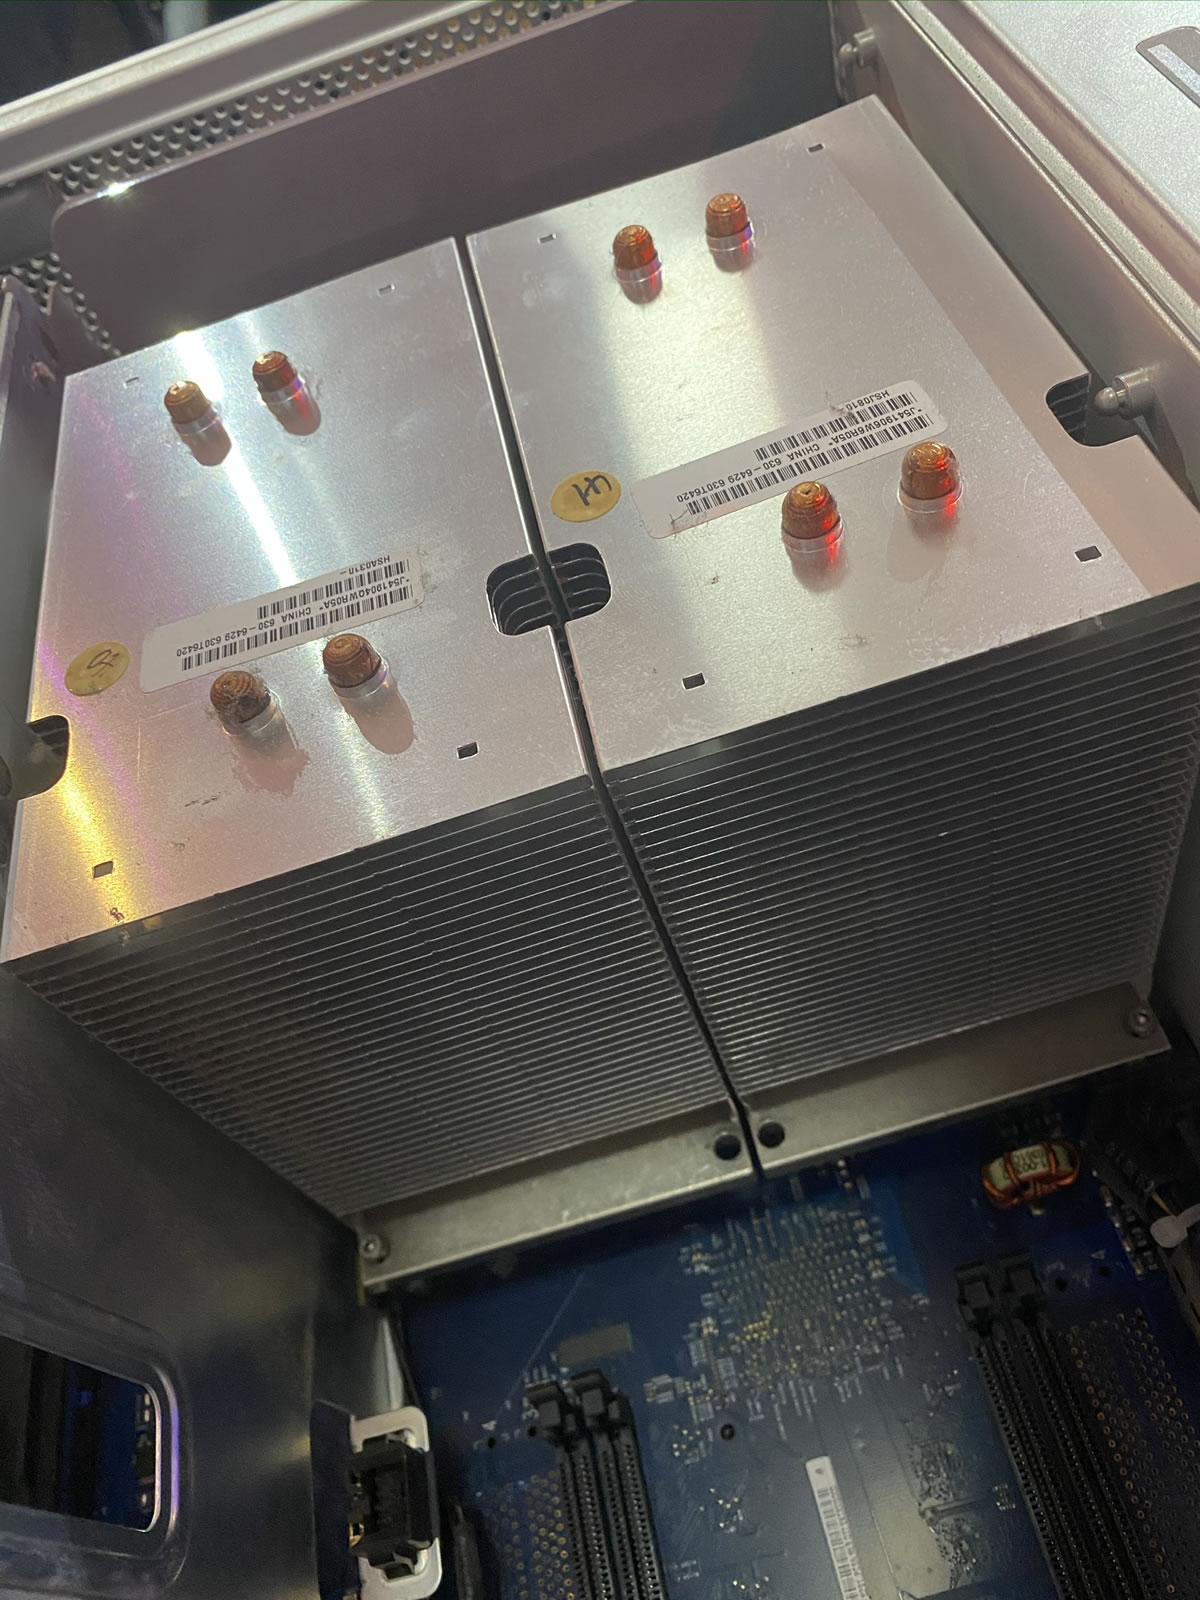
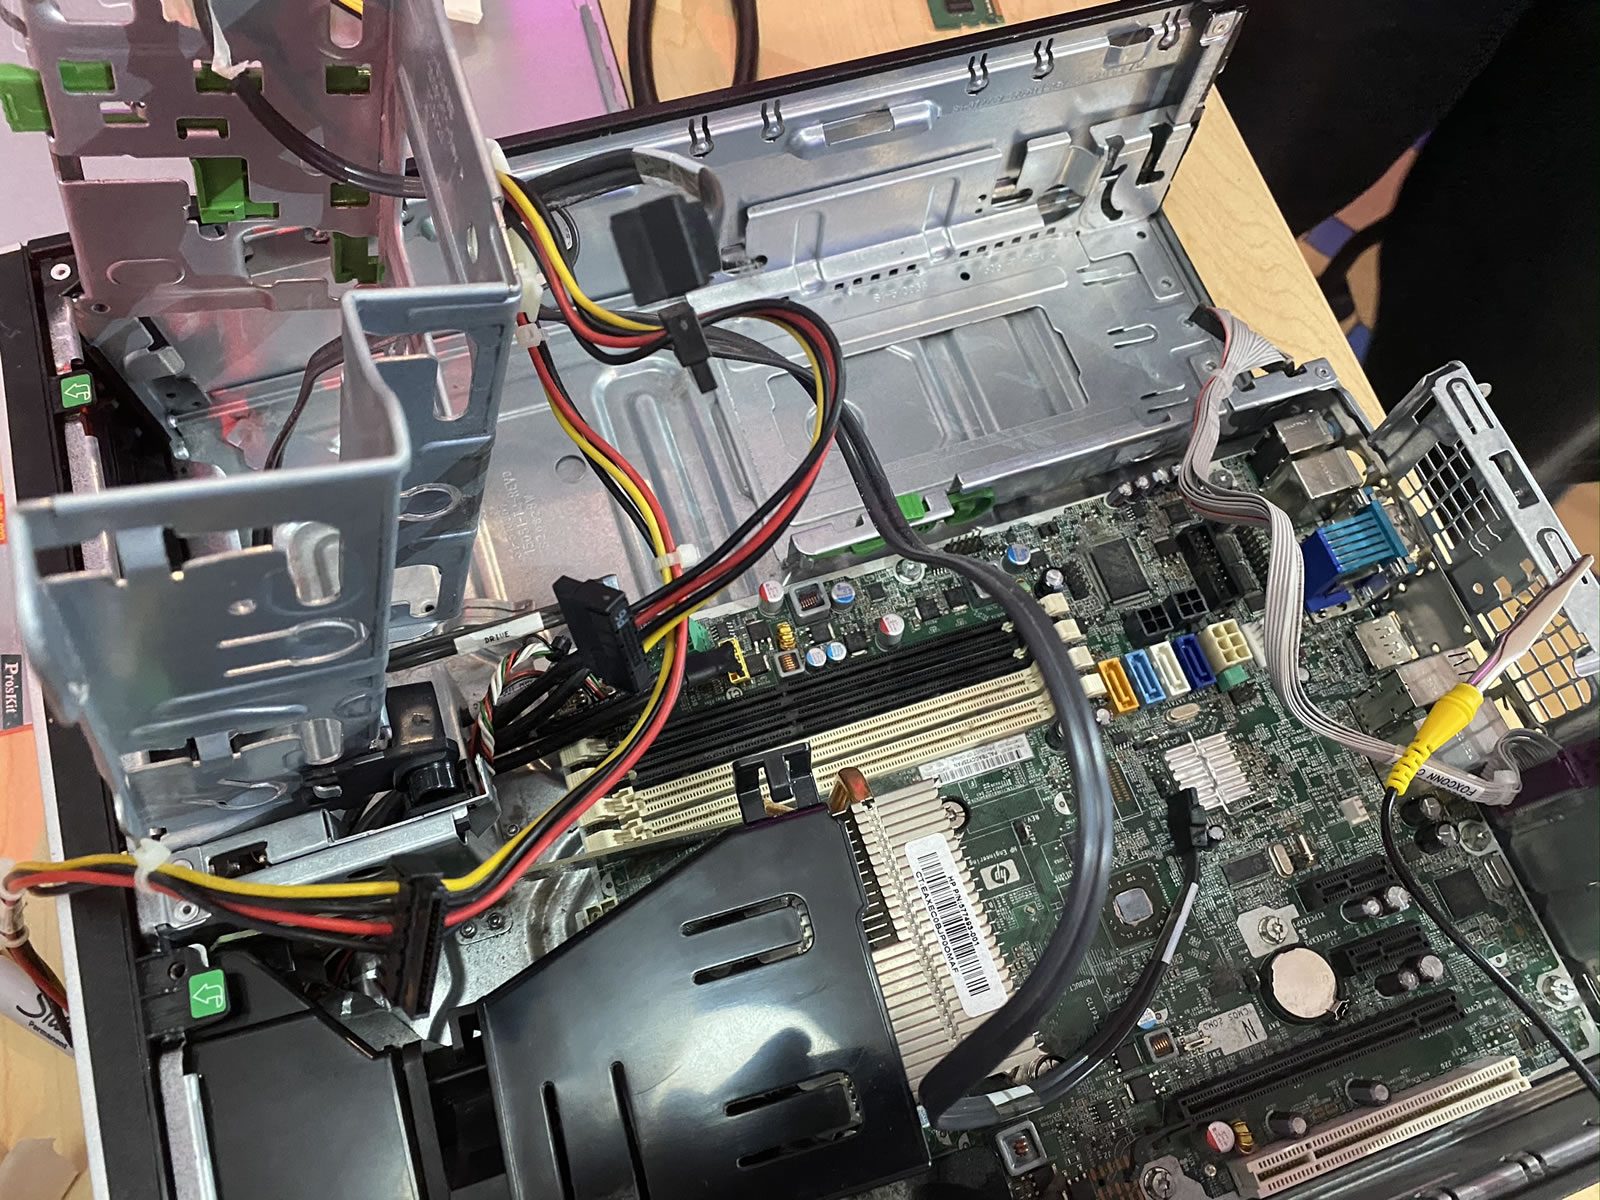
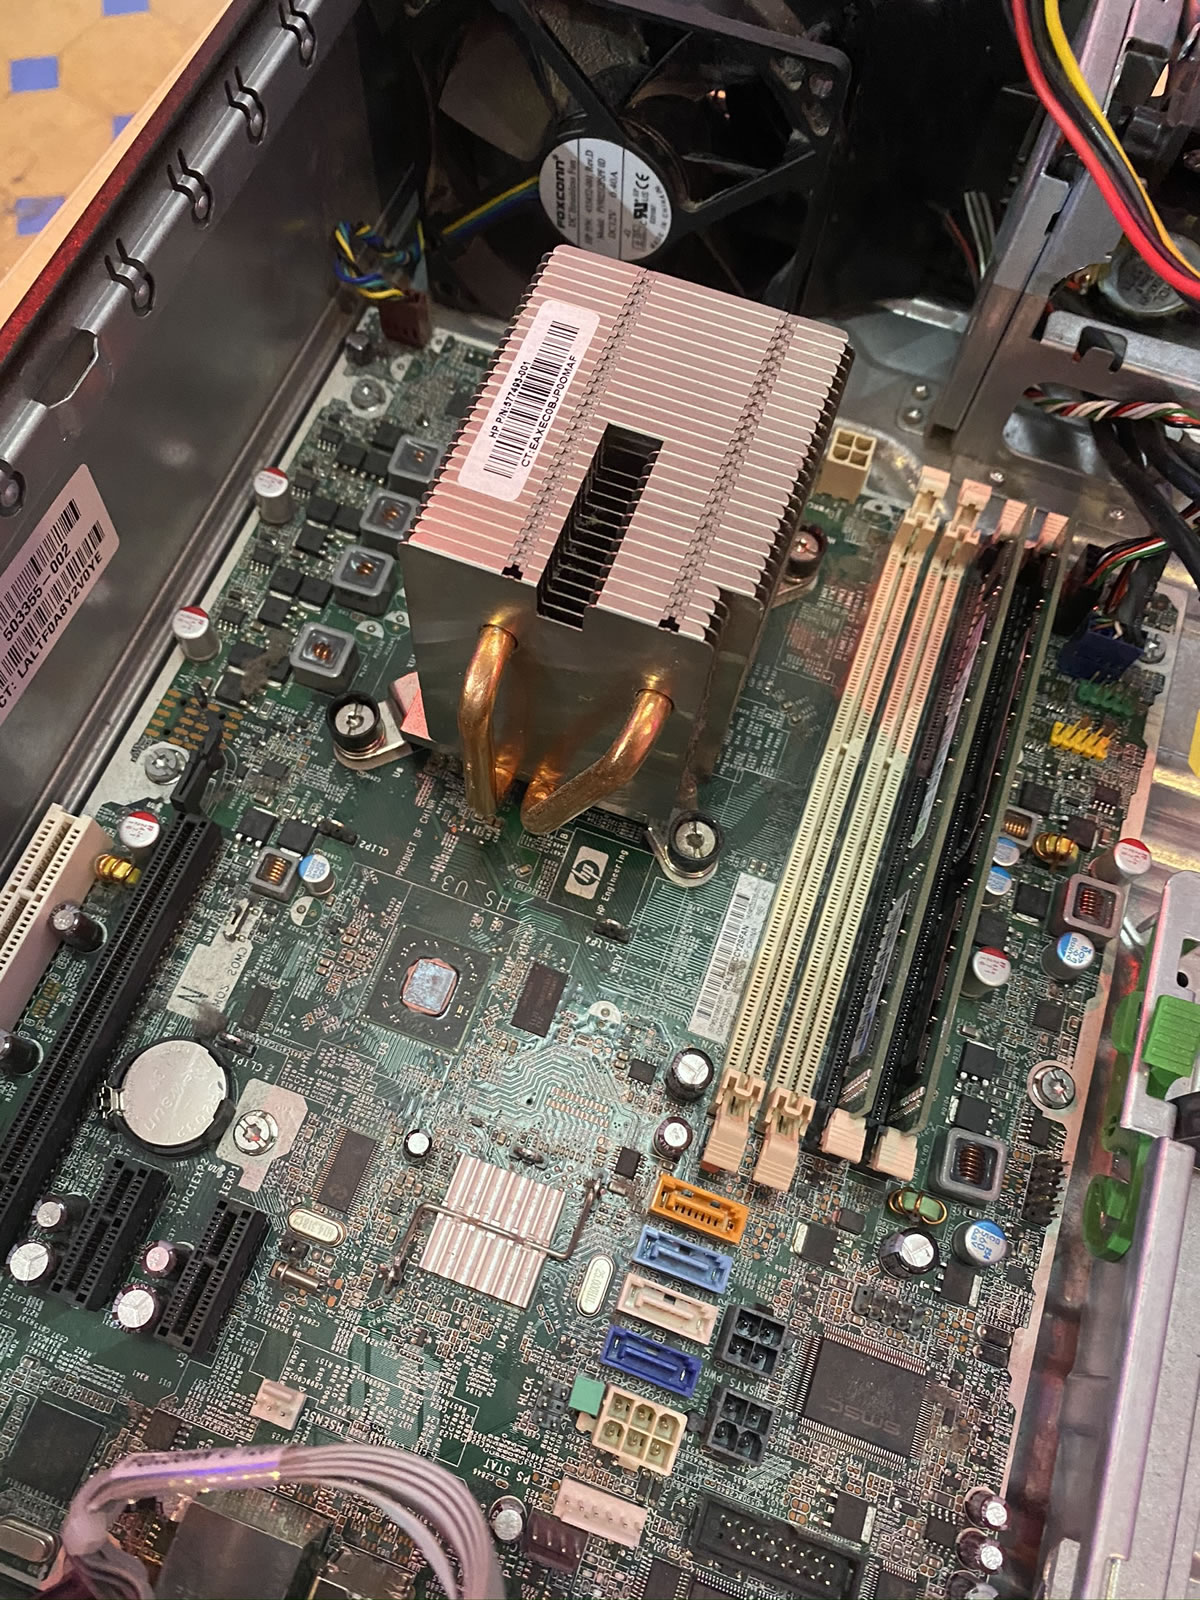
Unlike the previous days, we did not attempt to dismantle and then reassemble the servers — this was a “look, but don’t touch” sort of lesson.

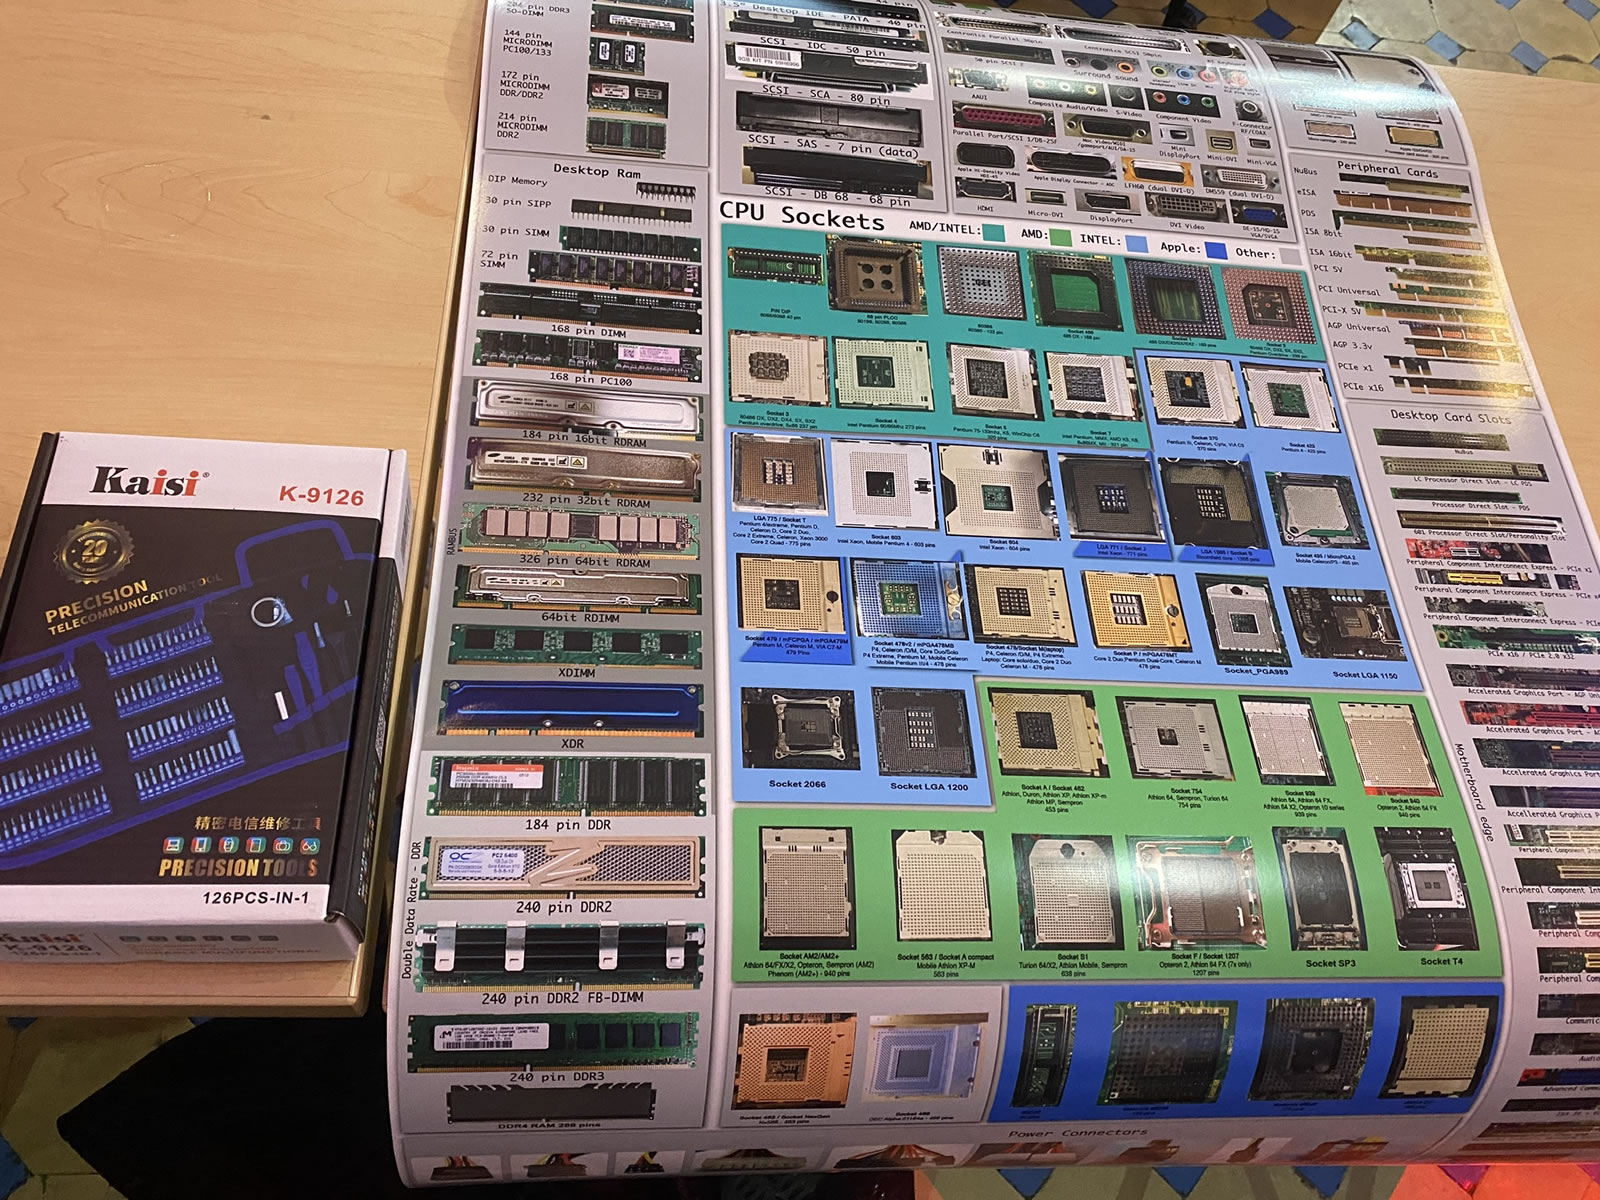
We also had a guest lecturer who gave us a pretty thorough walkthrough of the sorts of things involved in an enterprise server/data center setup, some of which went way over my head. I don’t see a sysadmin/system architect role in my future, but it might not hurt for me to do some supplementary reading on this topic.
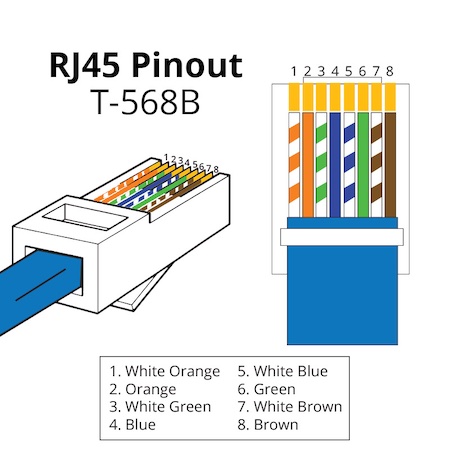
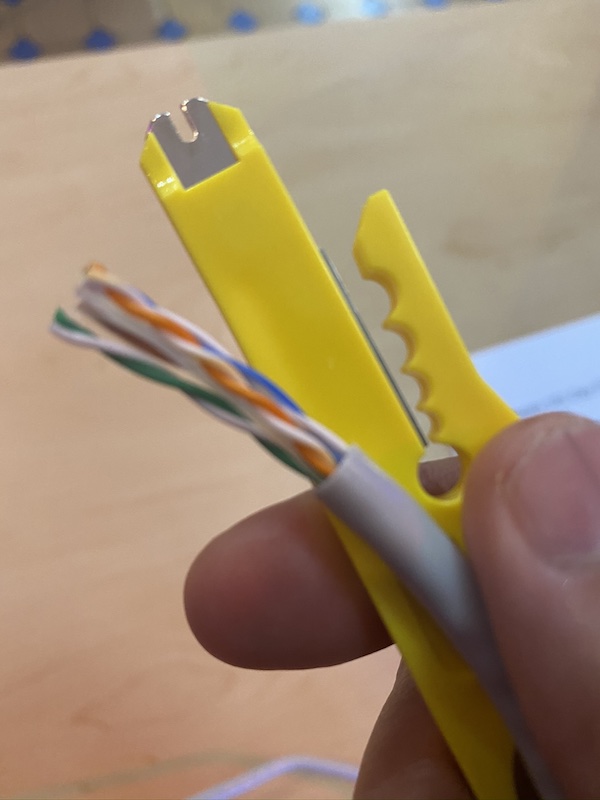
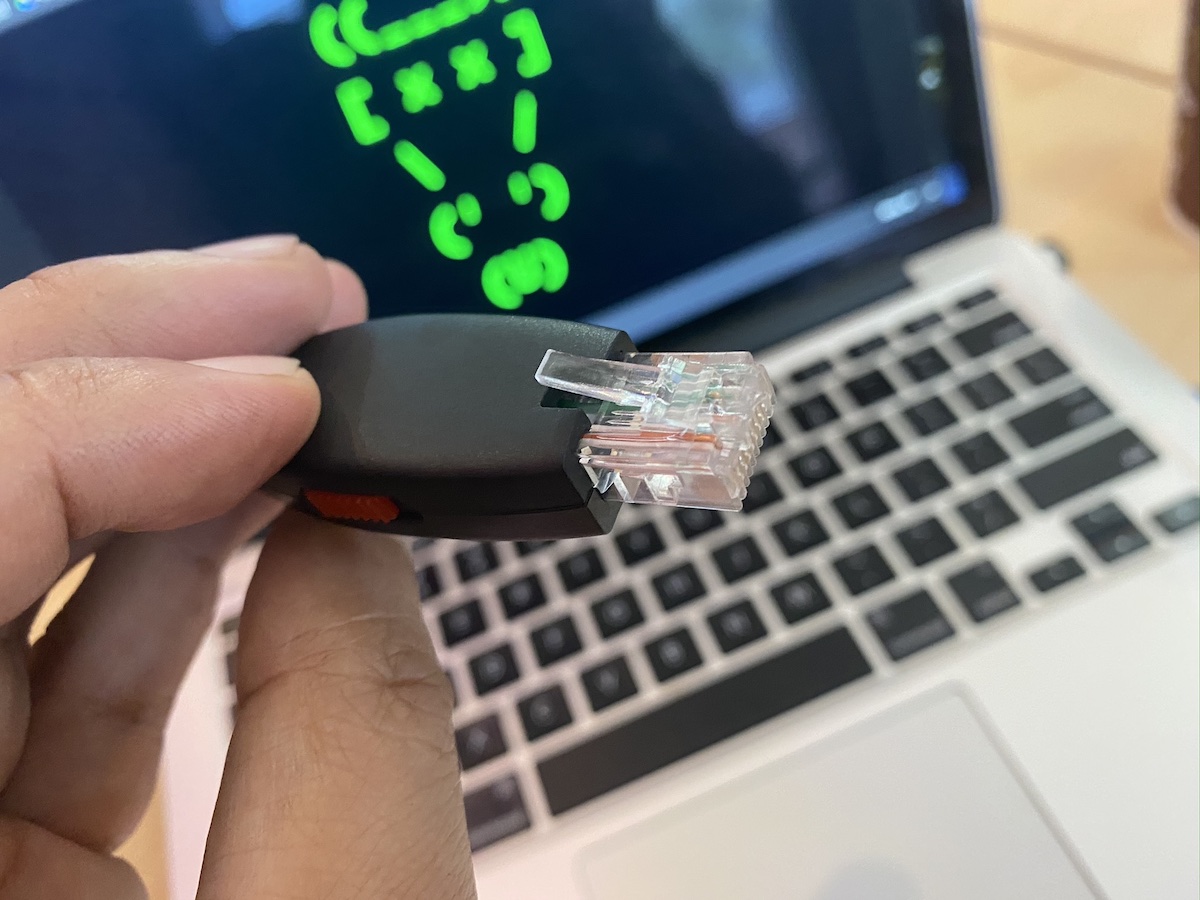
Day 5 was the final day of Hardware 101 and started with something that I’ve always been terrible at: Making networking cables.
Arrrrgh.
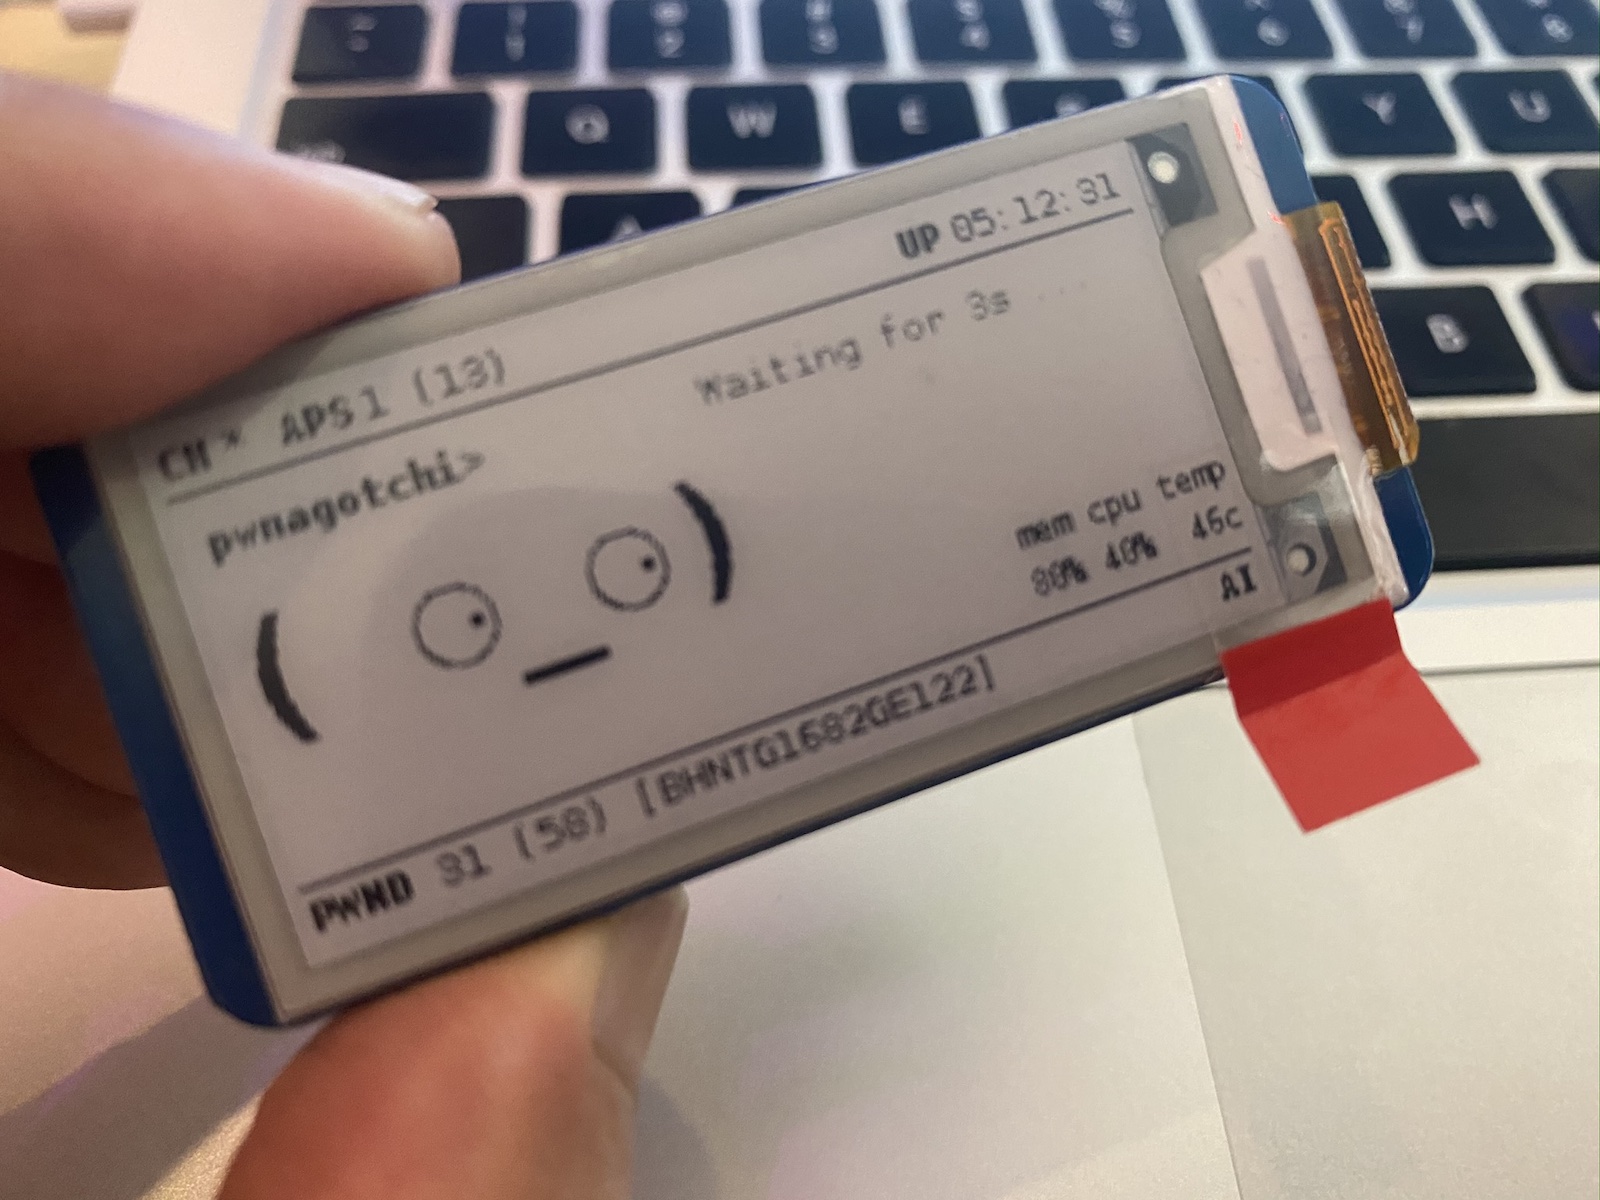
We also spent some time looking over all sorts of intrusion devices, such as the incredibly cute “Pwnagotchi”, a Raspberry Pi Zero-based device that “listens” to wifi chatter to feed its machine learning program in order to figure out wifi passwords.

It uses an e-paper screen, which is quite legible and consumes little power.
It’s incredibly small:
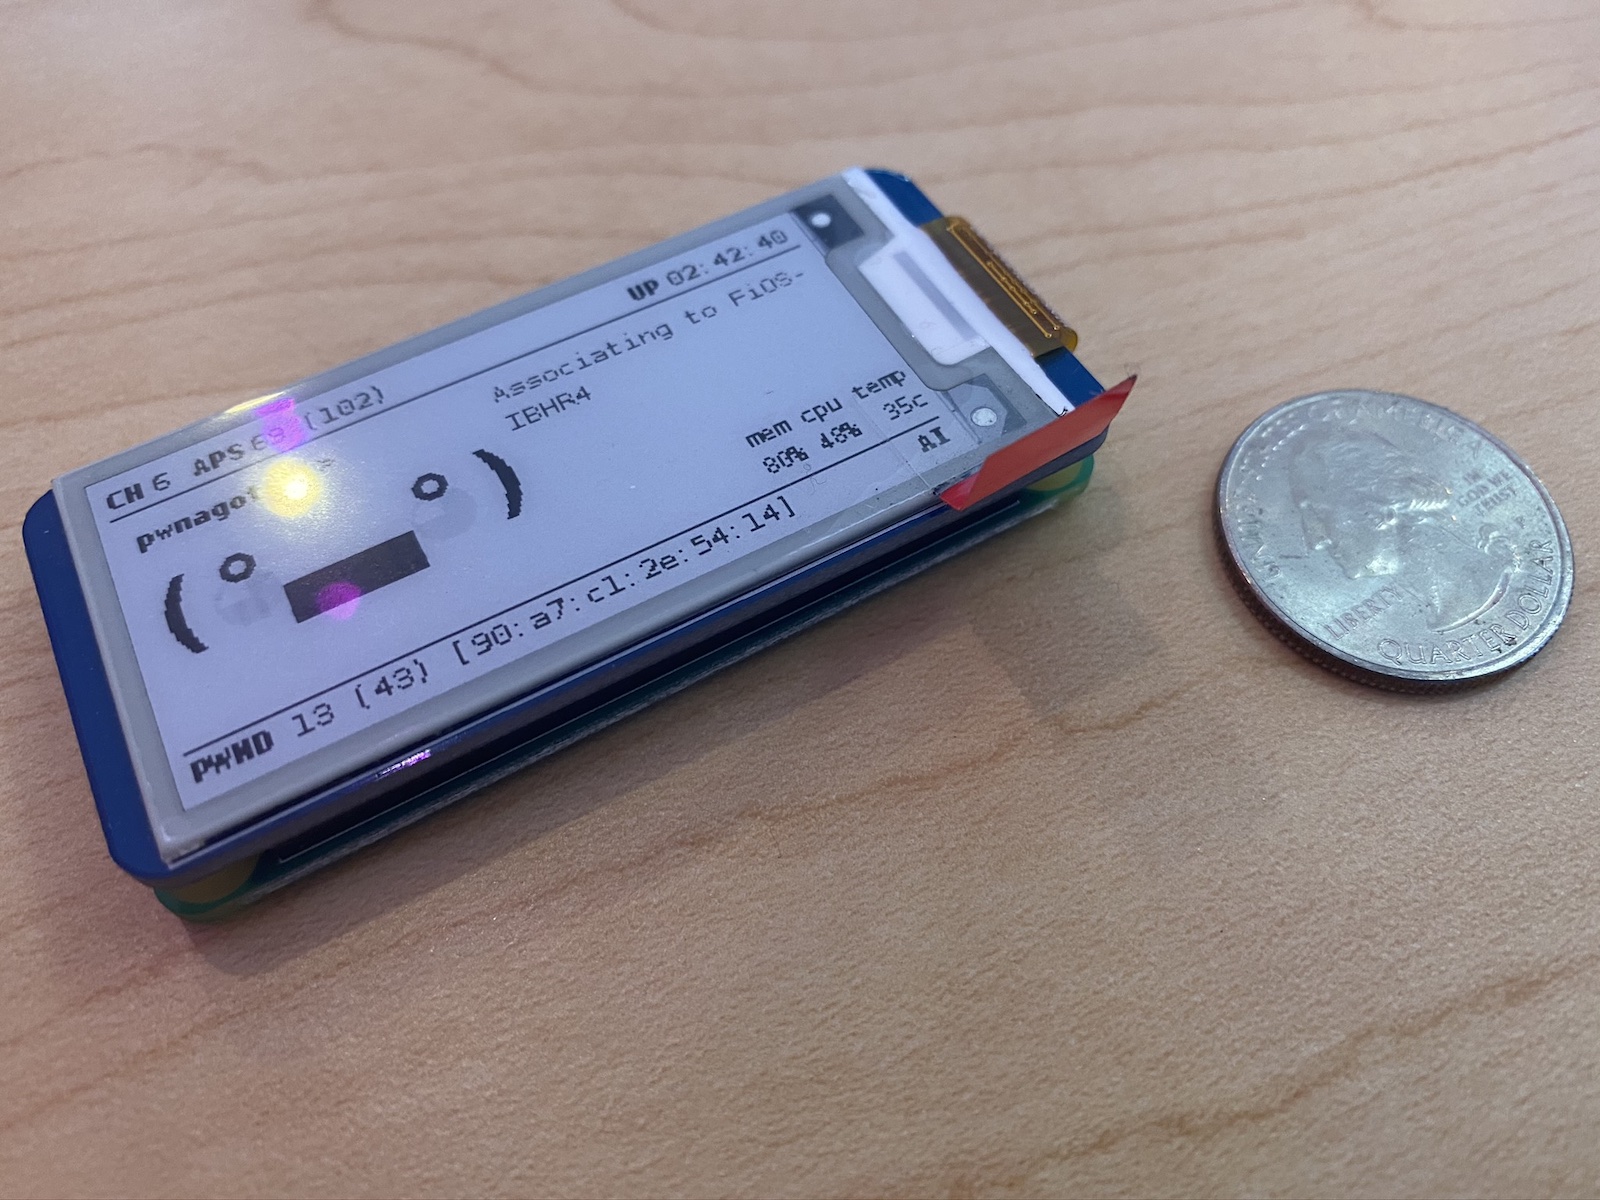
Here’s a Pwnagotchi beside a U.S. quarter for size reference:
A great way to steal information to gain access to people’s accounts and systems is to set up a fake wifi hotspot at a place that offers free wifi, such as Starbucks. That’s what the Wifi Pineapple is for — people connect to it, thinking they’re connecting to Starbucks wifi. You route their signals through to the real Starbucks wifi, but you’re the go-between, and can “see” everything that your marks are sending on the internet: the data they’re passing back and forth, including stuff like user IDs and passwords:
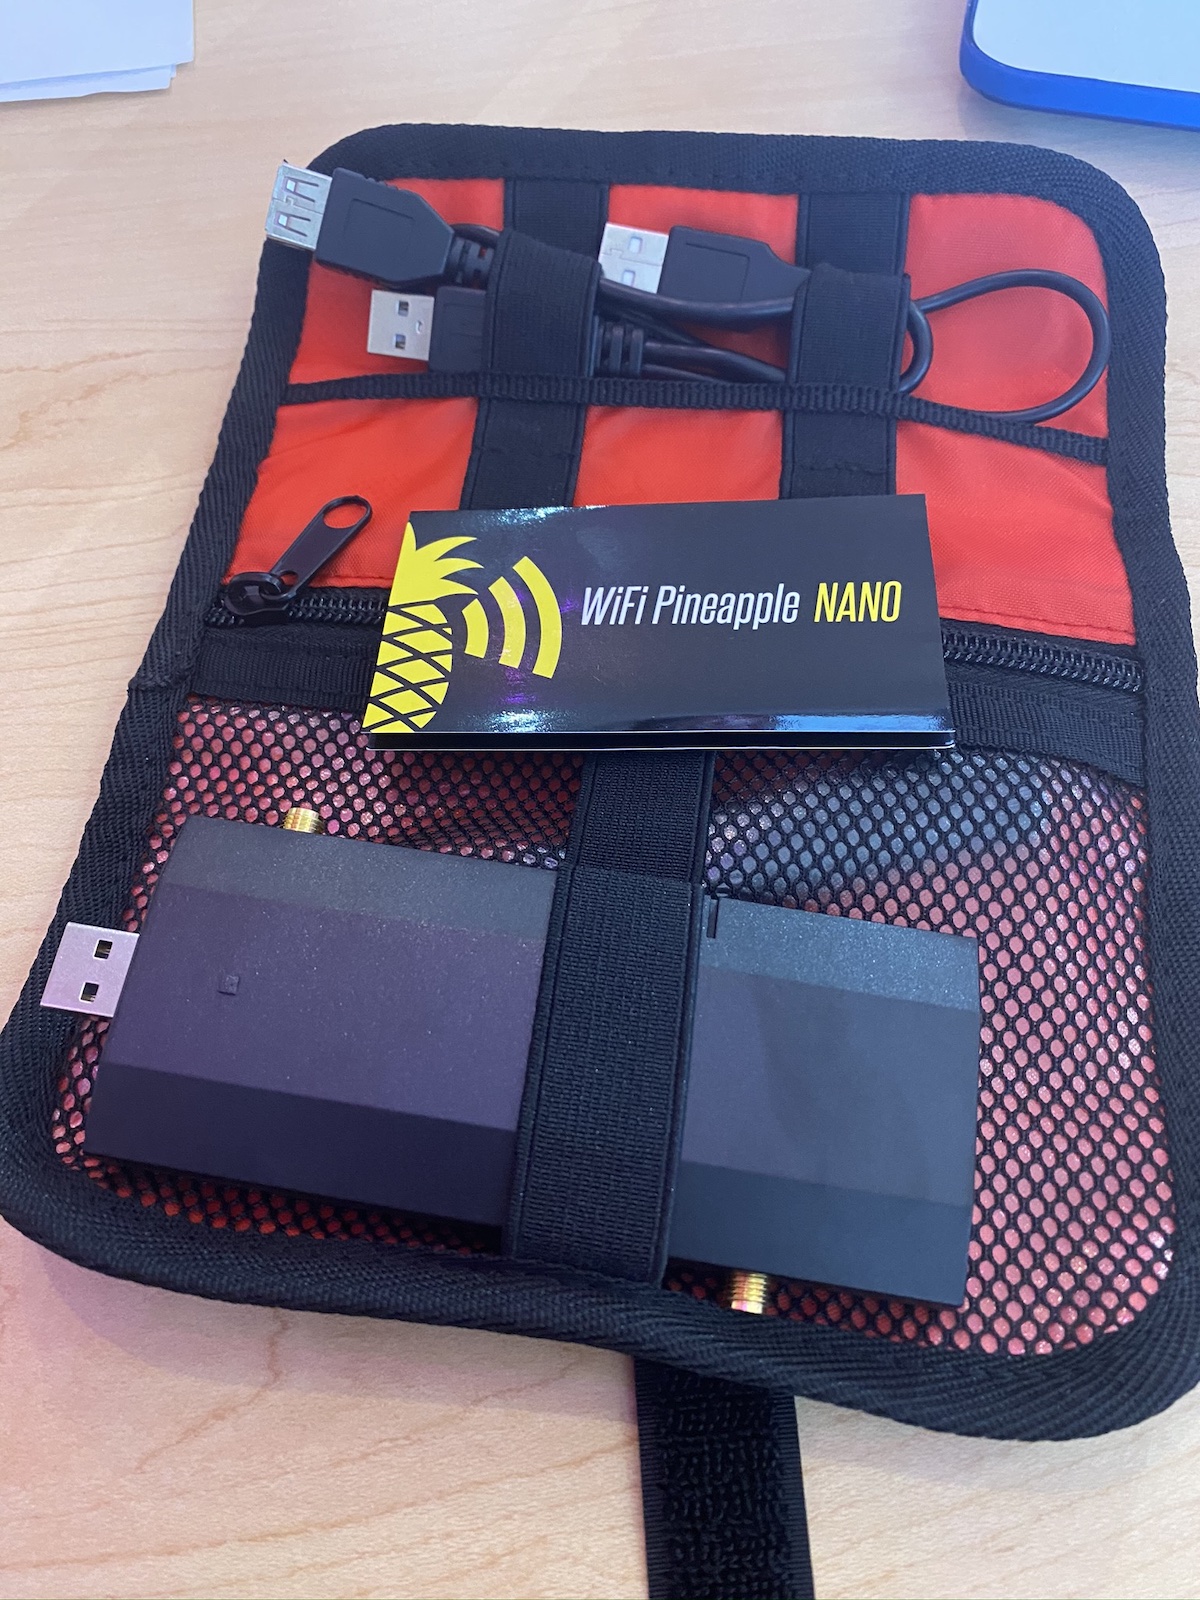
Here’s the actual unit:
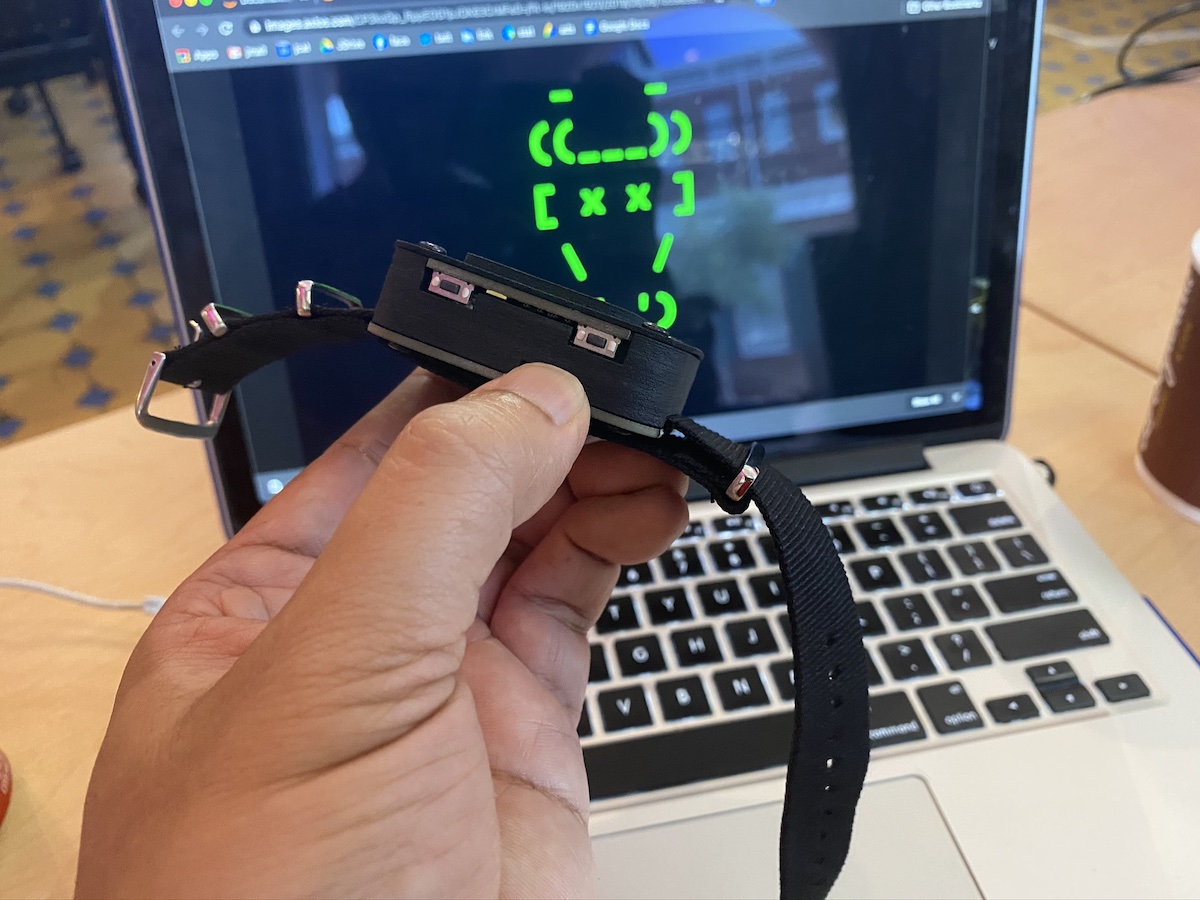
Here’s a wrist-mounted device for performing wifi de-authentication attacks:
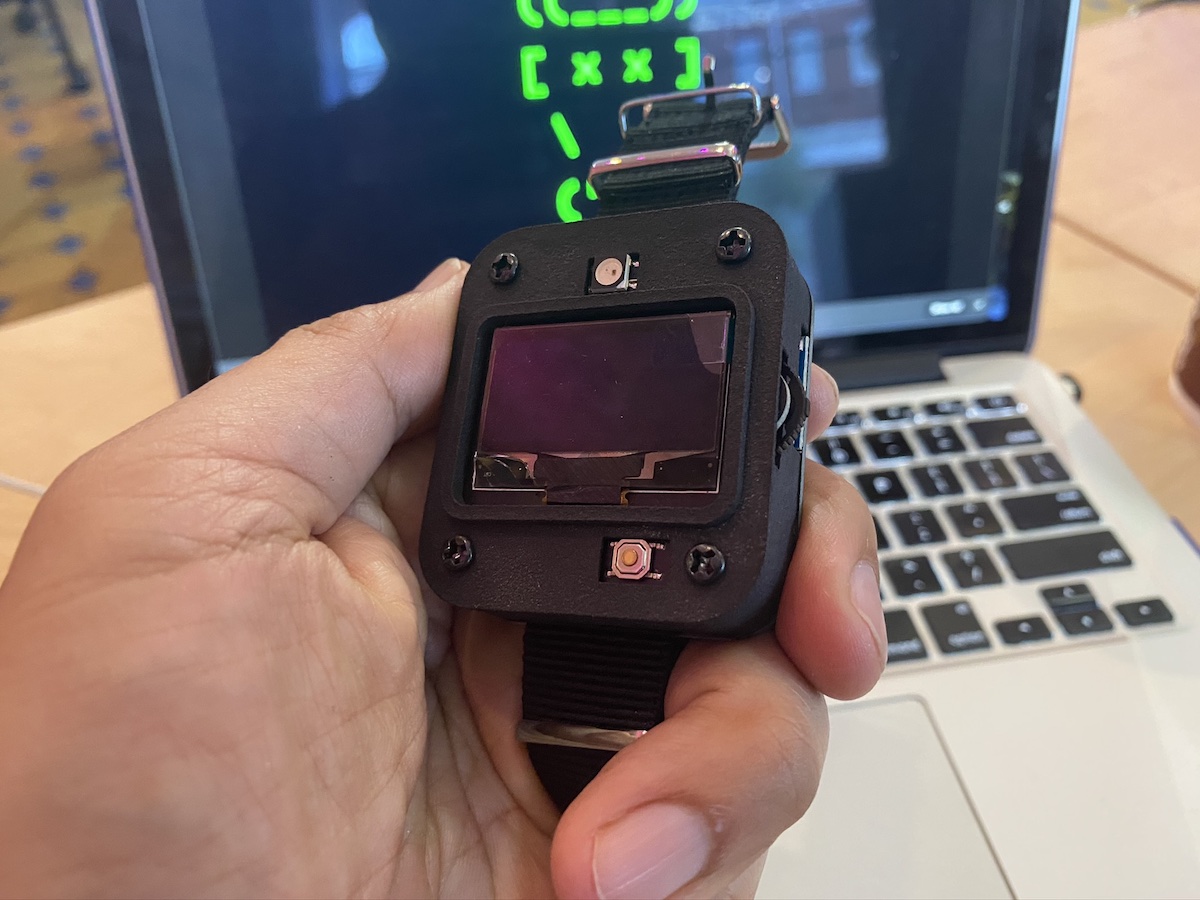
It sends out a signal that causes devices currently connected to wifi to disconnect. You could use it in tandem with a Wifi Pineapple to force people to disconnect from the real wifi and then connect to the Pineapple instead, enabling you to read their internet communications.
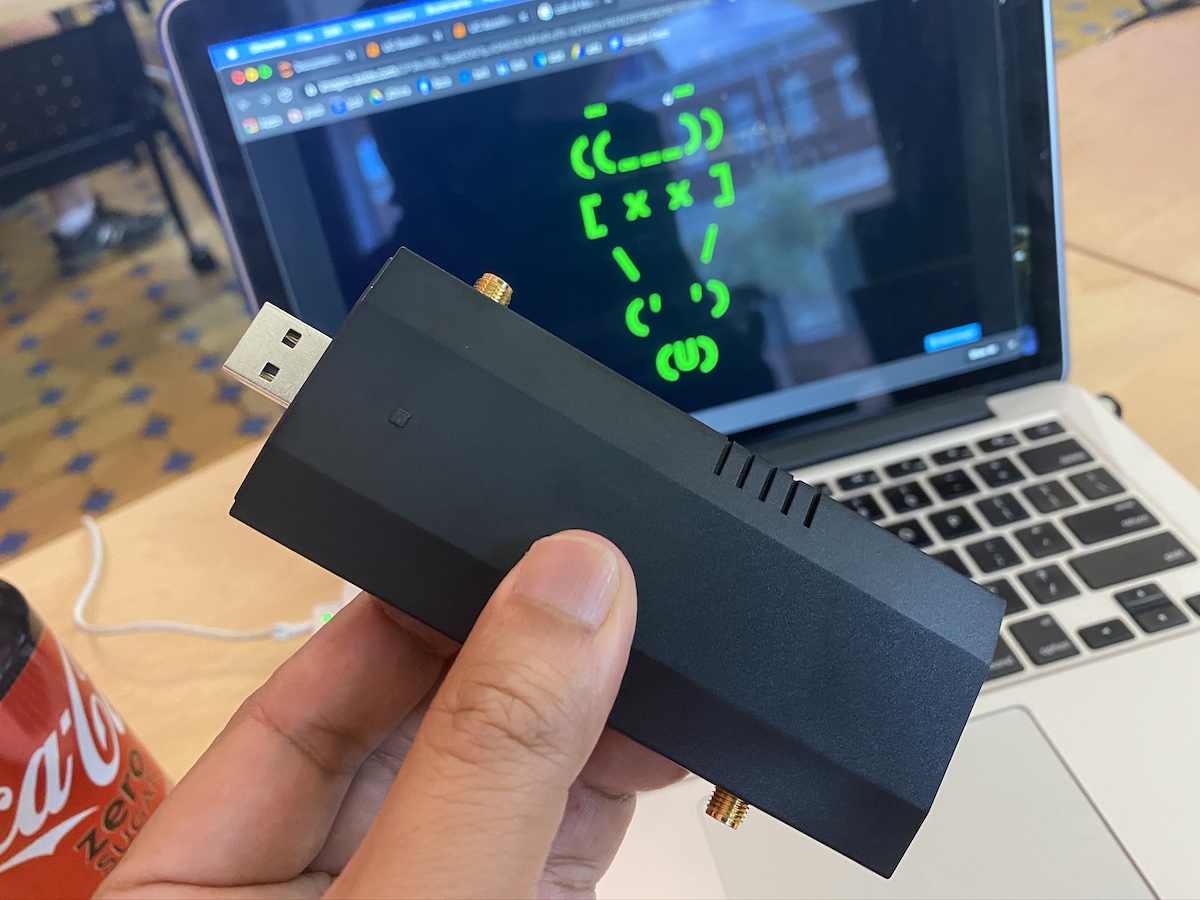
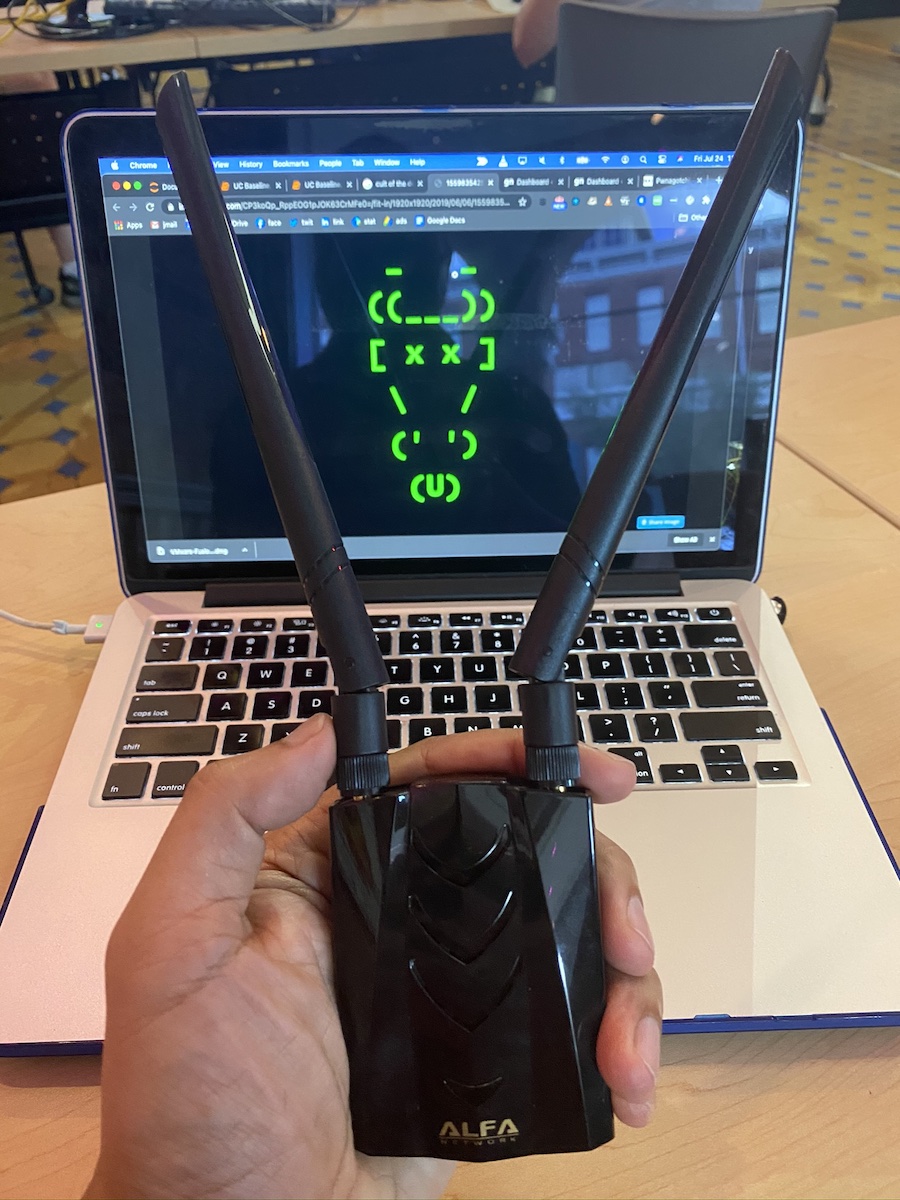
If you really want to “sniff” all the wifi traffic in the room, you’ll want one of these — a high-gain antenna system hooked to a network interface controller (NIC) that reads signals in “promiscuous mode”, a capability that’s disabled in most NICs. In promiscuous mode, you can capture all wifi traffic instead of the bits of data that you’re authorized to receive. It’s a good network diagnostics tool — and it’s also useful for getting up to no good:
And finally, the Shark Jack. Plug it into someone’s network, either via the ethernet jack or USB, and it will execute scripts to get a map of the network or even deliver a payload somewhere onto the system:
 It’s basically a real-world version of the device that Tony Stark slipped onto the command console of the SHIELD helicarrier in the first Avengers movie (it’s at the 0:44 mark):
I may have to invest in one of those bad boys. For research purposes, you understand.
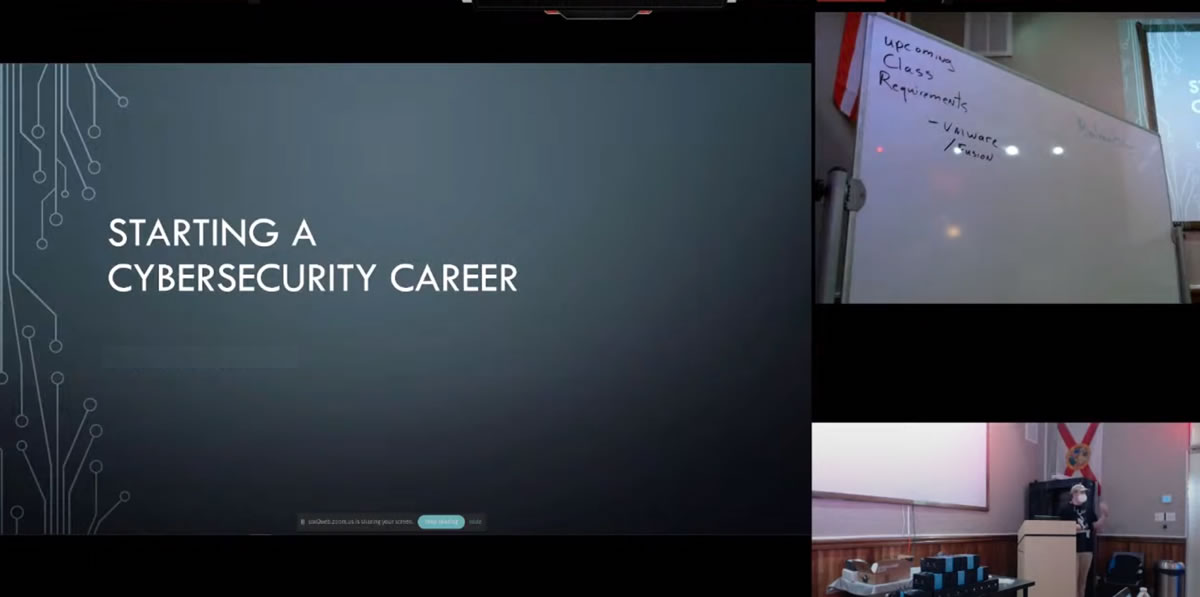
We also had a guest lecturer who delivered a very thorough and informative presentation on getting started in cybersecurity. I’ll have to post notes on it later:
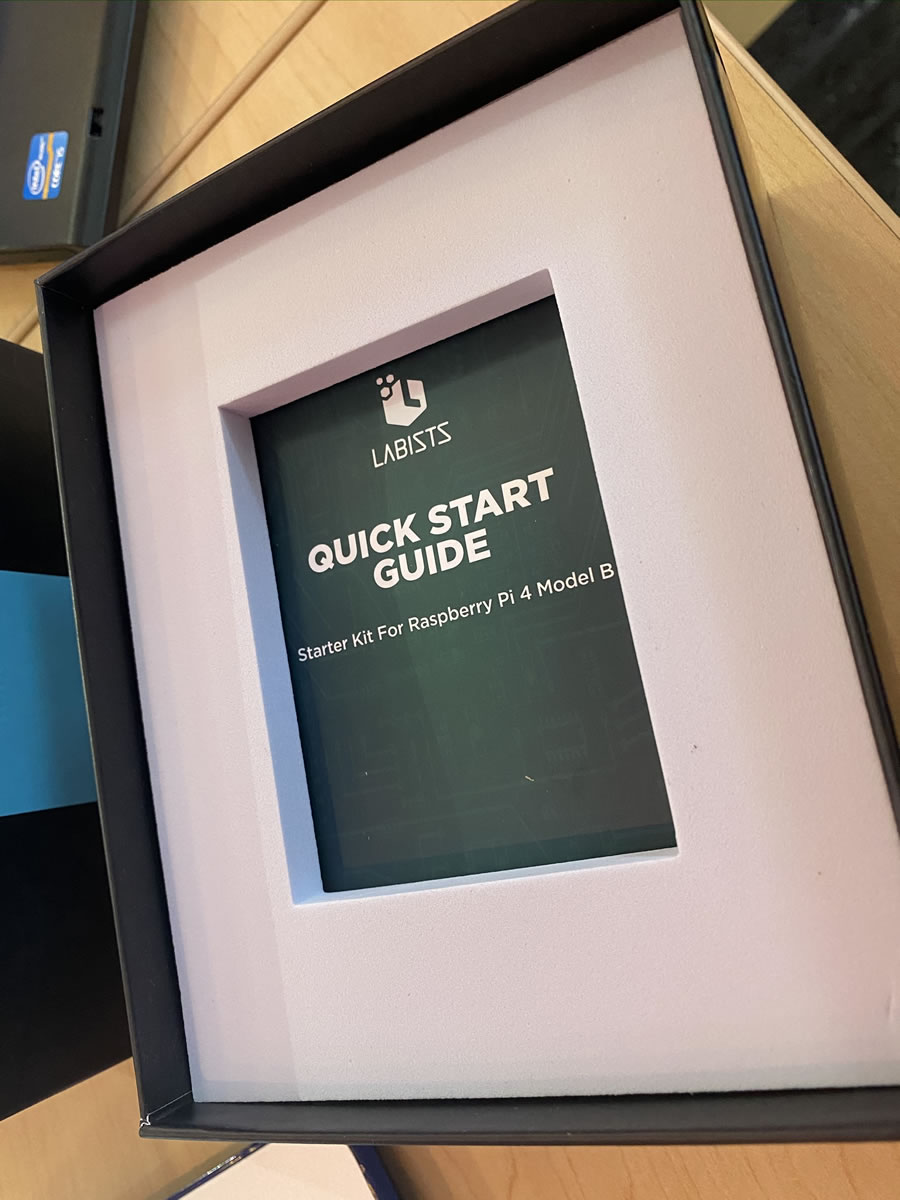
 And at the end of the day, we were each issued our very own Raspberry Pi 4 Model B’s!
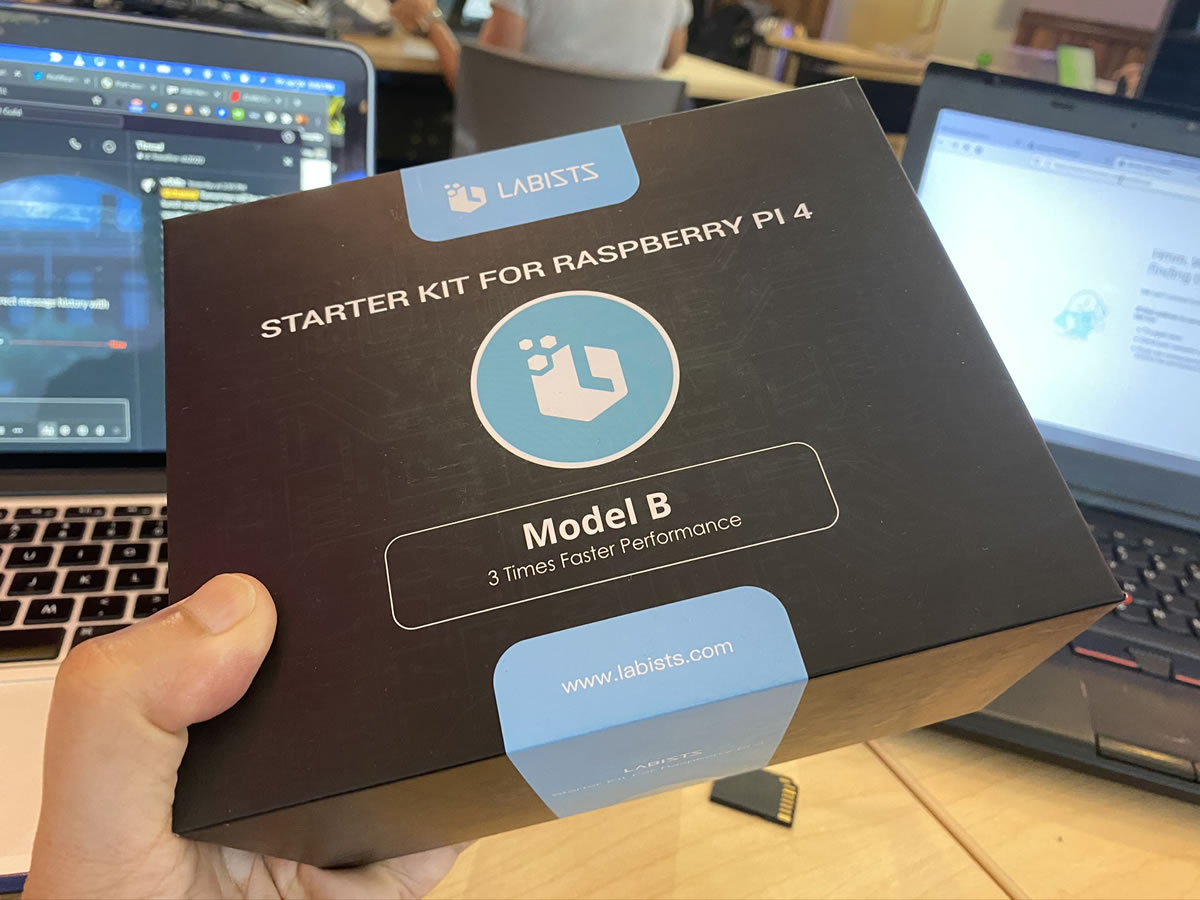
These were the Labists versions, and I have to say, I prefer their offering over Canakit’s.
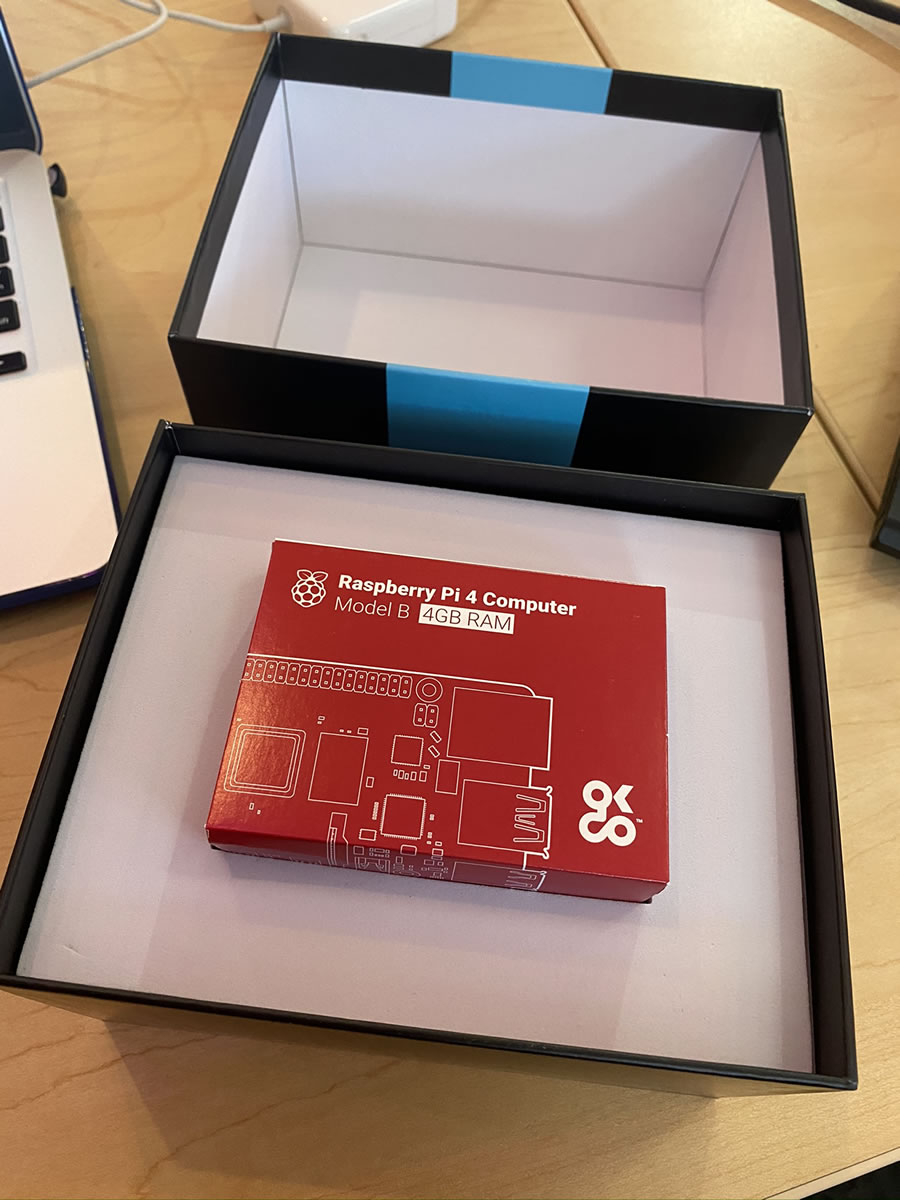
Here’s what the board looks like:
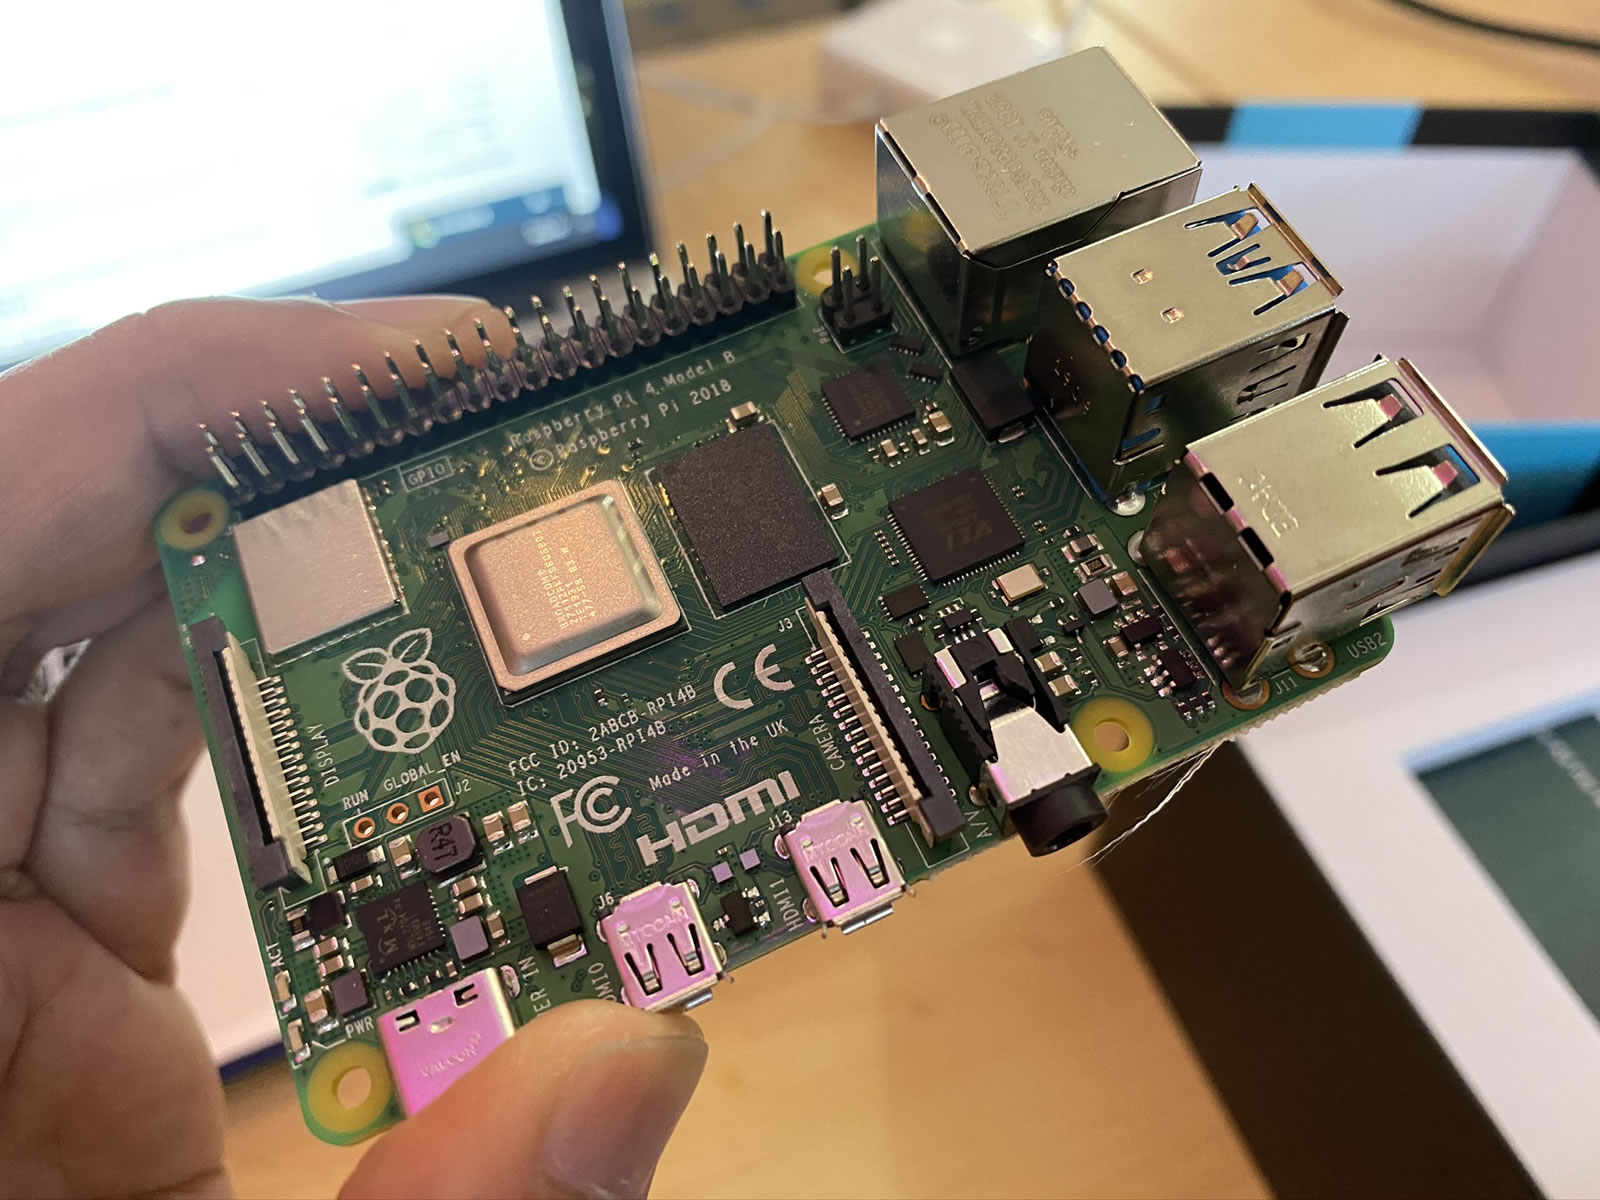
It has some pretty impressive specs, especially when you consider that it retails for under $100:
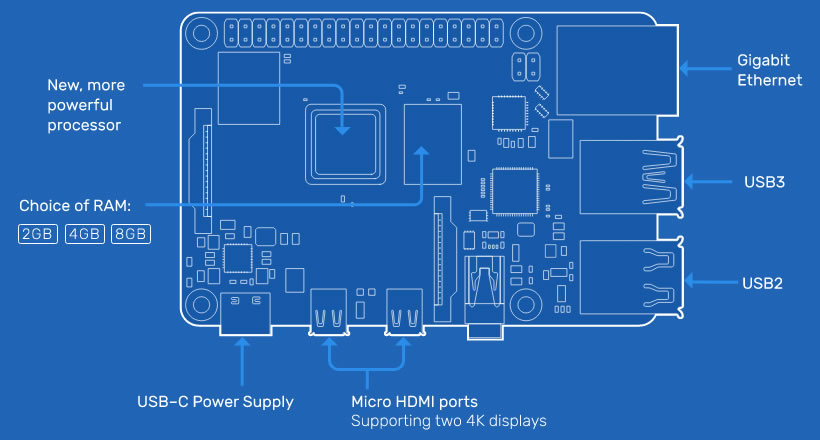
- Processor: Quad core Cortex-A72 (ARM v8) 64-bit SoC, running at 1.5GHz
- RAM: 4 GB
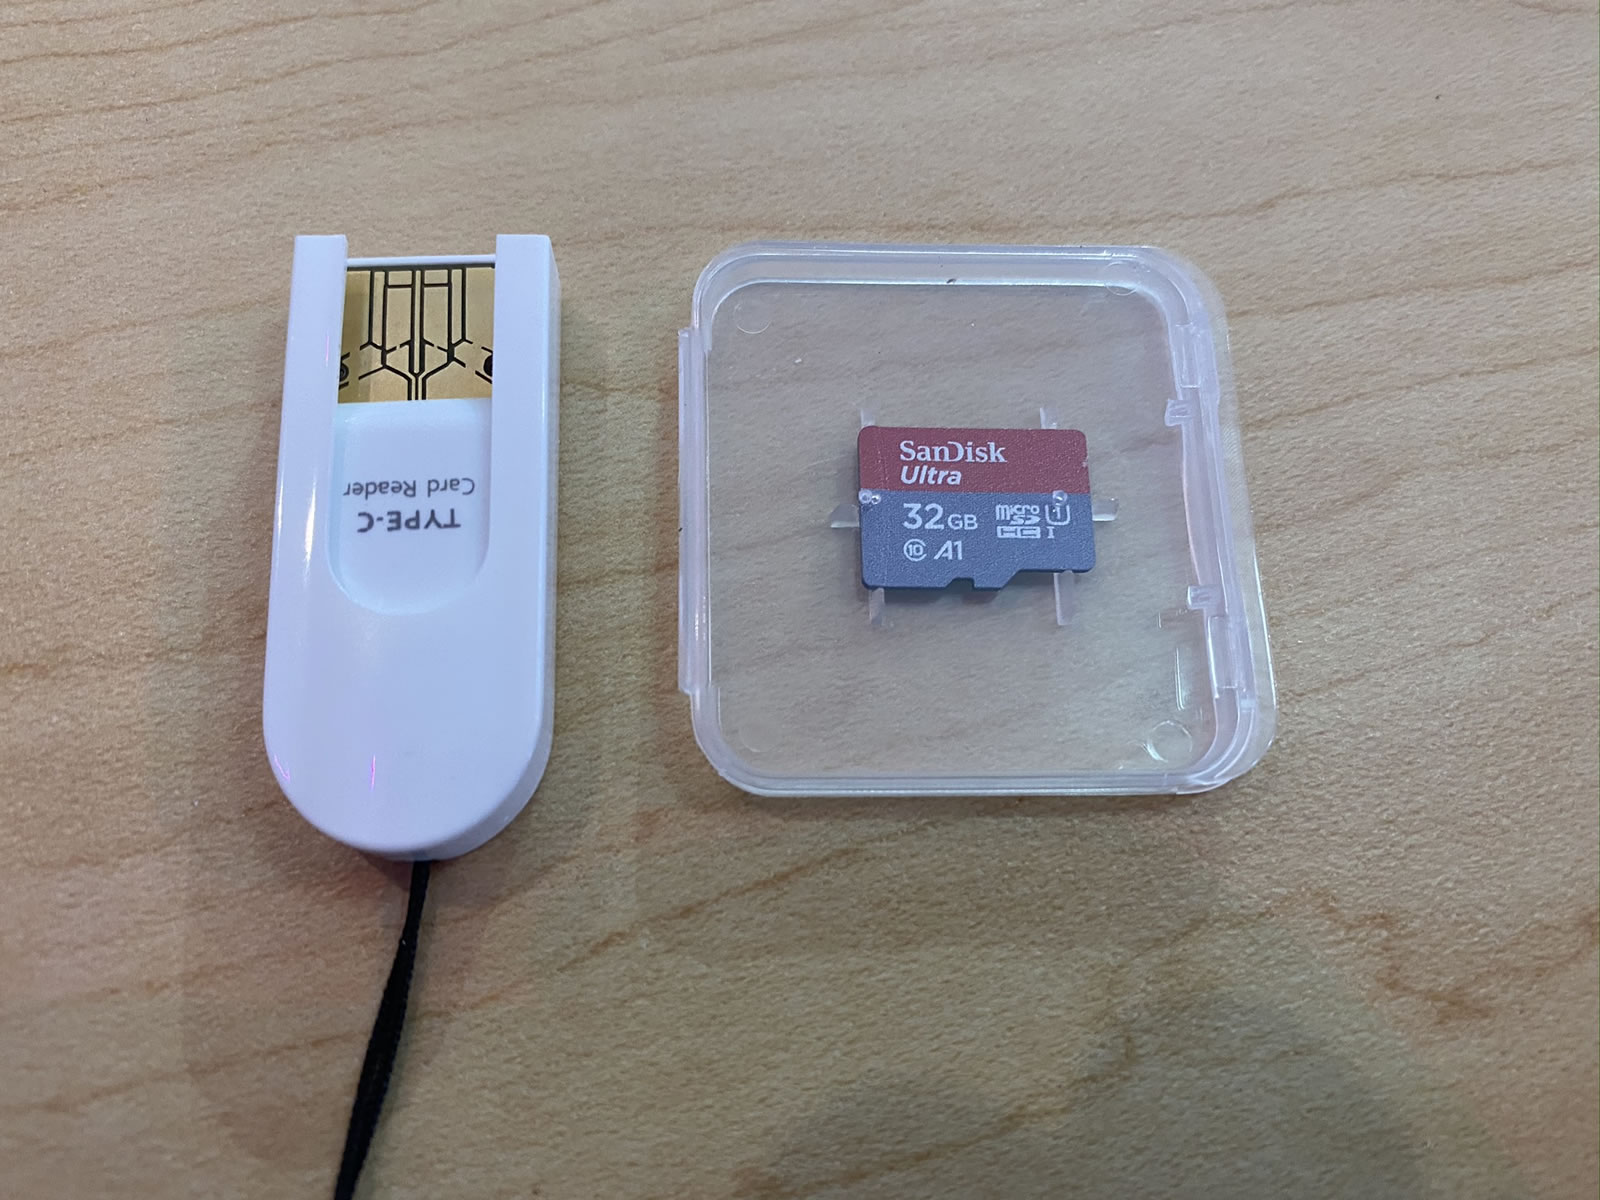
- “Hard drive”: Micro-SD card slot. This model comes with a 32 GB card
- Networking:
- 2.4 GHz and 5.0 GHz IEEE 802.11ac wifi
- Bluetooth and Bluetooth LE (low energy)
- Gigabit ethernet
- USB ports: 2 USB 2 ports, 2 USB 3 ports
- Video: 2 micro-HDMI ports, with support for 4Kp60 video
- Other ports:
- Raspberry Pi 40-pin GPIO (general purpose input/output)
- 2-lane MIPI DSI display port
- 2-lane MIPI CSI camera port
- 4-pole stereo audio/composite video port
It also comes with a pretty nice case…
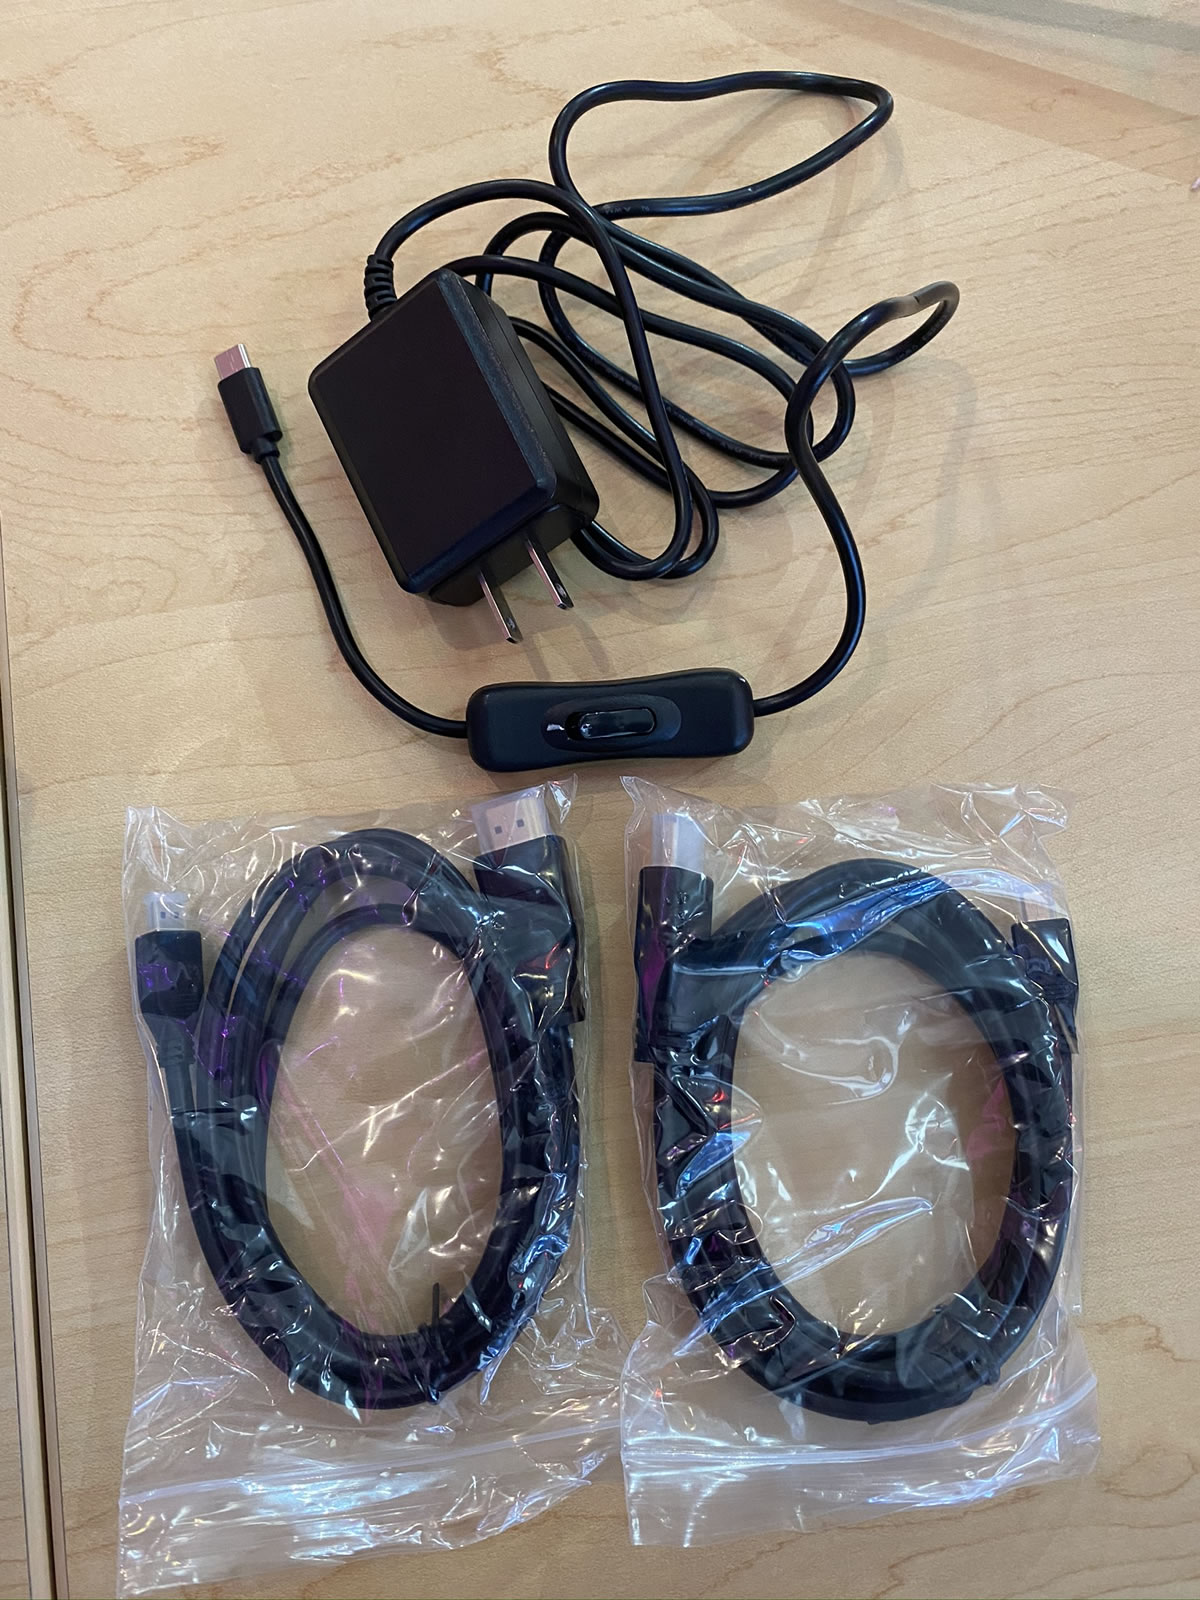
…a power supply with an actual on/off switch on the cord, and not one, but two micro-HDMI to full-size HDMI cables…
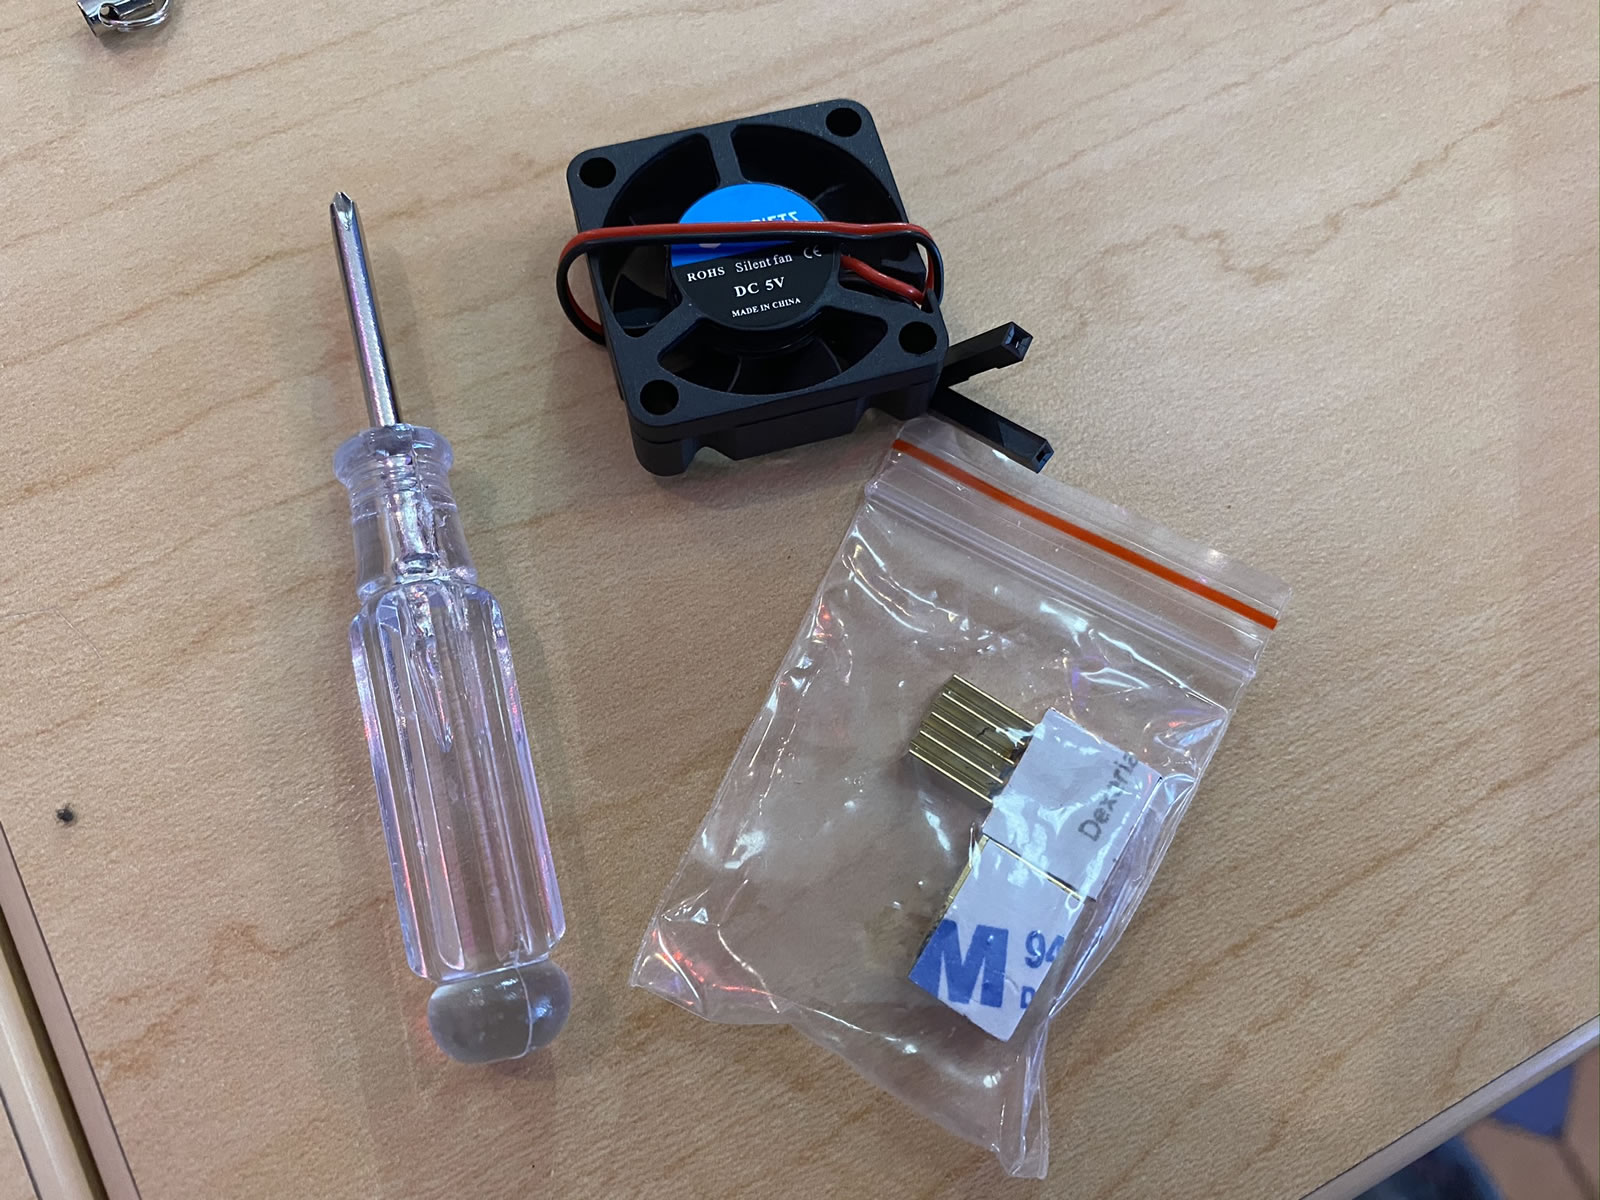
…heatsinks and a fan, plus a screwdriver…
…and a micro-SD card and USB adapter so that you can use your standard computer to download an OS…
 I spent some time over the weekend noodling with it, and wow, is it a fun computer to play with!
We’re expected to use it for this week’s classes, which make up the “Networking 101” portion of the UC Baseline program. I’m looking forward to it!