
One of the big changes that came from Microsoft’s acquisition of the cross-platform development tool company Xamarin is that their IDE, which once required a subscription fee for a version for building non-trivial projects, is now free-as-in-beer for the following:
- individual developers,
- small professional teams (5 or fewer users in an organization that isn’t considered an “enterprise”, which Microsoft defines an organization with more than 250 PCs or makes more than US$1 million in annual revenues),
- open source projects (that is, projects released under Open Source Initiative-approved licences),
- use in on-line or in-person classroom training and education, and
- use in academic research projects
If Windows is your development platform, Xamarin’s cross-platform mobile dev tools come baked into all editions of Visual Studio, even the free-as-in-beer Community Edition, which you can download from the Visual Studio page. If your preferred development platform is Mac OS, Xamarin Studio, a full-featured stand-alone IDE that borrows a few tricks from Visual Studio. In this article, I’ll take you on a quick tour of Xamarin Studio Community, as seen on my MacBook Pro, iPhone 6S, and Moto G running Android Marshmallow.
The installation process is pretty straightforward, and the length of time it takes will depend largely on your internet connection speed. Here’s a screenshot that I took of the installer at the start of the process:

Once installed, I did the oh-so-familiar File → New → Solution… dance and was presented with this window:
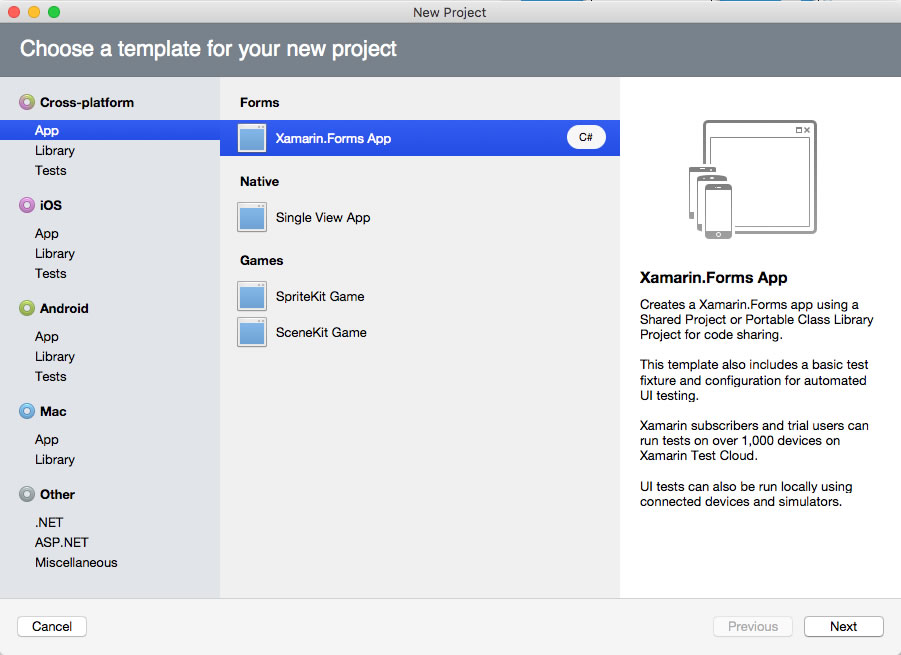
Note the options offered in the left column:
- Cross-platform development, which you can do in one of two ways:
- Using Xamarin.Forms, a “universal” UI framework that allows you to target a single cross-platform UI that tries to be a native as possible on both Android and iOS, and
- a more “traditional” way, where you write Android- and iOS-specific UI code while writing common logic that both with use
- iOS apps,
- Android apps,
- Mac applications, and
- “other” applications, which include:
- console projects,
- GTK# 2.0 projects,
- NUnit libraries,
- F# tutorials,
- ASP.NET and ASP.NET MVC projects
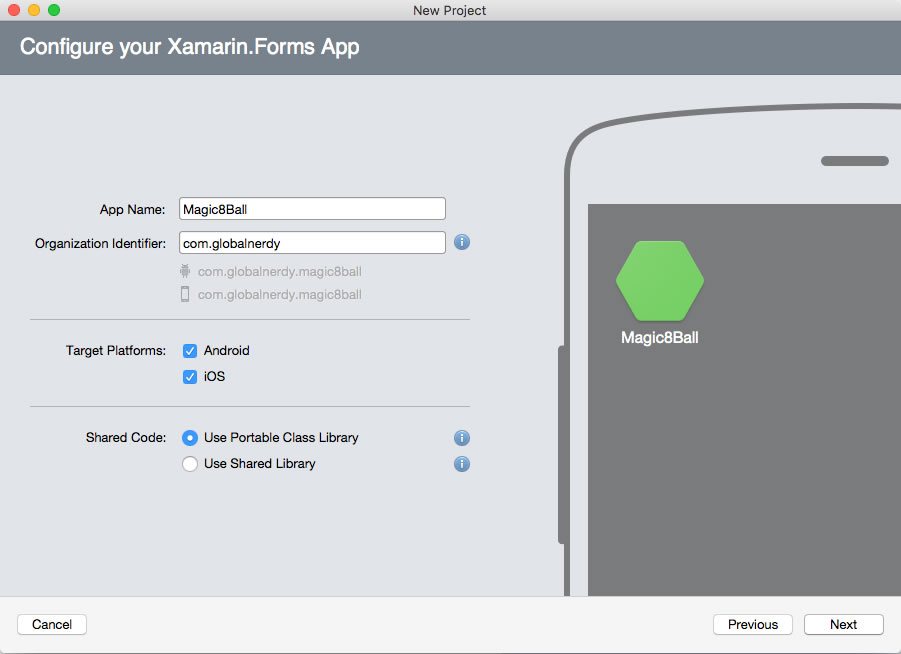
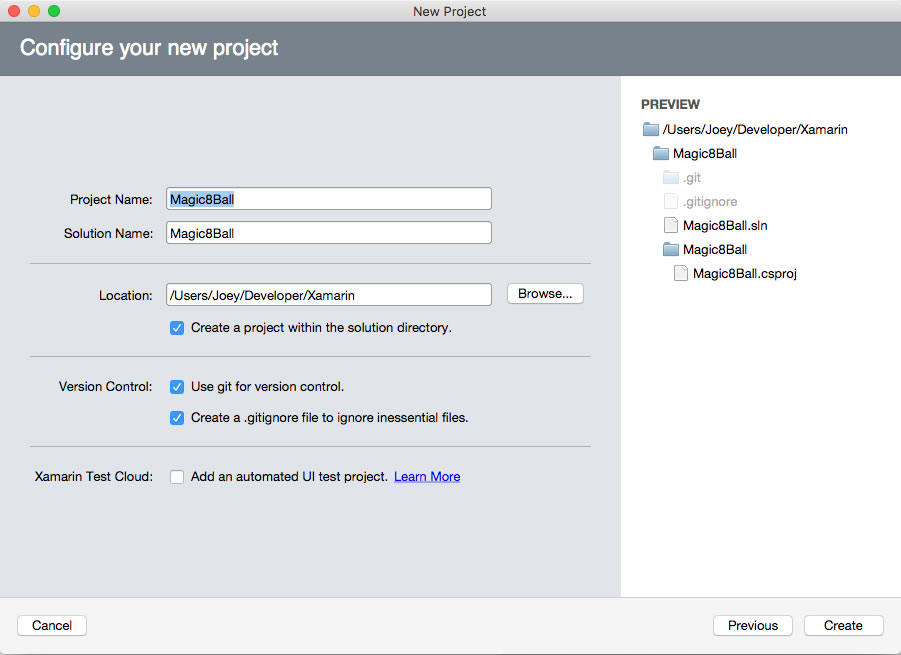
For this walkthrough, I’m going to go with Xamarin.Forms to write something to deploy to both Android and iOS. When you do this, you’re presented with a couple of configuration dialogs, shown below. I’m going to name my project Magic8Ball…
Once past the configuration dialogs, you’re presented with your project. Xamarin Studio’s interface is a pretty standard IDE: solution tree in the left column, editor in the upper right-hand quadrant, and debug and console panes below the editor:

If you look at the left-hand solution tree column, you should notice that it’s divided into three parts:
- Magic8Ball, the main project
- Magic8Ball.Droid, the Android-specific parts of the solution, and
- Magic8Ball.iOS, the iOS-specific parts of the solution.
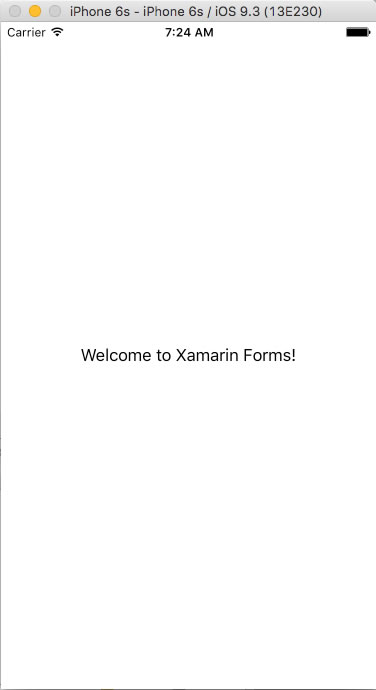
Right now, Magic8Ball.iOS is marked in bold, which indicates that it’s the startup project. If you were to run the app right now with an iOS simulator as the target, here’s what you’d see:
Left-clicking on Magic8Ball.Droid and selecting Set As Startup Project makes it the startup project…
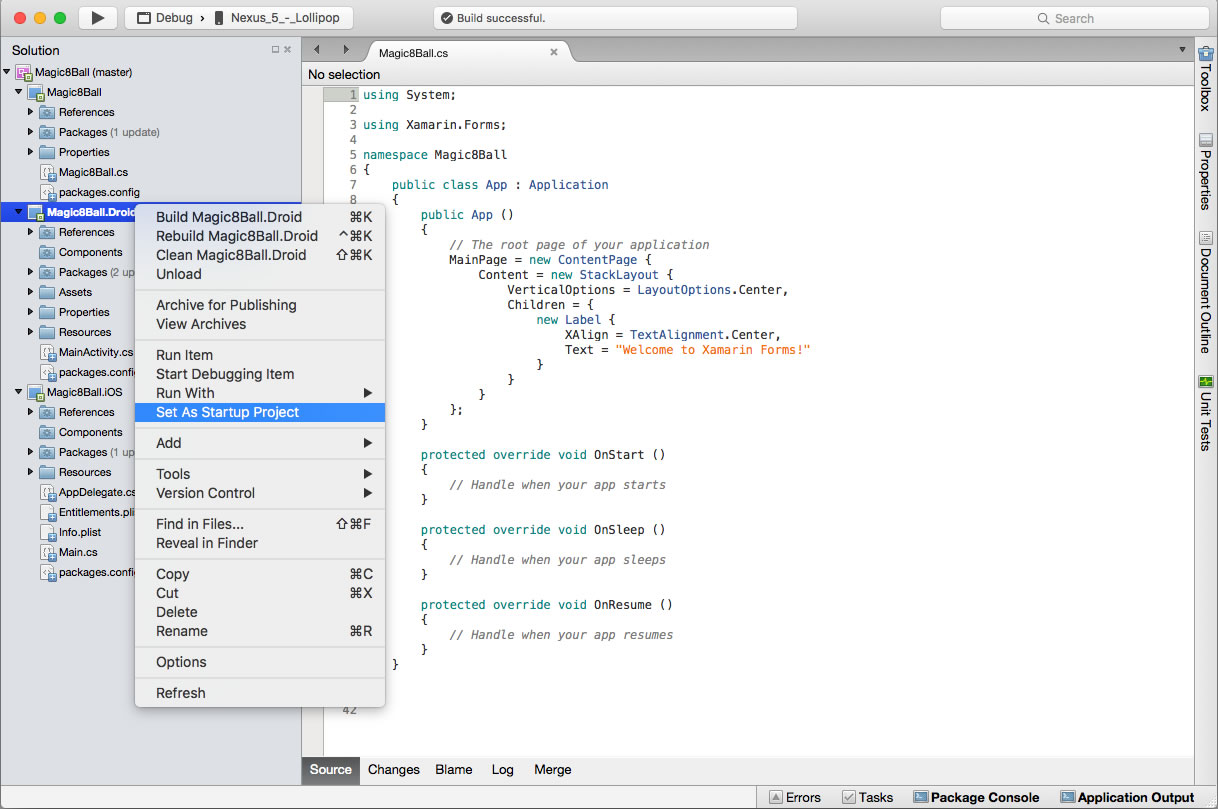
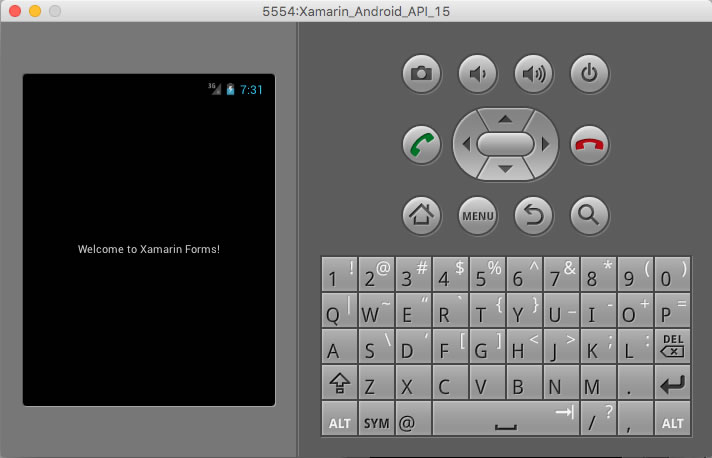
…and here’s what it looks like on the emulator. Note that Xamarin’s Android projects, by default, use a dark color scheme (which you can change with a simple configuration tweak):
In the newly-created “Hello World” template that you get when you first create a Xamarin.Forms solution, everything happens in the Application class instance. In the case of my app, that instance lives in Magic8Ball.cs. Not how the entire UI is set up in the constructor, App():
using System;
using Xamarin.Forms;

namespace Magic8Ball
{

	public class App : Application
	{

		public App ()
		{
			// The root page of your application
			MainPage = new ContentPage {
				Content = new StackLayout {
					VerticalOptions = LayoutOptions.Center,
					Children = {
						new Label {
							XAlign = TextAlignment.Center,
							Text = "Welcome to Xamarin Forms!"
						}
					}
				}
			};
		}

		protected override void OnStart ()
		{
			// Handle when your app starts
		}

		protected override void OnSleep ()
		{
			// Handle when your app sleeps
		}

		protected override void OnResume ()
		{
			// Handle when your app resumes
		}

	}

}
I changed the code to pass off the UI creation to a view class that I’m calling MainPage:
using System;
using Xamarin.Forms;

namespace Magic8Ball
{
	public class App : Application
	{

		public App ()
		{
			// The root page of your application
			MainPage = new MainPage();
		}

		protected override void OnStart ()
		{
			// Handle when your app starts
		}

		protected override void OnSleep ()
		{
			// Handle when your app sleeps
		}

		protected override void OnResume ()
		{
			// Handle when your app resumes
		}
	}

}
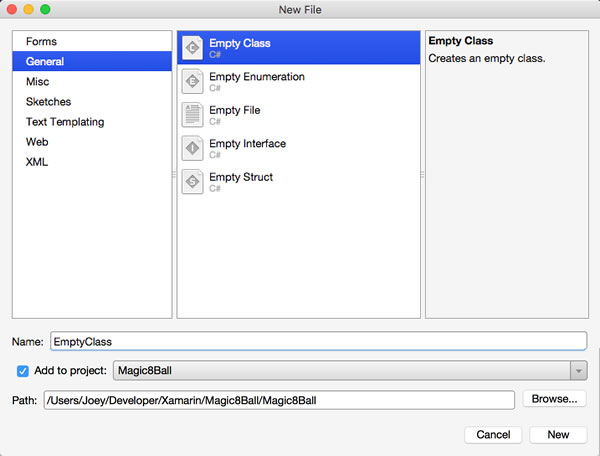
I decided to create a class called EightBall to handle all the predictions. Using File → New → File…, I was presented with the New File dialog, where I selected General on the left-hand column and Empty Class in the center column:
Here’s the contents of the file as given to me by Xamarin…
using System;

namespace Magic8Ball
{
	public class EightBall
	{
		public EightBall ()
		{
		}
	}
}
…and here it is once I’d filled it in:
using System;
using System.Collections.Generic;

namespace Magic8Ball
{
	public class EightBall
	{
		List<string> answers = new List<string>() {
			"Yes.",
			"Sure thing.",
			"But of course!",
			"I'd bet on it.",
			"AWWW YISSS!",
			"No.",
			"Nuh-uh.",
			"Absolutely not!",
			"I wouldn't bet on it",
			"HELL NO.",
			"Maybe",
			"Possibly...",
			"Ask again later.",
			"I can't be certain.",
			"Clouded by the Dark Side, the future is."
		};

		Random randomAnswerSelector = new Random();

		public string getAnswer() {
			return answers[randomAnswerSelector.Next(answers.Count)];
		}

	}
}
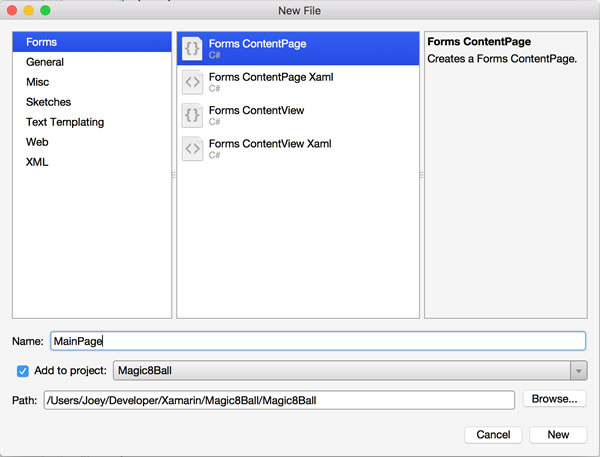
With the model class done, it was time for a view class, created with File → New → File… again. This time, I selected Forms from the left-hand column, and Forms ContentPage from the center column, specifying that I wanted a ContentPage, an onscreen container for containing a single view. It’s often used to represent a “screen” in an app:
Here’s the contents of the file when initially generated by Xamarin…
using System;

using Xamarin.Forms;

namespace Magic8Ball
{
	public class MainPage : ContentPage
	{
		public MyPage ()
		{
			Content = new StackLayout {
				Children = {
					new Label { Text = "Hello ContentPage" }
				}
			};
		}
	}
}
…and here it is once I’ve defined my user interface and added a reference to the EightBall class:
using System;
using Xamarin.Forms;

namespace Magic8Ball
{
	public class MainPage : ContentPage
	{
		EightBall eightBall = new EightBall();

		public MainPage ()
		{
			var layout = new StackLayout {
				Padding = 20,
				VerticalOptions = LayoutOptions.Center
			};

			var answerButton = new Button {
				Text = "  I need an answer!  ",
				BackgroundColor = Color.Blue,
				TextColor = Color.White,
				FontSize = Device.GetNamedSize(NamedSize.Medium, typeof(Button)),
				FontAttributes = FontAttributes.Bold,
				HorizontalOptions = LayoutOptions.CenterAndExpand
			};

			var answerLabel = new Label {
				Text = " ",
				FontSize = Device.GetNamedSize(NamedSize.Large, typeof(Label)),
				FontAttributes = FontAttributes.Bold,
				HorizontalOptions = LayoutOptions.CenterAndExpand,
				XAlign = TextAlignment.Center
			};

			answerButton.Clicked += (object sender, EventArgs e) => {
				answerLabel.Text = eightBall.getAnswer();
			};

			layout.Children.Add (answerButton);
			layout.Children.Add (answerLabel);

			Content = layout;
		}
	}
}
…and that’s it — we have a basic “Magic 8-Ball” app! Here’s what it looks like running on iOS 9…
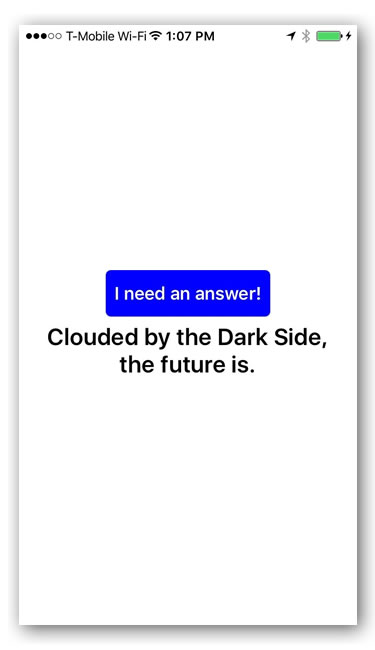
Screenshot taken on my iPhone 6S running iOS 9.2.
…and here’s what it looks like running on Android Marshmallow:
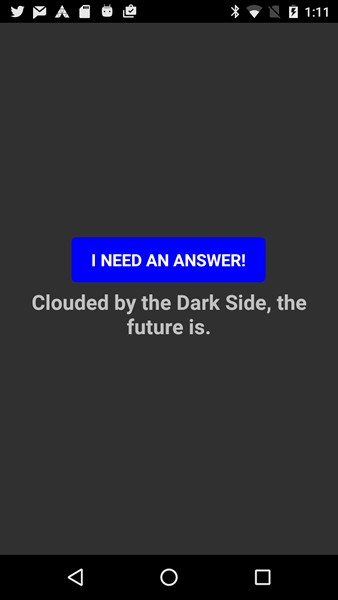
Screenshot taken on my Moto G (second generation) running Android Marshmallow (6.0).
You can download the project (70KB zipped) to try it for yourself.
More about Xamarin
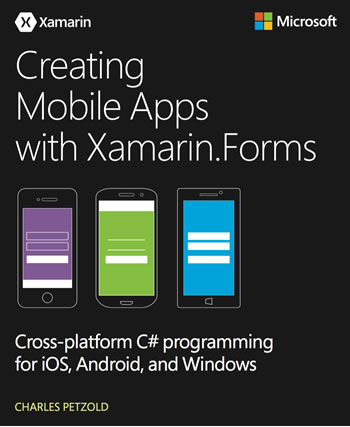
Charles Petzold, the guy who literally wrote the book on Windows development, was commissioned to write a book on building cross-platform mobile apps with Xamarin.Forms. At 27 chapters and nearly 1,200 pages, Creating Mobile Apps with Xamarin.Forms is the most complete document on the topic, and it’s free-as-in-beer to download. You’ll definitely want to get your hands on this.

For those of you looking for an online course, edX is offering a course called Introduction to Xamarin.Forms. It’s an introductory-level course, and is available for free. However, if you’d like to get a “Verified Certificate” for completing the course, you can apply for one for a mere $25.

The two videos below, shot at Microsoft’s recent Build 2016 conference, show more about Xamarin and its tools in action. Here’s the shorter one (27:19 long)…
…and here’s the longer one, running at one hour, which features a complete session from the conference, Cross-Platform Mobile with Xamarin: