Last night, Anitra and I enjoyed delivering our presentation on building user experiences for mobile augmented reality apps to the combined Tampa Bay User Experience and Front-End Design meetups at Bank of the Ozarks’ Innovation Lab in St. Pete.
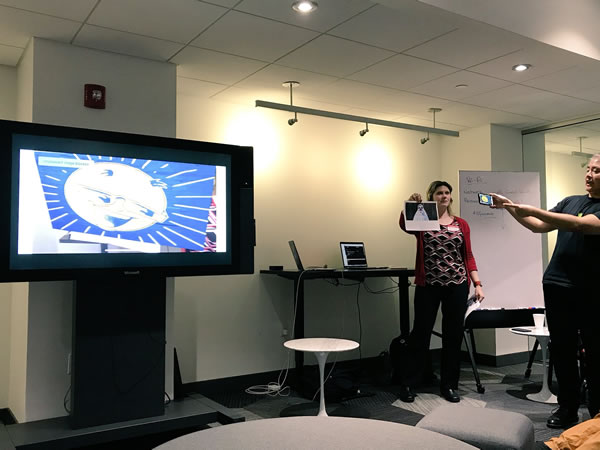
Photo by Beth Galambos.
Augmented reality is still relatively new territory for most mobile app developers and designers. Until recently, if you wanted to build AR apps for smartphones and tablets, you were faced with the task of doing a lot of programming in order to “roll your own” capabilities, including:
- Overlaying virtual images over camera images and displaying both on the screen
- Detecting changes to the device’s location and orientation in real-world space
- Re-orienting virtual images and drawing new ones in response to changes in the device’s location and orientation
- Detecting and responding to objects in the real world as seen by the device’s camera and other sensors
This has changed in the past year, with the introduction of built-in augmented reality frameworks by Apple into iOS (ARKit) and Google into Android (ARCore). With these, you don’t have to be an expert low-level programmer to built AR apps; even if you can build basic web or mobile applications, building AR apps is now something within your reach.

Photo by Joey deVilla.
Augmented reality is also relatively new territory for users. Desktop and laptop computers have had the processing power to do AR for many years, but in order to be truly useful, AR needs the kind of portability that comes with tablets, smartphones, and wearable devices. For the longest time, these portable devices lacked the power to do usable AR.
The past year has seen the introduction of the A11 “Bionic” processor in the iPhone 8 and iPhone X, and the Snapdragon 845 or Exynos 9810 processor in the Samsung Galaxy S9. We now have flagship smartphones and tablets with processing power that rivals the processor in the current MacBook Pro. These devices are now powerful enough to deliver practical AR experiences.
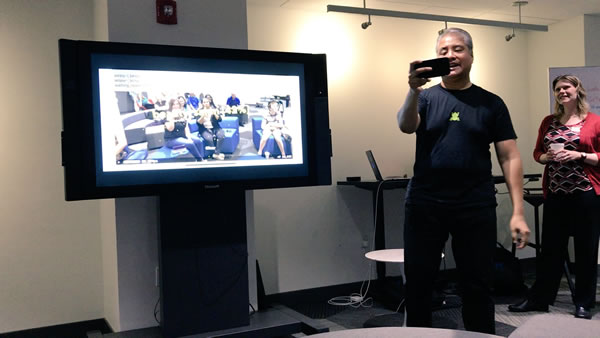
Photo by Beth Galambos.
With augmented reality now within easy reach of developers and users, it’s time for UX specialists and front-end designers to start thinking about building AR experiences. AR interactions are quite different from those for desktop applications, and expand upon plain mobile applications.
It’s AR’s early days. Think of AR today as being at the same point as…
- Personal computers in the mid- to late 1980s
- The GUI, multimedia, and CD-ROMs in the early 1990s
- The internet and web in the mid- to late 1990s
- Web 2.0 in the early 2000s
- Mobile apps in the late 2000s and early 2010s
If you take the leap, you can make a splash.
The presentation
AR’s a big topic, and we had a big presentation — 99 slides! We had a lot of ground to cover, as you can see from the SlideShare above.
![]()
![]() For those of you who want to download your own copy of our slides, here they are in a couple of formats:
For those of you who want to download your own copy of our slides, here they are in a couple of formats:
The presenters
In case you don’t know who we are, here’s a quick summary…
Anitra Pavka

- Technical Product Manager at Malwarebytes, working on the consumer anti-malware product used by almost 15 million people.
- Contributing author to O’Reilly’s book, HTML5 Cookbook.
- Technical editor for O’Reilly’s book, Universal Design for Web Applications.
- Three-time speaker on accessibility and usability issues at SXSW Interactive.
- Previous Tampa Bay UX Meetup speaker about Apple TV UX.
anitra@anitrapavka.com | @APavka | LinkedIn
Joey deVilla
- Lead Product Manager at Sourcetoad, overseeing the design and implementation of mobile applications.
- Contributing author at the mobile developer tutorial site RayWenderlich.com.
- ARKit session and tutorial presenter at RWDevCon 2018.
- Technical editor for the book ARKit by Tutorials.
- Tampa iOS Meetup organizer.
- Former Microsoft dev evangelist; tried to make Windows Phone 7 happen.
joey@joeydevilla.com | @AccordionGuy | LinkedIn
Learn to build your own ARKit apps!

If you’d like to try your hand at building AR apps for iOS, take a look at the tutorial session that I gave at RWDevCon 2018 in April. In it, I walk the audience through building two of the apps that we demoed last night:
- Happy AR Painter, which lets you “paint” augmented reality shapes in real-world space.
- Raykea, a scaled-down version of the IKEA Place app.
Not only does this page contain the video of the entire tutorial session, it also has links to the starter and final projects for both these apps. All you need is Xcode (available for free from Apple) and an AR-ready iDevice (iPhone 6S or later).
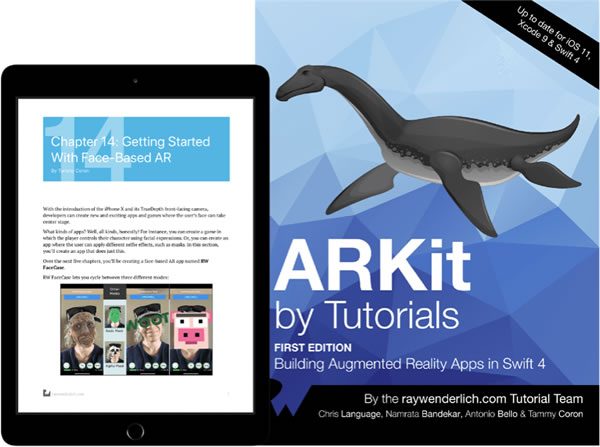
If you’d like to get even further into AR development for iOS, there’s no better book than ARKit by Tutorials, which not only teaches you all sorts of things about ARKit, but shows you how to build 5 AR apps:
- Tabletop Poker Dice
- Immersive Sci-Fi Portal
- 3D Face Masking
- Location-Based Content
- Monster Truck Sim
I was part of the technical editing team for the book, and I can say with certainty that it’s a fantastic resource for the AR developer.