Every week, I compile a list of events for developers, technologists, tech entrepreneurs, and nerds in and around the Tampa Bay area. We’ve got a lot of events going on this week, and here they are!
Monday, February 19
- Game Club Tampa Meetup — Play 1830 Rail Stock Game on Presidents Day @ Grand Arena of Mind Expansion, 11:00 AM to 5:00 PM
- Tampa Bay Media Network — Mingle, Connect & Network @ 4:30 PM to 8:30 PM
- Tampa Bay DevOps Monthly Meetup: Containerize it! Contest @ Salesforce Tampa, 6:00 PM to 9:00 PM
- AirBnB Income Strategy — Want to Build your own AirBnB Rental Empire or Investment Property Portfolio? @ 6:15 PM to 9:30 PM
- Women Who Code Tampa — Mentor Match Making with WWC and USF – Women In Computer Science and Engineering @ 6:30 PM to 8:00 PM
- R-Ladies Sarasota — Data Wrangling @ 6:30 PM to 7:30 PM
- Social Justice Tech Meetup — Social Justice Tech: Think, Talk, Do Time @ The HIVE, 6:30 PM to 8:00 PM
- Cool ‘n Confident Toastmasters — SPC – St. Petersburg/Gibbs Campus, 6:30 PM to 7:45 PM
- 3D Printer Orientation @ Tampa Hackerspace, 7:00 PM to 8:30 PM
- South Tampa Toastmasters @ Unity of Tampa, 7:00 PM to 8:15 PM
- Nerdbrew Trivia — Pints & Pixels + GOLDENEYE TOURNAMENT! @ Brew Bus, 7:00 PM to 11:00 PM
Tuesday, February 20
- Tampa Bay Tech — Spark Growth Thought Leader Exchange: Today’s Decisions. Tomorrow’s Future. @ Manatee Performing Arts Center, 1:00 PM to 8:30 PM
- Entrepreneurs & Startups – Bradenton Networking & Education — Today’s Decisions. Tomorrow’s Future. Recognizing Pioneers, Builders & Startups @ Manatee Performing Art Center, 1:30 PM to 8:30 PM
- Brandon Boardgamers — Tuesday Night Gaming @ Cool Stuff Games, 5:00 PM to 8:00 PM
- Pinellas SQL User Group — February 2018 – Topic TBD @ 6:00 PM to 9:00 PM
- Learn Cybersecurity Tampa — Info Night @ SecureSet, 6:00 PM to 8:00 PM
- Weekly Open Make Night @ Tampa Hackerspace, 6:00 PM to 10:00 PM
- Game Club Tampa Meetup — Tuesday Nite Roleplayers (RPGs) (LFP) @ Grand Arena of Mind Expansion, 6:30 PM to 9:30 PM
- Anime, Nerds & Geeks — $5 – MOVIES – BLACK PANTHER @ 7:00 PM to 10:00 PM
- Peter’s Clearwater Bitcoin Meetup — Show up and learn, share and chat about Bitcoin. All are welcome! @ PostcardMania, 7:00 PM to 9:00 PM
- Tampa Bay Laravel — Getting Comfortable with Eloquent Relationships @ The Symphony Agency, 7:00 PM to 9:00 PM
- Cigar City Multirotors — Tiny Whoop Fun Fly @ 81Bay Brewing Company, 7:00 PM to 10:00 PM
Wednesday, February 21
- OPEN/FREE Coworking for Veteran Entrepreneurs @ FirstWaVE Venture Center, 9:00 AM to 6:00 PM
- 1 Million Cups St. Pete — Tag It To Me LLC / MusicRecruiting.com @ St. Petersburg Greenhouse, 9:00 AM
- 1 Million Cups Tampa — NCUYD™ (NOTHING CHANGES UNTIL YOU DO®) / iTruck LLC @ Mark Sharpe Entrepreneur Collaborative Center, 9:00 AM
- Join the Tampa Entrepreneurs Network and Network After Work @ Shutts & Bowen LLP, 5:30 PM to 8:00 PM
- Tampa Test Automation — Selenium: In Depth with Jim Evans @ Agile Thought Offices, Wednesday, February 21, 2018, 5:30 PM to Wednesday, February 28, 2018, 7:30 PM
- Tampa Bay Agile — QA THE AGILE WAY: Assuring your skills “BDD-Build,Test,Support what client want” @ Keiser University Tampa, 6:00 PM to 8:00 PM
- The Suncoast Linux Users Group — SLUG – Pinellas @ Pinellas Park Public Library, 6:00 PM to 8:00 PM
- The Tampa Bay Gaming Group: D&D, D20, Pathfinder, & More! — Pathfinder Kingmaker Adventure Path – Full @ 6:00 PM to 10:00 PM
- Grand Gamers of St. Petersburg Board Game Night @ Critical Hit Games, 6:00 PM to 11:30 PM
- Tampa Bay DevOps — DevOps Patterns Learning Series – Shareable Pipelines (Cartridge Development) @ 6:30 PM to 8:00 PM
- Crypto Investors Club – St Pete @ Panera Bread, 1908 4th Street North, Saint Petersburg, 6:30 PM to 9:00 PM
- Central Florida CitySec — CigarCitySec Meetup @ Cigar City Brewing, 7:00 PM to 10:00 PM
- Introduction to Fusion 360 @ Tampa Hackerspace, 7:00 PM to 9:00 PM
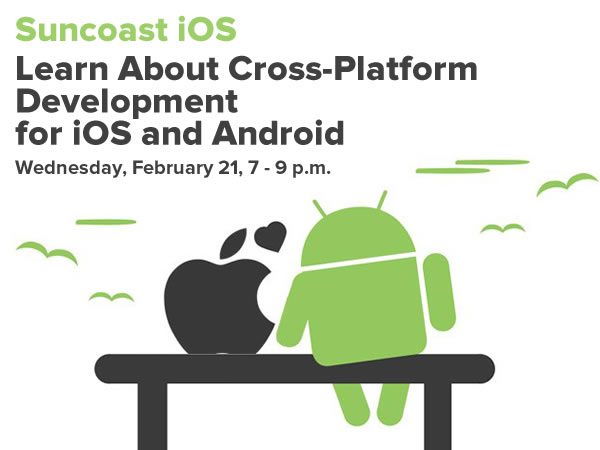
- Suncoast iOS — Learn About Cross-Platform Development for iOS and Android @ ActSoft, Inc., 7:00 PM to 9:00 PM
- Shopbot Safety and Usage @ Tampa Hackerspace, 7:00 PM to 10:00 PM
Thursday, February 22
- Geek Breakfast @ Jimbo’s Pit Bar-B-Q, 7:30 AM to 9:30 AM
- Dealing with Rejection – Mastering Your Inner Game for Entrepreneurs @ 9:00 AM to 11:00 AM
- Tampa VMware Users Group Q1 meeting @ Ocean Prime, 11:00 AM to 2:00 PM
- Tampa Education & Technology Meetup — Keiser University – Career Fair @ Keiser University – Tampa Campus, 12:00 PM to 2:30 PM
- Tampa Bay Blockchain Developers Meetup — Open code @ Blockspaces, 5:00 PM to 8:00 PM
- Women Who Code Tampa — Intro to Leveraging Unity3D for Cross Platform Deployment in Mobile and VR/AR @ Agile Thought Offices, 5:30 PM to 7:30 PM
- Game Club Tampa Meetup — The Chosen, a home brew pathfinder variant (FULL) @ Grand Arena of Mind Expansion, 5:30 PM to 10:30 PM
- Brandon Boardgamers — Let’s Game on Thursdays @ Panera Bread, 3490 Lithia Pinecrest Road, Valrico, 5:30 PM to 9:30 PM
- Tampa Bay AWS User Group — AWS Happy Hour – Sponsored by Resource Solutions Group @ The Pub (at Bay Street in Int’l. Plaza), 6:00 PM to 8:00 PM
- Learn Cybersecurity Tampa — NEW! Expert Series: Lauren Weiner, CEO, WWC @ SecureSet, 6:00 PM to 7:00 PM
- Join the Tampa Entrepreneurs Network and Network After Work — Tampa Bay Wave, 6:00 PM to 8:00 PM
- Open Make Night / Open House @ St. Pete Makers – new location, 6:00 PM to 8:00 PM
- Code Lakeland — Integrating Apple Pay JS @ Catapult, 6:00 PM to 8:00 PM
- Tampa Bay Area Software Craftsmanship Meetup — Craftsmanship Group Discussion – TBD @ Lee Roy Selmon’s, 6:30 PM to 9:30 PM
- New Port Richey WordPress — WordPress 5.0 & the coming of Gutenberg Editor @ Imagine-Invent-Create, 7:00 PM to 9:00 PM
- Tampa Bay Social Media Meetup — WordPress @ Tampa Bay Technology Center, 7:00 PM to 9:00 PM
- Florida Salesforce Developer Group — What is AI – Machine Learning anyway? @ Salesforce, 7:00 PM to 9:00 PM
- Shopbot Safety and Usage @ Tampa Hackerspace, 7:00 PM to 9:00 PM
- Apollo Beach Maker Group — SouthShore Regional Library, 7:00 PM to 9:00 PM
- Largo Board Games Meetup — Hero Realms: Ruin Of Thandar Campaign 4 @ 7:00 PM to 9:00 PM
- Nerdbrew Trivia — Games & Grog @ Peabody’s Billiards and Games, 7:00 PM to 11:00 PM
Friday, February 23
- Lean Coffee for All Things Agile (Westshore) @ Panera Bread, 112 S Westshore Blvd, Tampa, 7:30 AM to 8:30 AM
- Café con Tampa @ Oxford Exchange, 8:00 AM to 9:00 AM
- February 2018 Homebrew Hillsborough @ AVI-SPL, 8:30 AM to 10:30 AM
- Tampa Monopoly Meetup February Meetup @ Panera Bread, 112 S Westshore, Tampa, 6:45 PM to 9:30 PM
- Pinellas Gamers! — Meet up and Play! @ 7:30 PM to 9:30 PM
Saturday, February 24
- Pinellas SQL User Group — SQL Saturday Tampa 2018 @ USF College of Business, 8:00 AM to 5:00 PM
- Girl Develop It Tampa Bay — Intro to HTML & CSS @ The Symphony Agency, 9:30 AM to 5:30 PM
- Learn to work and fire glass using a kiln (8 week class) @ Tampa Hackerspace, 10:00 AM to 2:00 PM
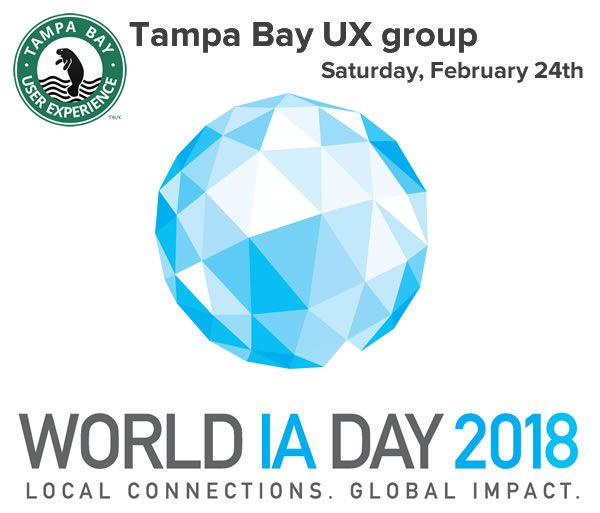
- Tampa Bay UX Group — World IA Day 2018 @ John F Germany Library, 10:30 AM to 5:30 PM
- Game Club Tampa Meetup — GM User Group and Planning Session @ Grand Arena of Mind Expansion, 12:00 PM to 1:30 PM
- MR103 Aerial Drone Workshop @ Tampa Hackerspace, 1:00 PM to 4:00 PM
- Sarasota Game Design & Development — Game Dev Meetup @ Alfred R. Goldstein Library at Ringling College of Art and Design, 2:00 PM to 4:00 PM
- Tampa Hackerspace Monthly Board Game Night @ Tampa Hackerspace, 7:00 PM to 10:00 PM


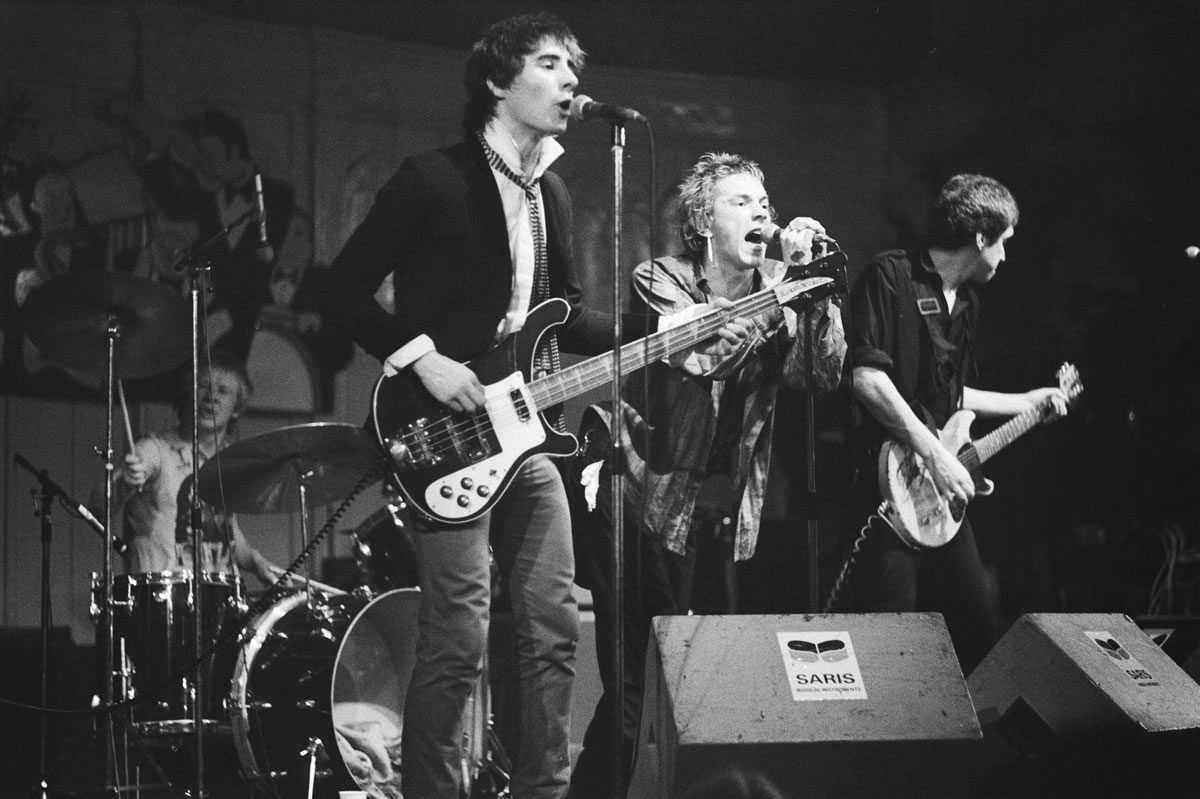

 And finally, three young men named