Categories
Hardware Programming

Supplementary UC Baseline notes #1: The connection between binary and hexadecimal numbers

For the benefit of my classmates in the UC Baseline program (see this earlier post to find out what it’s about), I’m posting a regular series of notes here on Global Nerdy to supplement the class material. As our instructor Tremere said, what’s covered in the class merely scratches the surface, and that we should use it as a launching point for our own independent study.

Photo: A slide showing 4 rows of 8 lightbulbs displaying different binary values. Inset in the lower right corner: UC Baseline instructor Tremere lecturing.
The “binary numbers” portion of day 1 at UC Baseline. Tap to see at full size.

There was a lot of introductory material to cover on day one of the Hardware 101 portion of the program, and there’s one bit of basic but important material that I think deserves a closer look, especially for my fellow classmates who’ve never had to deal with it before: How binary and hexadecimal numbers are related.

The problem with binary
(for humans, anyway)

Consider the population of Florida. According to the U.S. Census Bureau, on July 1, 2019, that number was estimated to be 21,477,737 in base 10, a.k.a. the decimal system.

Here’s the same number, expressed in base 2, a.k.a. the binary system: 1010001111011100101101001.

That’s the problem with binary numbers: Because they use only two digits, 0 and 1, they grow in length extremely quickly, which makes them hard for humans to read. Can you tell the difference between 100000000000000000000000 and 1000000000000000000000000? Be careful, because those two numbers are significantly different — one is twice the size of the other!

(Think about it: In the decimal system, you make a number ten times as large by tacking a 0 onto the end. For the exact same reason, tacking a 0 onto the end of binary number doubles that number.)

Hexadecimal is an easier way to write binary numbers

Once again, the problem is that:

  • Binary numbers, because they use only two digits — 0 and 1 — get really long really quickly, and
  • Decimal numbers don’t convert easily to binary.

What we need is a numerical system that:

  • Can represent really big numbers with relatively few characters, and
  • Converts easily to binary.

Luckily for us, there’s a numerical system that fits this description: Hexadecimal. The root words for hexadecimal are hexa (Greek for “six”) and decimal (from Latin for “ten”), and it means base 16.

Using 4 binary digits, you can represent the numbers 0 through 15:

Decimal Binary
0 0000
1 0001
2 0010
3 0011
4 0100
5 0101
6 0110
7 0111
8 1000
9 1001
10 1010
11 1011
12 1100
13 1101
14 1110
15 1111

Hexadecimal is the answer to the question “What if we had a set of digits that represented the 16 numbers of 0 through 15?”

Let’s repeat the above table, this time with hexadecimal digits:

Decimal Binary Hexadecimal
0 0000 0
1 0001 1
2 0010 2
3 0011 3
4 0100 4
5 0101 5
6 0110 6
7 0111 7
8 1000 8
9 1001 9
10 1010 A
11 1011 B
12 1100 C
13 1101 D
14 1110 E
15 1111 F

Hexadecimal gives us easier-to-read numbers where each digit represents a group of 4 binary digits. Because of this, it’s easy to convert back and forth between binary and hexadecimal.

Since we’re creatures of base 10, we have the single characters to represent the digits 0 through 9, but no single character to represent 10, 11, 12, 13, 14, and 15, which are digits in hexadecimal. To work around this problem, hexadecimal uses the first 6 letters from the Roman alphabet: A, B, C, D, E, and F.

Let’s try representing a decimal number in binary, and then hexadecimal. Consider the number 49,833. It’s the number for the Unicode character for ©, the copyright symbol. Here’s its representation in binary:

1100001010101001

That’s a hard number to read, and if you had to manually enter it, the odds are pretty good that you’d make a mistake. Let’s convert it to its hexadecimal equivalent.

We do this by first breaking that binary number into groups of 4 bits (remember, a single hexadecimal number represents 4 bits, and “bit” is a portmanteau for “binary digit”):

1100     0010     1010     1001

Now let’s use the table above to look up the hexadecimal digit for each of those groups of 4:

1100     0010     1010     1001
C           2           A         9

There you have it:

  • The decimal representation of the number is 49,833,
  • its binary representation is 1100001010101001,
  • in hexadecimal, it’s C2A9,
  • and when you interpret this number as a Unicode character, it’s this: ©

How to indicate if you’re writing a number in decimal, binary, or hexadecimal form

Because we’re base 10 creatures, we simply write decimal numbers as-is:

49,833

To indicate that a number is in binary, we prefix it with the number zero followed by a lowercase b:

0b1100001010101001

This is a convention used in many programming languages. Try it for yourself in JavaScript:

# This will print "49833" in the console
console.log(0b1100001010101001)

Or if you prefer, Python:

# This will print "49833" in the console
print(0b1100001010101001)

To indicate that a number is in hexadecimal, we prefix it with the number zero followed by a lowercase x:

oxC2A9

Once again, try it for yourself in JavaScript:

# This will print "49833" in the console
print(0xc2a9)
print(0xC2A9)

Or Python:

# Both of these will print "49833" in the console
print(0xc2a9)
print(0xC2A9)

Common grouping of binary numbers and hexadecimal

4 bits: A half-byte, tetrade, or nybble

A single hexadecimal digit represents 4 bits, and my favorite term for a group of 4 bits is nybble. The 4 bits that make up a nybble can represent the numbers 0 through 15.

“Nybble” is one of those computer science-y jokes that’s based on the fact that a group of 8 bits is called a byte. I’ve seen the terms half-byte and tetrade also used.

8 bits: A byte

Two hexadecimal digits represent 8 bits, and a group of 8 bits is called a byte. The 8 bits that make up a byte can represent the numbers 0 through 255, or the numbers -128 through 127.

In the era of the first general-purpose microprocessors, the data bus was 8 bits wide, and so byte was the standard unit of data. Every character in the ASCII character set can be expressed in a single byte. Each of the 4 numbers in an IPv4 address is a byte.

16 bits: A word

Four hexadecimal digits represent 16 bits, and a group of 16 bits is most often called a word. The 16 bits that make up a word can represent the numbers 0 through 65,535 (a number sometimes referred to as “64K”), or the numbers -32,768 through 32,767.

If you were computing in the late ’80s or early ’90s — the era covered by Windows 1 through 3 or Macs in the classic chassis — you were using a 16-bit machine. That meant that it stored data a word at a time.

32 bits: A double word or DWORD

Eight hexadecimal digits represent 32 bits, and a group of 32 bits is often called a double word or DWORD; I’ve also heard the unimaginative term “32-bit word”. The 32 bits that make up a word can represent the numbers 0 through 4,294,967,295 (a number sometimes referred to as “4 gigs”), or the numbers −2,147,483,648 through 2,147,483,647.

32-bit operating systems and computers came about in the mid-1990s. Some are still in use today, although they’d now be considered older or “legacy” systems.

The IPv4 address system uses 32 bits, which means that it can represent a maximum of 4,294,967,29 internet addresses. That’s fewer addresses than there are people on earth, and as you might expect, we’re running out of these addresses. There are all manner of workarounds, but the real solution is for everyone to switch to IPv6, which uses 128 bits, which allows for over 3 × 1038 addresses — enough to assign 100 addresses to every atom on the surface of the earth.

64 bits: A quadruple word or QWORD

16 hexadecimal digits represent 64 bits, and a group of 64 bits is often called a quadruple word, quad word, or QWORD; I’ve also heard the unimaginative term “64-bit word”. The 64 bits that make up a word can represent the numbers 0 through 18,446,744,073,709,551,615 (about 18.4 quintillion), or the numbers -9,223,372,036,854,775,808 to 9,223,372,036,854,775,807 (minus 9.2 quintillion through 9.2 quintillion).

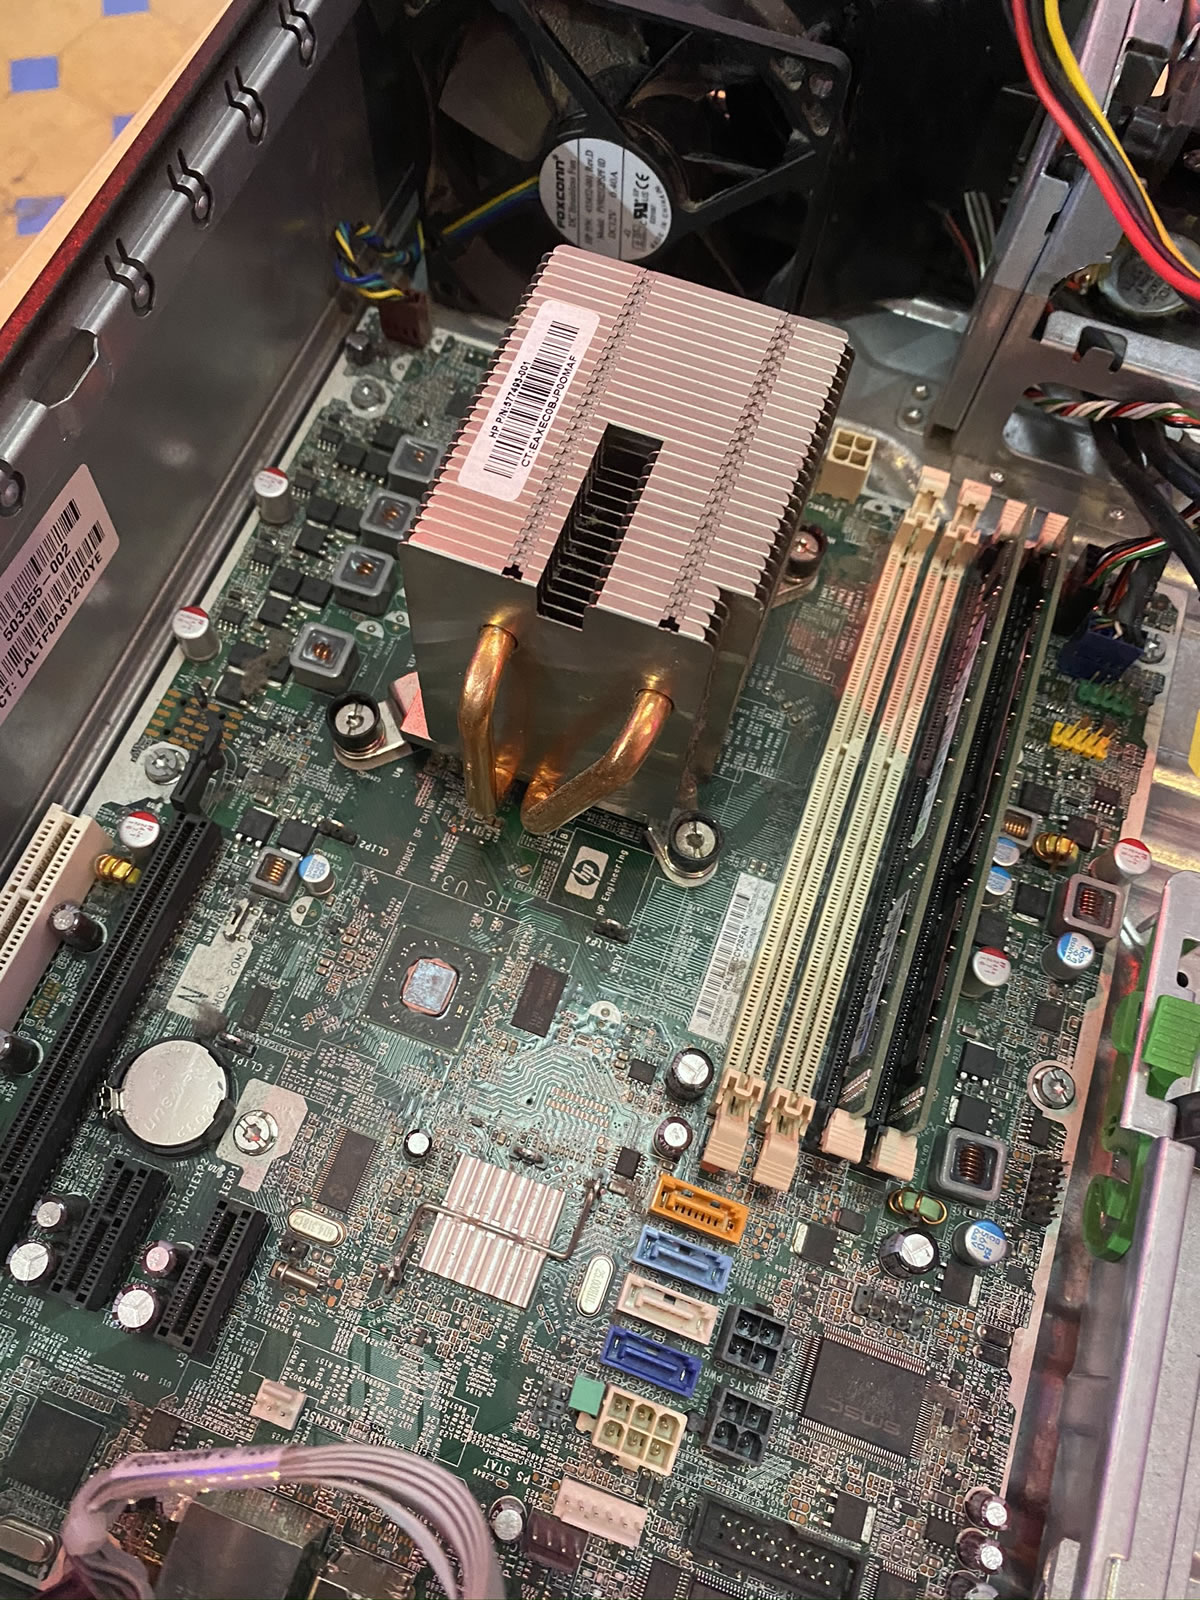
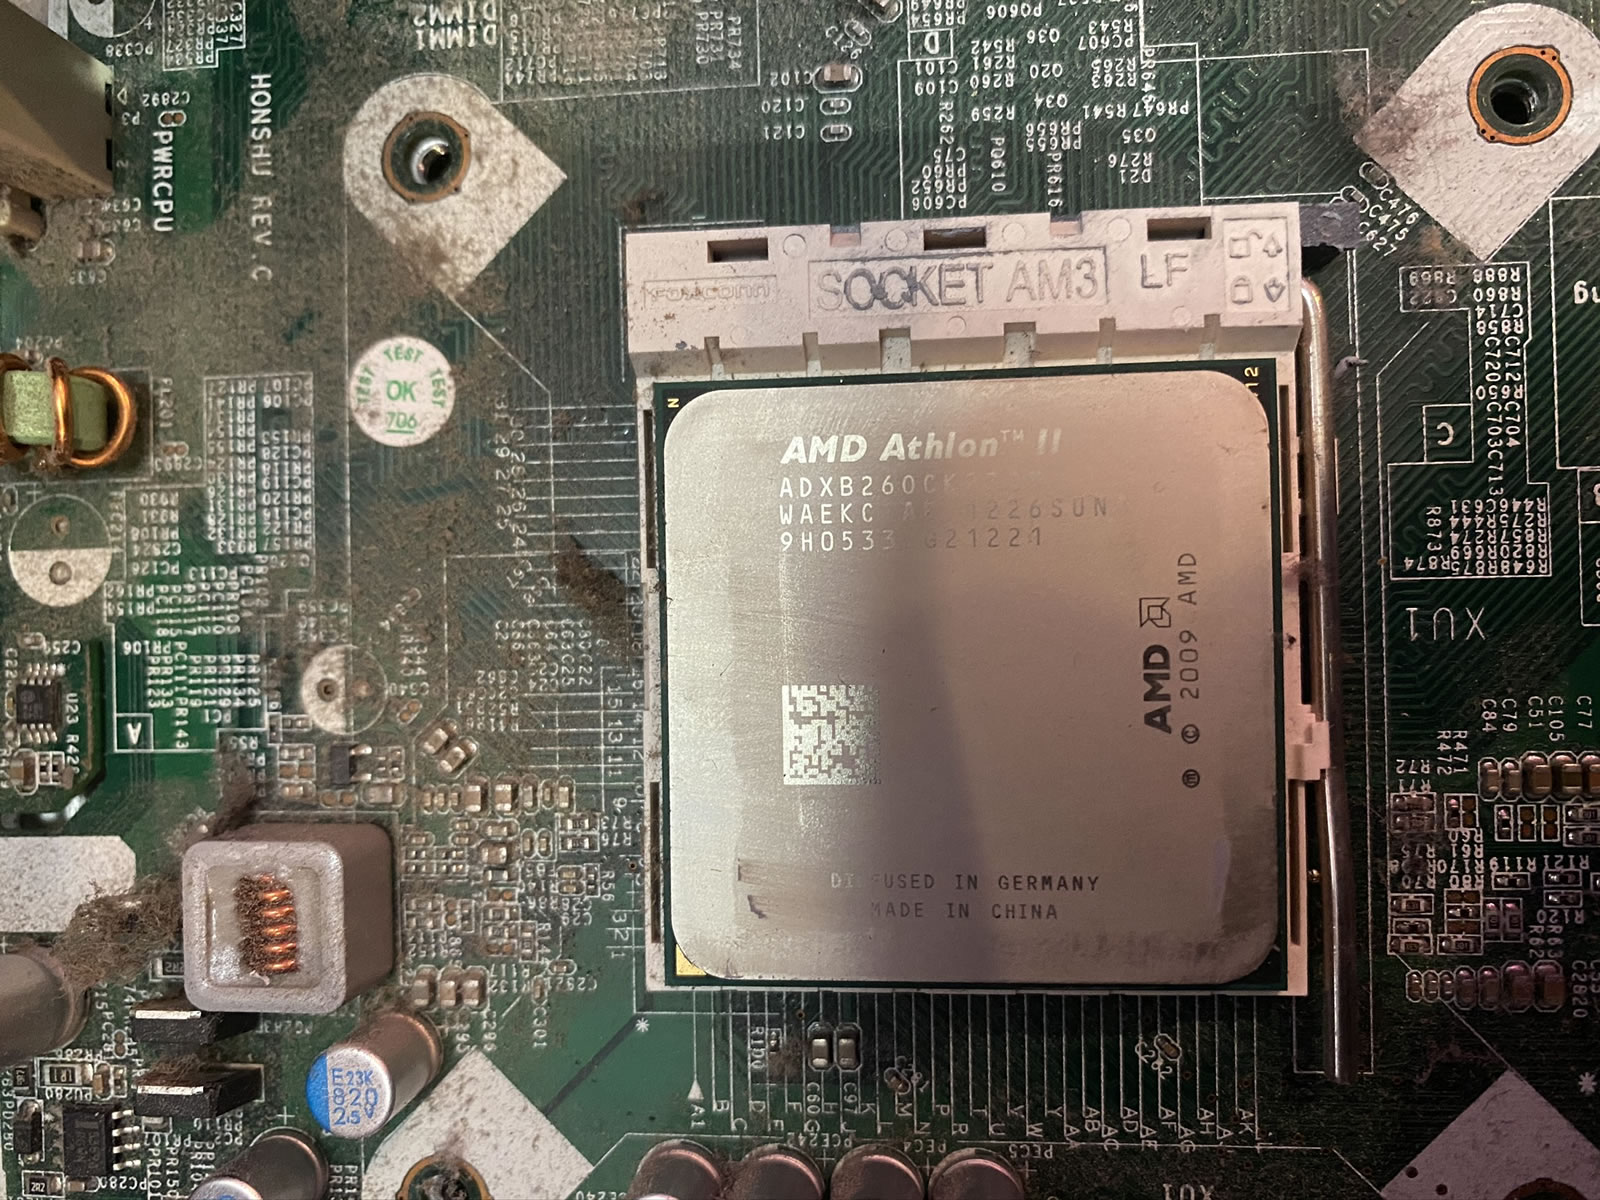
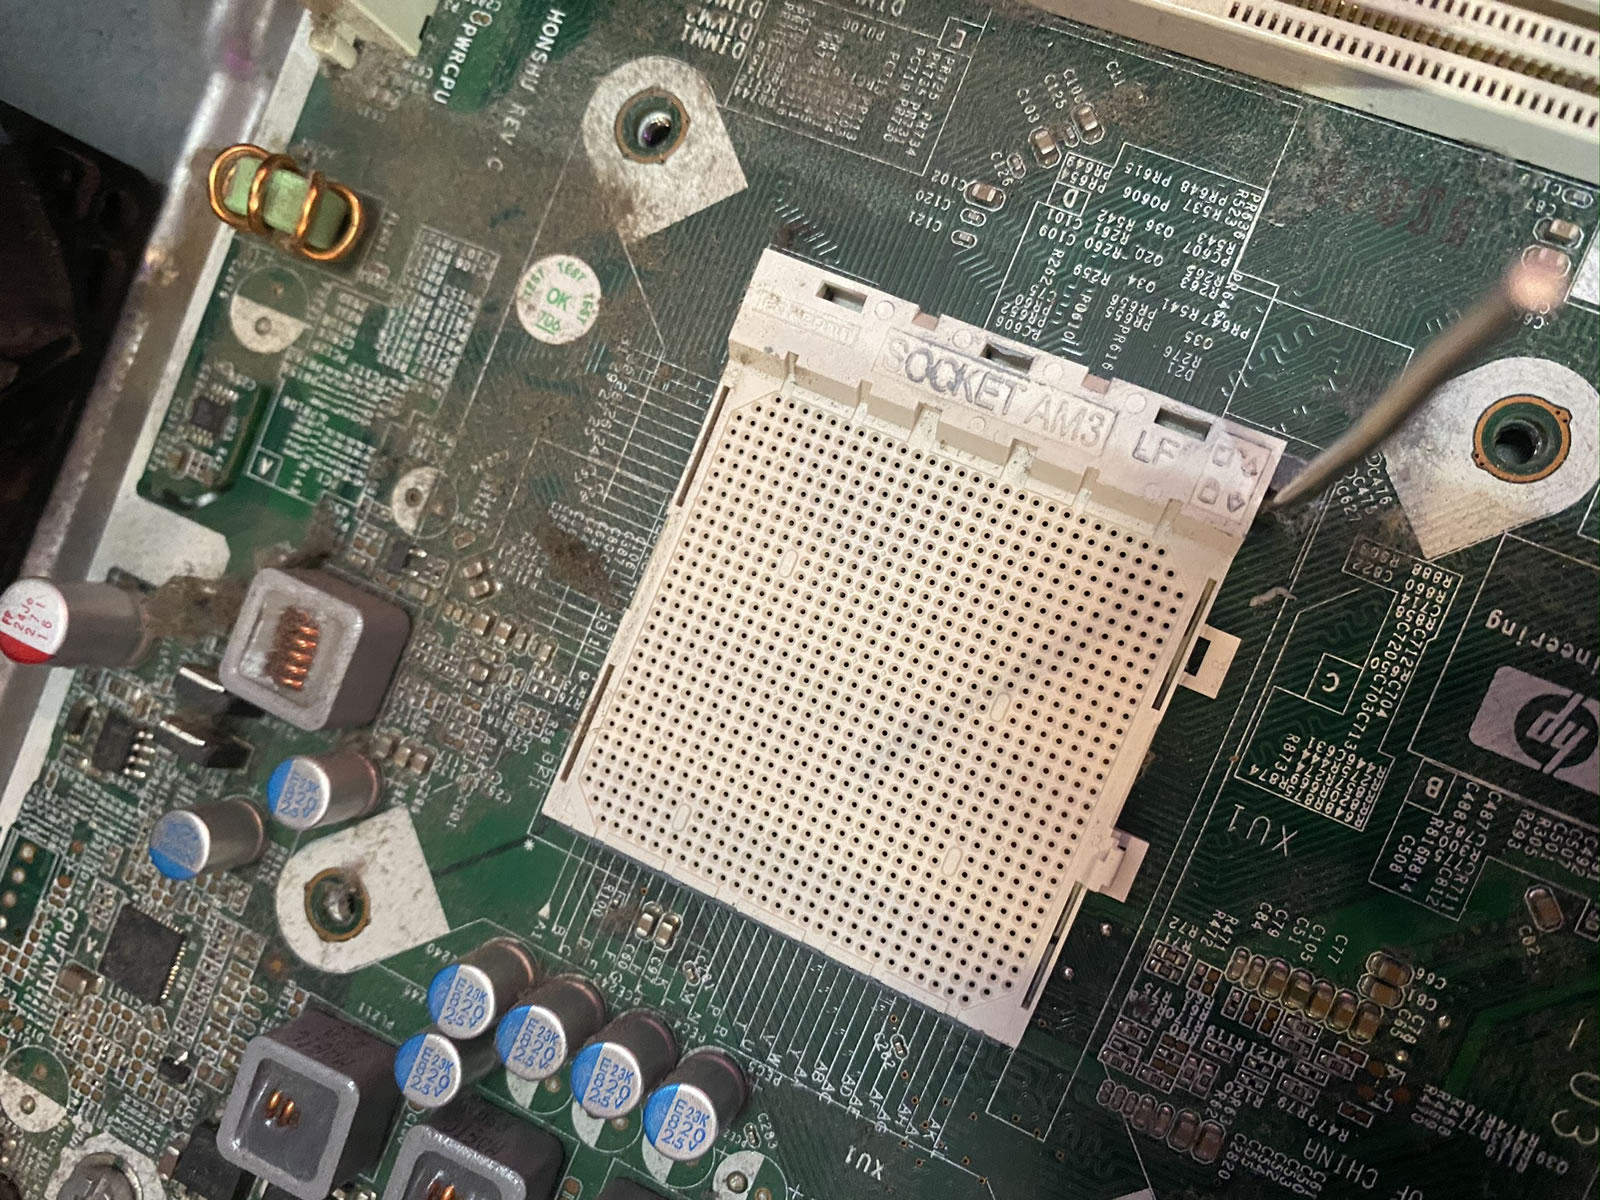
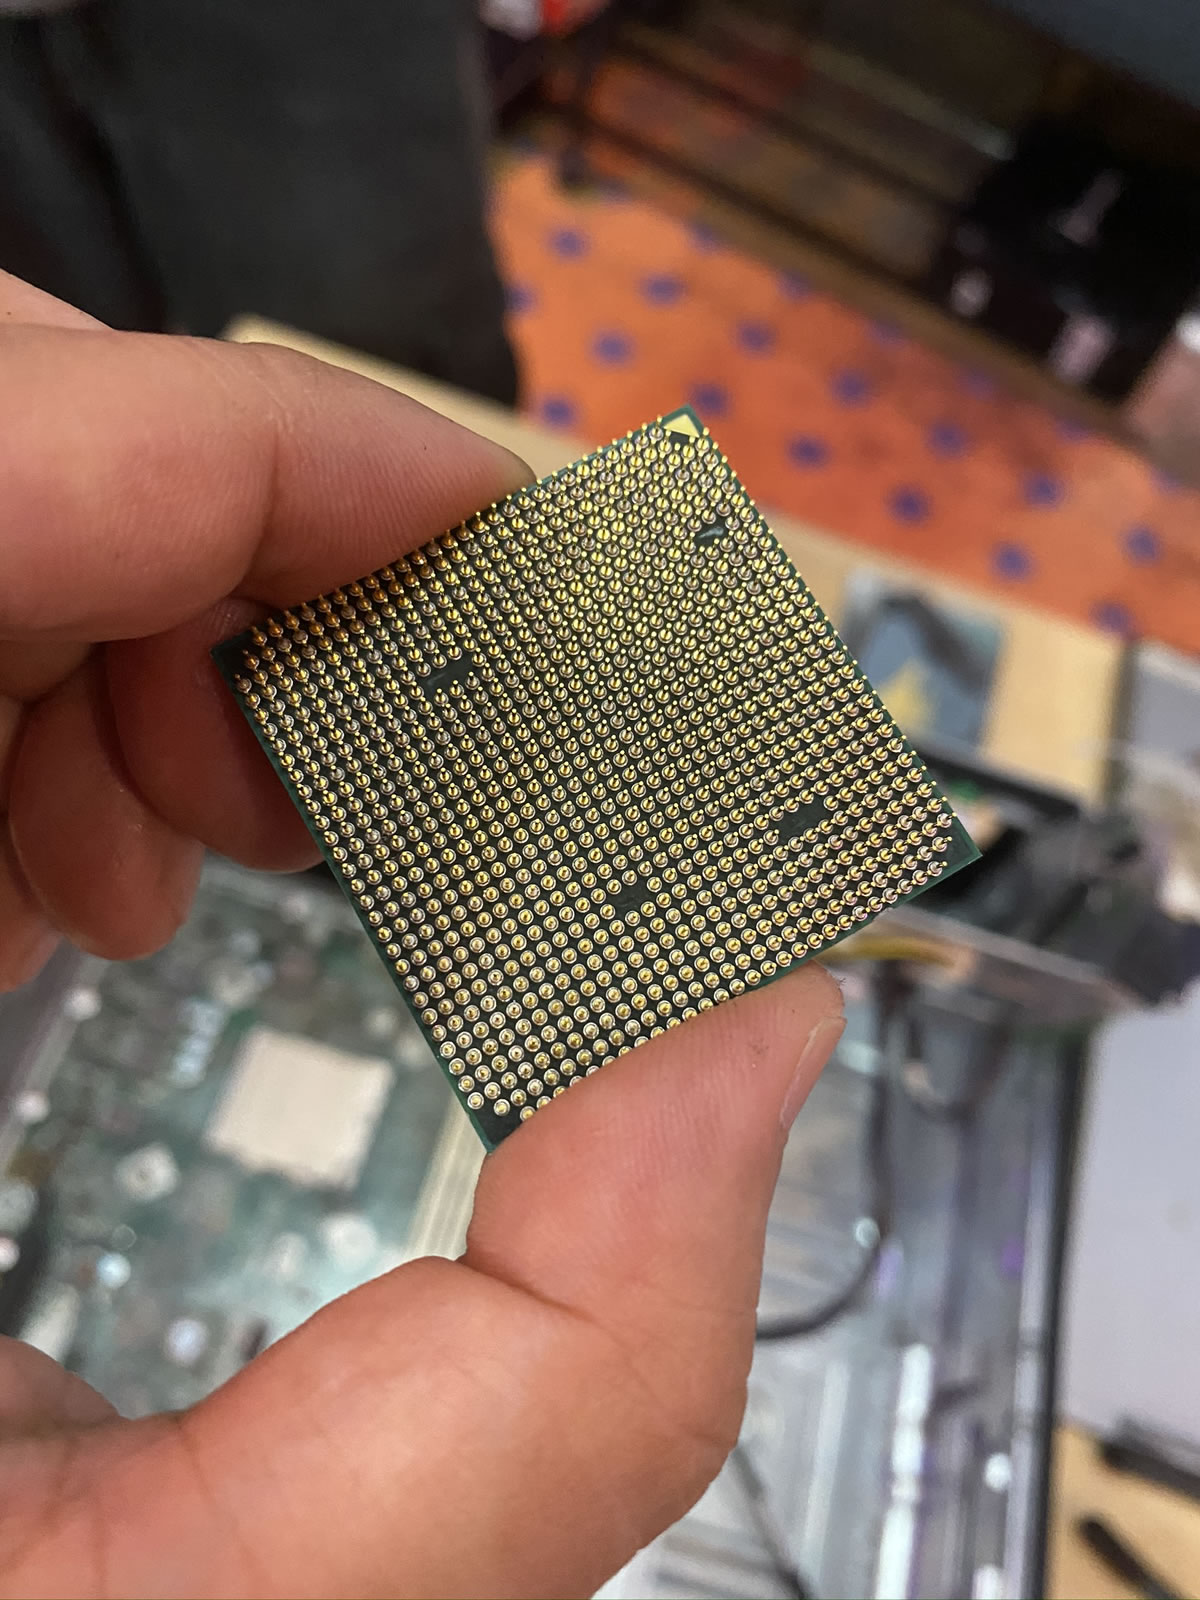
If you have a Mac and it dates from 2007 or later, it’s probably a 64-bit machine. macOS has supported 32- and 64-bit applications, but from macOS Catalina (which came out in 2019) onward, it’s 64-bit only. As for Windows-based machines, if your processor is an Intel Core 2/i3/i5/i7/i9 or AMD Athlon 64/Opteron/Sempron/Turion 64/Phenom/Athlon II/Phenom II/FX/Ryzen/Epyc, you have a 64-bit processor.

Need more explanation?

The Khan Academy has a pretty good explainer of the decimal, binary, and hexadecimal number systems:

Categories
Current Events Tampa Bay

What’s happening in the Tampa Bay tech/entrepreneur/nerd scene (Week of Monday, July 27, 2020)

Banner: Tampa Bay ONLINE tech, entrepreneur, and nerd events - Monday, July 27 - Sunday, August 2, 2020 - GlobalNerdy.com

Hello, Tampa Bay techies, entrepreneurs, and nerds! Welcome to the weekly list of online-only events for techies, entrepreneurs, and nerds based in an around the Tampa Bay area.

Keep an eye on this post; I update it when I hear about new events, it’s always changing. Stay safe, stay connected, and #MakeItTampaBay!

Saturday: The Suncoast Developers Conference

Suncoast Developers Guild aren’t just a coding school — they’re a pillar of the Tampa Bay tech scene, and this place is all the better for their being around. Here’s one reason: they hold events like the upcoming Suncoast Developers Conference, which will happen online on Discord this Saturday, August 1, 2020.

At this free event, you’ll see Tampa Bay’s developers showcase and share their knowledge with others. They’ll cover all sorts of topics in bite-size (10 – 15 minute) presentations.

The conference will also feature some of Suncoast Developers Guild’s recent code school grads and their capstone projects. Get to know them, and if you like what you see and need more people in your organization, hire them!

I will be delivering a presentation at the conference, where I’ll talk about Ren’Py, the Python-powered visual novel authoring system that you can use to write visual novels, adventure games, turn-based role-playing videogames, and yes, dating simulation games. It’ll be your anime/programming dream mashup come true!

Once again, this conference is free-as-in-beer (and not free-as-in-mattress) and it happens Saturday, August 1st. To RSVP and find out more about the conference, visit the website at suncoast.io/conference!

This week’s events

Monday, July 27

Tuesday, July 28

Wednesday, July 29

Thursday, July 30

Friday, July 31

Saturday, August 1

Sunday, August 2

Do you have an upcoming event that you’d like to see on this list?

If you know of an upcoming event that you think should appear on this list, please let me know!

Join the mailing list!

If you’d like to get this list in your email inbox every week, enter your email address below. You’ll only be emailed once a week, and the email will contain this list, plus links to any interesting news, upcoming events, and tech articles.

Join the Tampa Bay Tech Events list and always be informed of what’s coming up in Tampa Bay!


Categories
Hardware Process Tampa Bay What I’m Up To

Scenes from Day 3 of the “UC Baseline” cybersecurity program at The Undercroft

Wednesday: Day 3 continued the heavy hands-on portion of Hardware 101, the first segment of my five weeks at UC Baseline, the cybersecurity training program offered by Tampa Bay’s security guild, The Undercroft.

After taking apart and reassembling a desktop, it was time to up the ante and do the same with at least one laptop. I started with a Dell Latitude E5500, a bulky beast by today’s laptop standards, but one that’s more user-serviceable — and more easily taken apart — than most.

First step: Removing the battery.

The bottom panel was easy to pop open. It was held in place by nothing fancier than standard Phillips screws, which provided easy access to the RAM.

Next on the removal list: The optical drive. Once again, pretty straightforward — remove some anchoring screws, and then use a flathead screwdriver tip to push the the drive casing out.

The fan was quite easy to remove, as was the CPU heat sink.

Unlike the previous day’s desktop machines’ CPUs, which were in ZIF (zero insertion force) slots, laptop CPUs aren’t typically swappable, as they’re generally soldered onto the motherboard. This machine had a notebook-grade Core 2 Duo, which was typical for a mid-level laptop in the Windows 7 era.

It was also pretty easy to remove the keyboard…

…and once that was done, detaching the screen was a simple process.

With the disassembly complete, I laid out and labeled the parts that I’d extracted:

“All right, next challenge,” said Tremere, our instructor for the Hardware 101 portion of the course. “Disassemble, then reassemble the small one…”

I flipped it over, pleasantly surprised to see standard Phillips screws that were easy to access:

At this size, a laptop’s battery-to-actual-computer ratio jumps significantly:

This machine was still intended to be somewhat user-serviceable, so the battery and RAM were still easy to remove:

The drive didn’t take much effort to liberate, either:

The fan/heat sink combo didn’t put up much of a fight:

This is a machine made specifically for writing TPS reports and not much else, judging from its CPU. Still, I’m sure it could still do a serviceable job running a modern lightweight Linux — assuming it survives my disassembly and subsequent attempt to put it back together again.

Here are both patients, spread out across the operating table…

Re-assembly took a little longer, and I didn’t bother with photos of that process. I did manage to get it back together again, and with no extra parts!

I even the screen reattached! Later, I found a power adapter, and the machine managed start and get up to the BIOS screen, although the screen looked a little dim. Since I’m not trying out for a CompTIA hardware certificate, I’ll simply declare the procedure a success and not get too bogged down with fussy minutae such as “functioning” and “usable”.

Categories
Hardware Process Tampa Bay What I’m Up To

Scenes from Day 2 of the “UC Baseline” cybersecurity program at The Undercroft

Photo: A red brick building with a wrought iron balcony in a neighborhood of early 1900s brick buildings.
The Undercroft’s building, as seen from its parking lot. Tap to see at full size.

Tuesday was Day 2 of the UC Baseline cybersecurity training program offered by Tampa Bay’s security guild, The Undercroft. I lucked out and got into the inaugural cohort, which means that I’ll spend 8 hours each business day in the classroom (masked and distanced, of course) for the next four weeks.

UC Baseline is made up of a number of separate units, which The Undercroft also provides individually. Week 1 is taken up by the Hardware 101 course, which is all about hardware and providing the class — some of whom have a deep technical background, while others don’t — a baseline knowledge of how the machines that make up the systems that we’re trying to secure.

I suspect that there’s an additional goal of removing any fear of tinkering.

Day 1 of Hardware 101 was mostly lectures about hardware, starting with logic gates and working all the way up to CPUs and SOCs, and Days 2 and 3 were the “tear down/rebuild” days. Day 2 focused on taking apart and then rebuilding desktops, and Day 3 took it up a notch by doing the same thing with laptops.

One of the goodies that we got (and get to keep) is the toolkit pictured below:

The first exercise was a teardown-only one. We could choose from a selection of old computers at the back of the room to tear apart, and I thought it might be fun to try and take apart this old Power Mac G5 from the mid-2000s. These machines are notoriously opaque, and I thought it might be fun to try to dig through its guts:

The Power Mac G5 was aimed at Apple’s “power use” customer — typically creatives who need serious computing horsepower. This particular machine was used by an advertising agency to do 3D rendering. As such, it’s one of the few Macs that’s easy to open, at least superficially. Take a look at this beautiful Jony Ive-designed latch:

Opening the latch reveals the machine’s aesthetically-pleasing innards, which were covered by a plastic shield. I popped off the shield and got to work.

By the way, that yellow clip in the photo above is connected to my anti-static wrist harness (another goodie we got as part of the course fee). Nobody expected these machines to survive the teardown process, but it never hurts to consistently follow standard safe electronics practices!

The fans slid out surprisingly easily. I was surprised that the machine had a reasonable number of fans, given Steve Jobs’ famous dislike of fan noise, but this computer’s twin G5 processors gave off ridiculous amounts of heat. There’s a reason that Apple switched to Intel processors.

I then removed the cards from the two expansion slots. One was a high-speed network card; the other was pretty nice 2005-era graphics card:

Next up: The RAM!

After that came the Airport Extreme wireless NIC, freeing it from both the PCIe slot and its antenna wire:

That took care of the easy part. Time for a photo op:

Here’s what I yanked out so far. Note my screw management technique!

And now the hard part: getting to the processors. They’re encased in a pretty anodized aluminum box, and it turned out that the only way into it was to break the “warranty pin” — a plastic pin that acts as proof that a non-Apple-authorized person took a peek inside:

Behind the G5 door were the twin processors and their twin heat sinks:

I finished the teardown by identifying the components I’d extracted.

It was then time to move onto the next patient, a “TPS Reports”-writing desktop computer that we would have to disassemble and reassemble:

These are machines whose innards would need to be accessed by a mid-size office IT department, so it opens easily:

Modern computers largely fit together like Lego pieces. Even so, I kept notes on which cables went where.

Here, I’ve relieved the machine of its power supply and optical drive. It was missing a hard drive, so I retrieved one of the spare from the back of the room:

The final part of the assignment: Identify and retrieve the processor. It’s fairly obvious:

Here’s the processor, without the heat sink obscuring it. It’s an AMD Athlon II, which dates from around 2009 / 2010, when Windows 7 was a new thing:

The processor sat in a ZIF (zero insertion force) socket, which makes it easy to remove and then re-seat:

Look at all those pins. We’re a long way from my first processor, the 6502, which had only 40 pins.

Rebuild time! The machine had no RAM, so I grabbed two sticks from the back of the room and inserted into the primary slots, then put the rest of the machine back together again:

The final test — does it power up?

Success! A quick attachment to a monitor and keyboard showed an old Windows screen. Not bad for my first teardown/reassembly.

Categories
Process Tampa Bay What I’m Up To

Scenes from Day 1 of the “UC Baseline” cybersecurity program at The Undercroft

Photo: The Undercroft building, as seen from the corner of 9th Avenue and 14th Street.
Photo by The Undercroft. Tap to see at full size.

Here’s the first in a regular series of entries covering my time at the UC Baseline cybersecurity course, which I’m taking at The Undercroft, Tampa Bay’s security guild/coworking space.

Monday, July 20th, 7:40 a.m.: The drive from home in Seminole Heights to The Undercroft in Ybor City is a quick one — with little traffic, my travel time in the car was just a little over ten minutes. I may have to bike here sometime.

There are almost a thousand historic buildings in Ybor City, and The Undercroft is located in one of them — the one on 9th Avenue, between 13th and 14th Streets. It’s a gorgeous red brick building with arches galore — an arched walkway, with arched windows and doorways:

Photo: A long shot of the sidewalk in front of The Undercroft. The Undercroft is a red brick building with white windows, and the walkway is a covered one with brick arches.
Photo by Joey deVilla. Tap to see at full size.
Photo: The front entrance of The Undercroft. On the left is a white wooden double door in an arched doorway with large glass windows. To the right is a large glass window featuring The Undercroft’s mascot (a stag standing like a human leaning against an umbrella) and the number 1320 (the address).
Photo by Joey deVilla. Tap to see at full size.
Photo: The front door of The Undercroft. Two white wooden double doors in an arched doorway. The Windows on the doors bear the logos of The Undercroft, til, Black Horse, UC, Abacode, and Vartai.
Photo by Joey deVilla. Tap to see at full size.

I’ve been in The Undercroft offices once before, for a planning meeting for Ignite Tampa Bay, before the coronavirus canceled that event. It’s a nice space, and if I didn’t know any better, I’d swear that I was in a startup space in Toronto, Cambridge (Massachusetts), or San Francisco’s SOMA.

Photo: The Undercroft lobby.
Photo by The Undercroft.
Photo: The swag table in The Undercroft’s lobby, which has a number of printed circuit boards embedded in it. The table has an assortment of Undercroft and security stickers on it, and at the back in a sign bearing The Undercroft’s name and mascot.
Photo by Joey deVilla. Tap to see at full size.
Photo: An assortment of Undercroft-branded stickers.
Photo by Joey deVilla. Tap to see at full size.

The classroom is large enough to allow for social distancing, and it’s a pretty nice place to spend seven hours a day, five days a week for the next five weeks:

Photo: The Undercroft’s classroom. A room with an exposed brick wall on one side, many large table-sized wooden desks, red, white and blue spotlights and a large projection screen at the front. A Spider-Man mannequin sits atop one of the ceiling lights. A MacBook Pro is in the foreground.
Photo by Joey deVilla. Tap to see at full size.

When I first posted the picture above to LinkedIn, Tential’s Brandee Backus noticed that Spider-Man was perched atop one of the ceiling lights. Here’s a close-up:

Photo: Close-up shot of the ceiling light in the center of The Undercroft’s classroom, which has a Spider-Man mannequin perched atop it. The mannequin is wearing a Guy Fawkes mask.
Photo by Joey deVilla. Tap to see at full size.

Every student in the UC Baseline program gets a lot of goodies, starting with this three-ring binder, which contains all the exercises for the program. I’ll write more about it in a future post:

Photo: A three-ring binder labeled “Undercroft Baseline Student Guide”.
Photo by Joey deVilla. Tap to see at full size.

Everyone also got one of these plastic tubs, which contained:

  • A small bottle of hand sanitizer
  • A pack of masks
  • An assortment of security-related and Undercroft-branded stickers
  • An 8 GB USB key containing all the course material
Photo: A shoebox-sized clear plastic tub holding a small bottle of hand sanitizer, a package of surgical masks, assorted stickers, and an Undercroft-branded USB key.
Photo by Joey deVilla. Tap to see at full size.

Here are all those goodies, minus the tub:

Photo: An assortment of Undercroft and security-related stickers, a packet of surgical masks, a small bottle of hand sanitizer, and an Undercroft-branded USB key.
Photo by Joey deVilla. Tap to see at full size.

There were other goodies waiting for us in the kitchenette area along with a carton of cafe con leche, courtesy of La Segunda Bakery:

Photo: An assortment of apple and cherry danish pastries.
Photo by Joey deVilla. Tap to see at full size.

This is week 1, which is titled “Hardware 101,” which provides a basic but solid understanding of the atoms through which all our bits flow. Here’s “Tremere,” our instructor, walking the class through the hierarchy of memory, starting at the top with the registers in the processor, all the way down to what we think of as backup storage:

Photo: The instructor, Tremere, delivers a presentation. Behind him to the left as a whiteboard with “10100011”, “CPU register”, “CPU cache”, and “RAM” written on it. Behind and above him to the right is the projection screen, with a photo of the old board game “Memory” on display.
Photo by Joey deVilla. Tap to see at full size.
Photo: A stick of RAM in Joey deVilla’s hand.
Photo by Joey deVilla. Tap to see at full size.
Photo: An M.2 hard drive in Tremere’s hands.
Photo by Joey deVilla. Tap to see at full size.
Categories
Humor Process Programming

The third kind of “free”

Photo: Old mattress on the side of the road, waiting for pickup
Tap to see at full size.

If you’re into open source, you’re probably aware of the different kinds of free, thanks to the expressions “Free as in beer” and “Free as in speech”. 

If you’ve dealt with some particular open source codebases, you’ve probably also internalized a third kind of free: Free as in mattress.

Categories
Process Tampa Bay What I’m Up To

Why I’m excited about learning cybersecurity at The Undercroft

Another life in 2002

Paul Baranowski, me, and John “Captain Crunch” Draper at a liquor store/bar near the DNA Lounge in San Francisco, February 2002. Photo by The Register’s Andrew Orlowski.

From 2000 to 2001, I lived in San Francisco, where I took advantage of opportunities to hang out at Def Con, and I got to know a lot of the dot-com-bubble/bust-era cybersecurity/hacktivism community. I kept those connections and as a result, ended up working on a project that the Cult of the Dead Cow originated: a little hacktivism project called Peekabooty.

Peekabooty was a peer-to-peer proto-VPN (remember, Napster was still in its original P2P file-sharing form back then, and at the time BitTorrent was just a concept that Bram Cohen was working on and telling us about) that was meant to circumvent the Great Firewall of China and provide Chinese dissidents with access to sites banned in their location. Paul Baranowski did the real back-end work, I was the front-end developer as well as the technical evangelist, and because it was a Windows desktop app, we did it in Visual C++, as one did back in those heady days of the early 2000s.

Here’s a couple of snapshots of the user interface, which acted like a screensaver — it used cutesy bears (which I illustrated) to show nodes in your particular P2P network:

This screen shows that you’re running a VPN node, and no one’s connected to you. Tap to see at full size.
This screen shows that you’ve got 3 different kinds of nodes connected to you: one in the free world, a censored one, and one behind a NAT. Tap to see at full size.

We presented Peekabooty at CodeCon 2002 (you can listen to our presentation here). It’s still one of the proudest moments of my career, and we got to hang out with friends from our P2P days at OpenCola, as well as with new people:

And, of course, I learned so much!

I miss doing that sort of thing, and I think participating in The Undercroft’s UC Baseline program is an important step towards getting back to that kind of work.

Current life in 2020

Here I am in 2020 — laid off, but with a couple of side gigs to make a little extra money and prove that I haven’t been idle. Then last Thursday, I heard about the UC Baseline program and a scholarship. I decided to apply on a lark, figuring that they’d never pick me.

Photo: The Undercroft sign, featuring the Undercroft’s “mascot” — a stag standing upright in a suit, leaning jauntily against an umbrella, walking stick-style.They did pick me, and between the greatly reduced cost of attending and my not living paycheck-to-paycheck, I’m able to attend. I’m willing to play the gambit of not taking a full-time job for the next five weeks while ramping up some dormant security skills, because I think it’s a worthwhile one.

At the same time, I think that I can also be useful to The Undercroft by writing about my UC Baseline experiences and promoting them.

I’m looking forward to the experience. It’s an exciting course being taught in an amazing space by interesting people.

Further reading

Here are some articles about Peekabooty: